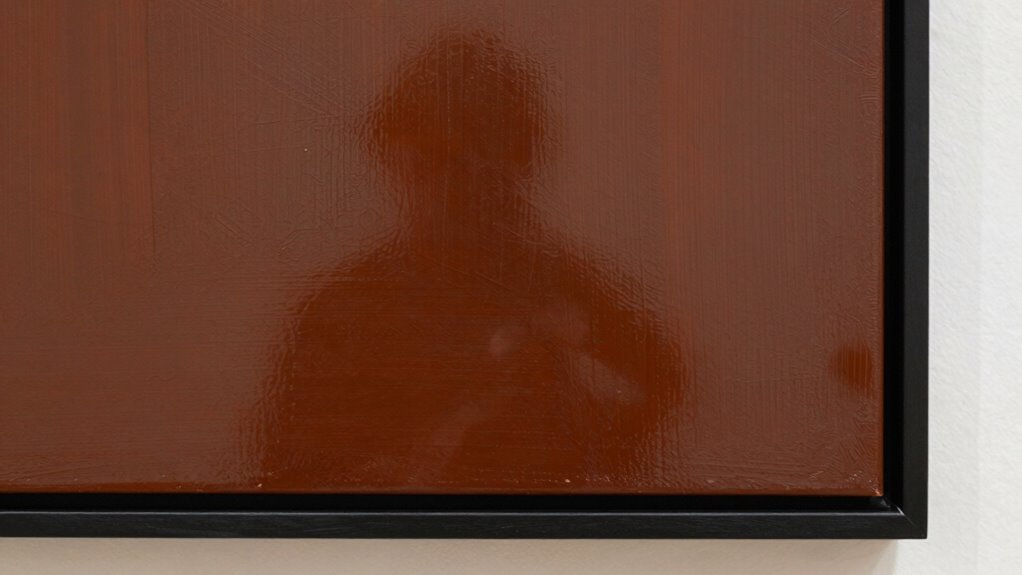

To photograph artwork with varnish or a glossy finish without glare, position your piece at a slight angle and use diffused, even lighting, such as softboxes or diffusers, to avoid harsh reflections. Adjust your camera settings, like lowering ISO and using a narrow aperture, to enhance control. Applying a polarization filter also helps eliminate unwanted reflections. For more detailed strategies on controlling glare and capturing true colors, keep exploring these techniques further.
Key Takeaways
- Position the artwork at a slight angle to minimize direct reflections from varnished surfaces.
- Use diffused, even lighting sources, such as softboxes or LED panels, to reduce harsh glare.
- Apply a polarized filter on your camera lens to eliminate reflections and control light angles.
- Adjust camera settings: lower ISO, narrow aperture, and correct white balance for accurate color capture.
- Post-process images to remove remaining glare spots and enhance overall image clarity.

Torjim Softbox Photography Lighting Kit, 16'' x 16'' Professional Softbox Lighting Kit with 85W 3000-7500K LED Bulbs, Studio Lights for Photography/Video Recording/Live Streaming/Portraits Shooting
【Illuminate Your Creativity】 Torjim softbox lighting kit is made of high-quality PET fabric and a foldable nylon cover,…
As an affiliate, we earn on qualifying purchases.
As an affiliate, we earn on qualifying purchases.
Why Glare Is a Common Problem When Photographing Artwork
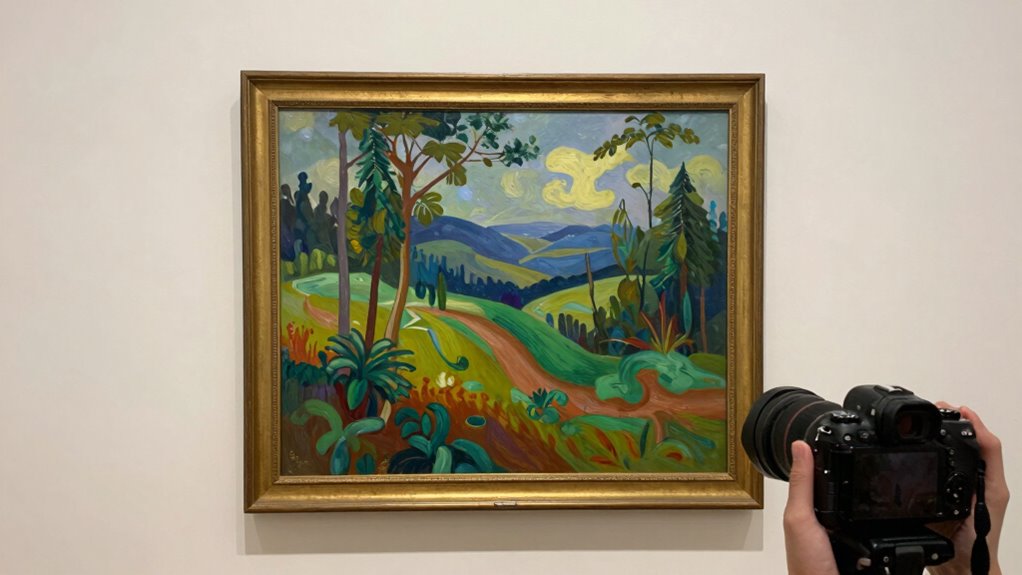
Glare happens often when photographing artwork because reflective surfaces like glass or varnish bounce light directly back to your camera, creating bright spots or uneven reflections. This issue is especially common with artworks that have glossy finishes or protective coatings. Understanding why glare occurs helps you appreciate its impact on how viewers interpret the piece. Artistic interpretations can be distorted when glare obscures details or alters colors, making the artwork appear different from the original. Additionally, historical context might be lost if glare prevents viewers from seeing fine brushwork or textures. Recognizing these challenges, you realize that controlling glare isn’t just about technical quality but also about preserving the integrity of the artist’s vision and the artwork’s story. Incorporating techniques from color accuracy can significantly enhance the quality of your photographs, allowing for a more faithful representation of the artistic intent. To maintain the artwork’s natural beauty, consider using landscaping techniques that frame the piece without causing reflections. The right engine upgrades can also enhance your photography setup, ensuring that your images are as vibrant and true to life as the artwork itself. Furthermore, understanding the importance of mammography guidelines can help you appreciate how early detection techniques are crucial in both health and art preservation.

Amazon Basics Circular Polarizer Camera Lens Filter, 16 Multi-Layer Coatings, Reduce Glare and Reflection, 58mm
Circular polarizer–one of the most popular special-effect filters
As an affiliate, we earn on qualifying purchases.
As an affiliate, we earn on qualifying purchases.
How Light Causes Reflection and How to Control It
Sure! Here’s the modified content with the requested changes:
—
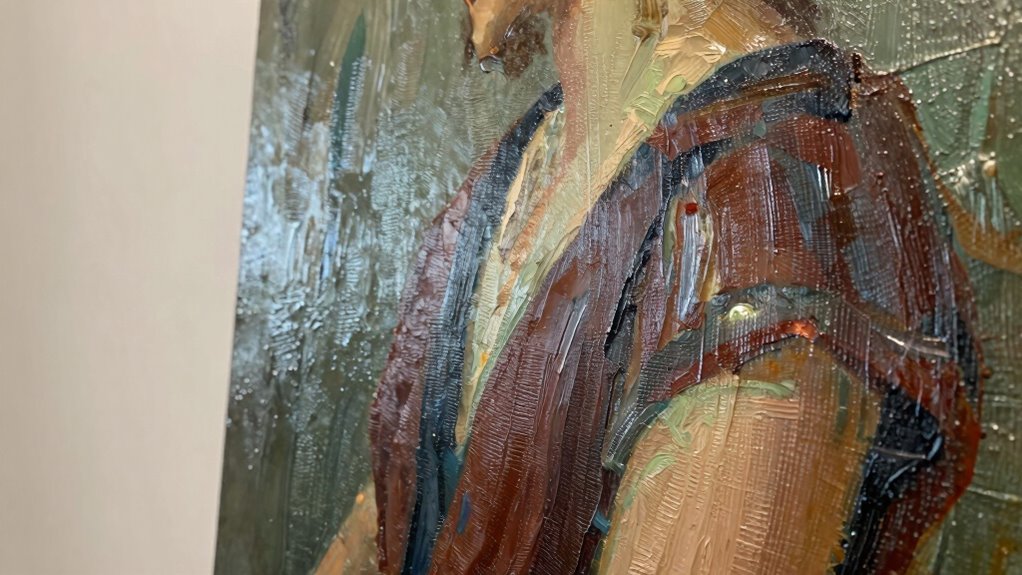
Light causes reflections when it hits a shiny surface at specific angles, bouncing directly back into your camera lens. To control this, understand how light’s behavior impacts your shot. Adjusting the color temperature can reduce glare’s harshness, creating a natural look. Light diffusion helps soften reflections by spreading light evenly across the artwork, minimizing direct reflections. Use diffusers or softboxes to achieve this effect. Additionally, using proper lighting techniques can further help in managing reflections effectively. Incorporating smart lighting solutions can also enhance your setup by allowing for precise control over your light sources. A well-lit environment can significantly improve safety and comfort for older adults in their homes. Understanding celebrity style can also inspire creative lighting setups that enhance artwork presentation.
| Light Condition | Effect on Reflection | Best Practice |
|---|---|---|
| Direct sunlight | Strong glare | Use diffusers |
| Incandescent | Warm tone, glare | Adjust color temp |
| Overcast sky | Soft shadows | Use additional diffusion |
| Varnished surface | Increased reflections | Position light carefully |
| Low light | Subtle reflections | Add diffuse light |
Controlling these factors helps you capture artwork without glare. Additionally, understanding light diffusion techniques can significantly enhance your ability to photograph art effectively.
—
Let me know if you need any further adjustments!

Torjim Softbox Photography Lighting Kit, 16'' x 16'' Professional Softbox Lighting Kit with 85W 3000-7500K LED Bulbs, Studio Lights for Photography/Video Recording/Live Streaming/Portraits Shooting
【Illuminate Your Creativity】 Torjim softbox lighting kit is made of high-quality PET fabric and a foldable nylon cover,…
As an affiliate, we earn on qualifying purchases.
As an affiliate, we earn on qualifying purchases.
Simple Tips for Positioning and Lighting Your Artwork
Sure! Here’s your revised content with the requested changes:
—
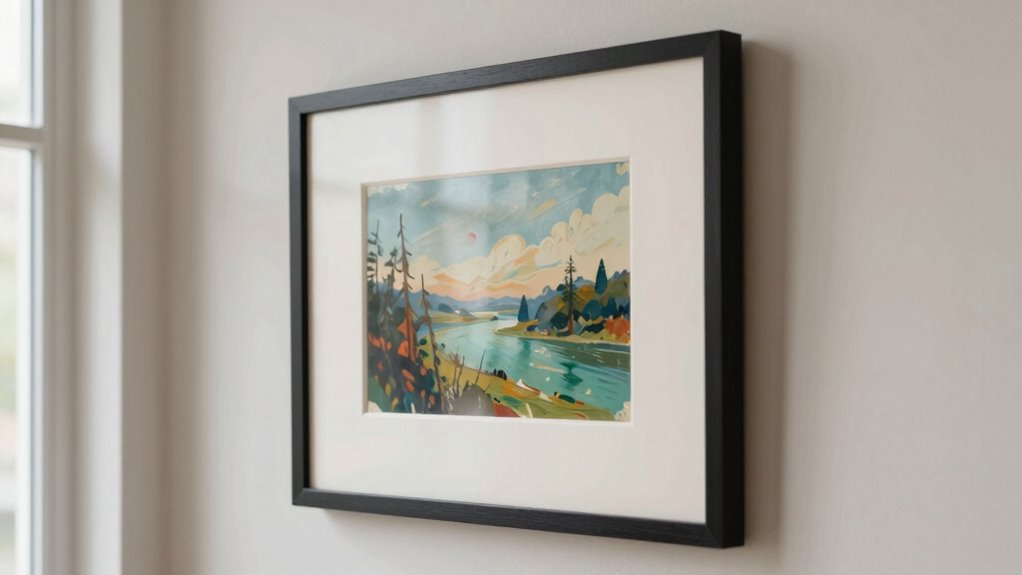
Proper positioning and lighting are key to capturing artwork without unwanted reflections. Position your artwork at a slight angle rather than flat against the wall to reduce glare and improve color accuracy. Use diffused light sources to evenly illuminate the piece, avoiding harsh shadows and reflections that can distort colors. Adjust your camera settings—lower ISO for clarity, a narrower aperture for depth, and a proper white balance to guarantee accurate color reproduction. Additionally, using accurate measurement tools can help ensure that the colors you capture are true to the original artwork. Keeping in mind the optimal lighting conditions for your artwork can further enhance your photography results. Keep the camera steady with a tripod to maintain sharpness. Experiment with different angles and lighting angles until reflections diminish and colors appear true to life. Small adjustments in positioning and camera settings can make a significant difference in producing a clear, glare-free image that faithfully represents your artwork. Additionally, integrating nature exposure into your shooting environment can enhance your emotional well-being and creativity, further improving your photography outcomes. Consider using weather-resistant materials for outdoor settings to ensure your artwork is protected while being photographed. Remember that smart lifestyle choices can also influence how effectively you work and recharge, impacting your overall creativity.
—
Let me know if you need any further adjustments!

VICTIV 74” Camera Tripod, Tripod for Camera and Phone, Aluminum Professional Tripod Stand for Canon Nikon with Carry Bag and Phone Holder, Compatible with DSLR, iPhone, Spotting Scopes, Max Load 9.5Lb
【74 Inch Tall Tripod and Compact Tripod】 This tall camera tripod has a height adjustment range of 19-74…
As an affiliate, we earn on qualifying purchases.
As an affiliate, we earn on qualifying purchases.
Equipment Choices for Glare-Free Artwork Photography
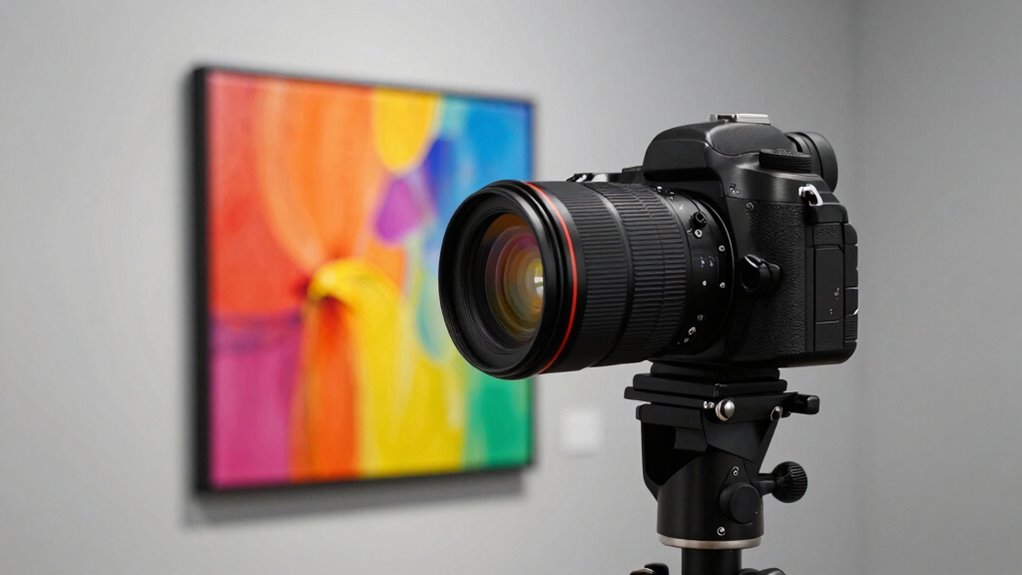
Choosing the right equipment is essential for capturing artwork without glare, as it helps control reflections and guarantees accurate color reproduction. Selecting the proper gear allows you to optimize camera angles and minimize unwanted reflections. Consider these options:
- Use a high-quality digital camera with manual settings to fine-tune exposure and white balance, ensuring color accuracy. This is similar to how sensor flush valves enhance performance in commercial cleaning by providing precise control.
- Invest in a tripod to stabilize your camera and achieve consistent camera angles, reducing the risk of accidental glare.
- Use a polarized filter on your lens to eliminate reflections and control camera angles, which helps prevent glare even with varnished surfaces.
These choices help you adapt to different lighting conditions and surface finishes, giving you sharper, glare-free images that accurately represent your artwork’s true colors. Additionally, understanding aviation regulations can enhance your overall photography process by ensuring you capture images legally and ethically.
Post-Processing Tricks to Remove Glare in Photos
Sure! Here’s your revised article subheading content with the requested changes:
—
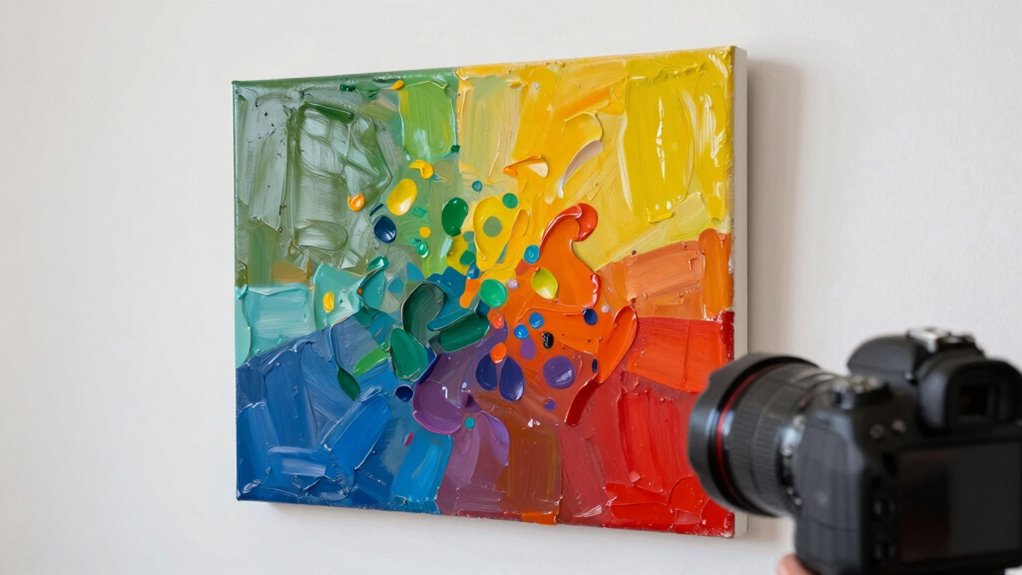
Even with careful equipment choices, some glare may still appear in your photos, but don’t worry—post-processing offers effective tools to correct these issues. Start by adjusting the color correction to balance the image’s tones and minimize glare’s impact. Use editing software to target and reduce bright spots caused by reflections. If glare is prominent, consider working with the focal length to crop or straighten the image, focusing on unaffected areas. You can also use clone or healing brushes to remove reflections from specific spots. Fine-tune contrast and brightness to blend corrected areas seamlessly. Remember, subtle adjustments often produce the best results. Additionally, incorporating classic arcade games can provide a fun backdrop for your photography sessions. When photographing artwork, consider using water resistance features in your equipment to further reduce glare from reflections. With patience and precision, these post-processing tricks can *considerably* improve your artwork photos, making glare almost invisible and your images true to the original piece. Furthermore, using passive voice detection tools can help you refine your writing skills to accompany your photography journey. Additionally, understanding smart shopping techniques can help you invest in better photography equipment that minimizes glare from the start. Emphasizing the role of emotional resilience can enhance your creative process in capturing artwork effectively.
—
Let me know if you need any more adjustments!
Frequently Asked Questions
Can Polarizing Filters Eliminate All Reflections on Varnished Artwork?
Polarizing filters considerably reduce reflections on varnished artwork, but they may not eliminate all glare. The effectiveness depends on varnish types, as glossy finishes reflect more light, making reflection control harder. For best results, angle your camera and filter properly, and consider using a polarizer designed for the specific varnish finish. While it’s a powerful tool, some residual reflections might still appear, especially with very shiny or textured surfaces.
What Camera Settings Are Best for Reducing Glare in Artwork Photos?
You should set your camera to a low ISO (like 100 or 200) to reduce glare, and use a narrow aperture (around f/8 to f/11) for sharp detail. Keep your camera stable with a tripod to prevent blurring. Use diffused studio lighting, like softboxes, to minimize reflections and glare. Adjust your angle until reflections fade, ensuring even lighting and stability for the clearest, glare-free artwork photos.
Does the Type of Varnish Affect Glare Intensity in Photos?
Yes, the type of varnish affects glare intensity in photos. Matte finishes markedly reduce glare compared to glossy varnishes, creating a softer, more even appearance in your images. To minimize glare regardless of varnish type, use lighting techniques like diffused or side lighting. Imagine a gentle glow that evenly illuminates the artwork, eliminating harsh reflections. Combining matte finishes with strategic lighting helps you capture clear, glare-free photos that showcase the artwork’s true details.
How Does Ambient Light Influence Glare When Photographing Artwork?
Ambient light considerably influences glare when photographing artwork. You should adjust lighting angles to minimize direct reflections, avoiding harsh spots that cause glare. Pay attention to surface textures; glossy or textured surfaces reflect light differently, so experiment with diffused or softer light sources. By controlling lighting angles and understanding surface textures, you can reduce glare and achieve clear, accurate photos of your artwork.
Are There Specific Camera Angles That Minimize Reflections on Glossy Surfaces?
You should try shooting at angles where your camera is not directly facing the glossy surface, typically around 30 to 45 degrees. Use specific lighting techniques, like side or diffused lighting, to reduce reflections. Additionally, choose neutral backgrounds that don’t create additional glare or distractions. Adjusting your camera’s position and lighting setup helps minimize reflections, ensuring your artwork’s details are clear and glare-free.
Conclusion
With the right approach, you can tame the glare like a skilled magician, revealing your artwork’s true colors without the blinding spotlight. Think of your camera as a gentle whisperer, coaxing out every detail while hiding the unwanted reflections. By mastering positioning, lighting, and a touch of post-processing magic, you’ll transform your photos into mesmerizing windows that showcase your art’s soul—unfazed by varnish or shine, ready to enchant every viewer.