To measure color shifts with just a camera, you’ll need a stable setup with consistent lighting, a good quality lens, and a neutral background. Use a calibration target like gray or white, and lock your camera’s settings to prevent automatic adjustments. Construct spectral filters if needed, and capture images under controlled conditions. Regular calibration and careful analysis help guarantee accuracy. Keep exploring to discover detailed tips that make this process precise and straightforward.
Key Takeaways
- Use a stable camera setup with manual controls to capture consistent, accurate color images of reference and test samples.
- Calibrate the camera with neutral gray or white targets under controlled lighting to ensure reliable color measurements.
- Maintain consistent lighting conditions, using diffuse, even light sources like LED or daylight bulbs to minimize shadows and color casts.
- Analyze captured images with software to extract RGB or colorimetric data and track color shifts accurately.
- Regularly recalibrate and clean camera lenses to prevent measurement drift and ensure measurement precision over time.
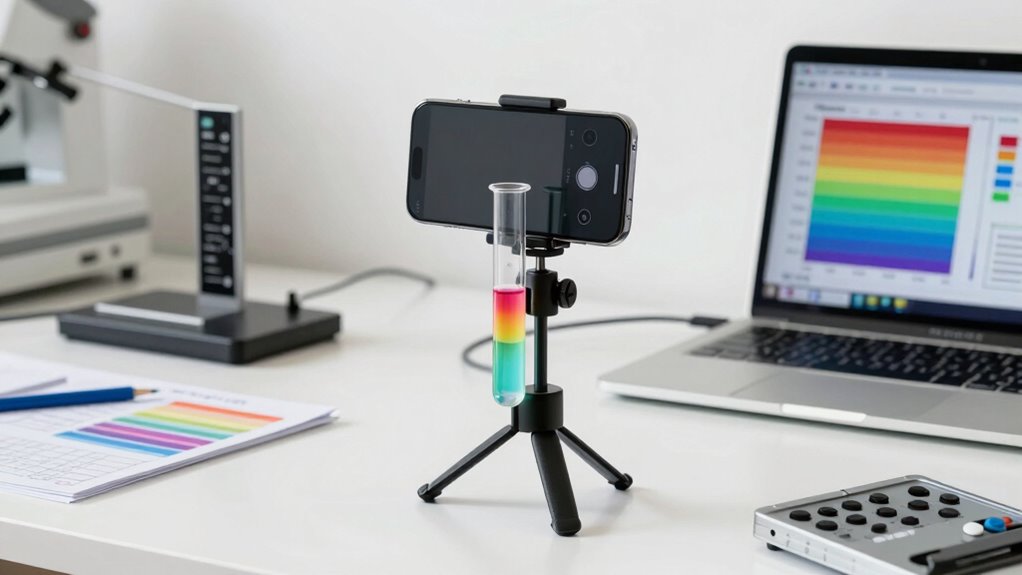
camera tripod for stability
As an affiliate, we earn on qualifying purchases.
As an affiliate, we earn on qualifying purchases.
Why Build a DIY Camera-Based Colorimeter?
Building a DIY camera-based colorimeter can be a cost-effective and customizable way to measure color accurately. It allows you to explore color perception firsthand without investing in expensive commercial equipment. By creating your own device, you gain control over calibration, ensuring measurements align with your specific needs. Proper device calibration is essential to achieve consistent results, as lighting conditions and camera settings can influence color readings. This approach helps you understand how different factors impact color perception, giving you deeper insight into your projects and the importance of digital tools in modern research. Additionally, understanding makeup products can enhance your projects by providing context for how colors are interpreted across different mediums. Furthermore, developing this skill can lead to heightened self-awareness in your artistic endeavors. Plus, customizing your setup means you can adapt it for various applications, from scientific experiments to artistic endeavors. Overall, building a DIY colorimeter empowers you to measure colors precisely while maintaining flexibility and affordability.
neutral density filter for photography
As an affiliate, we earn on qualifying purchases.
As an affiliate, we earn on qualifying purchases.
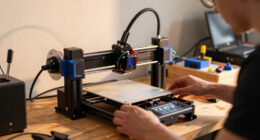
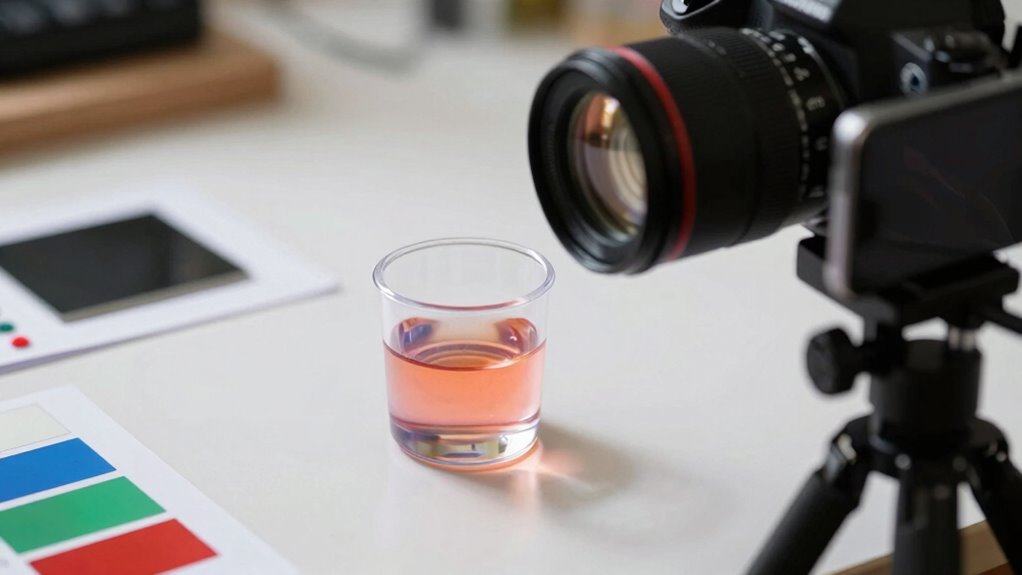
Tools You Need and How to Set Up Your Camera
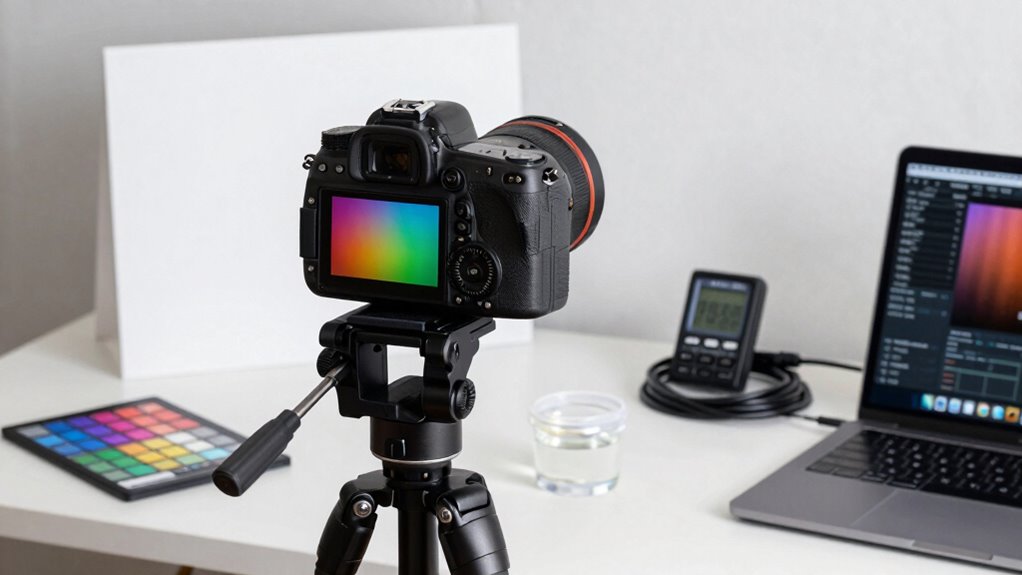
To set up your camera for a DIY colorimeter, you’ll need essential equipment like a stable tripod, a good quality lens, and a neutral density filter. Proper calibration guarantees accurate readings, so follow specific procedures to adjust your camera’s settings. Additionally, establishing a suitable lighting setup with consistent, diffuse light helps produce reliable, repeatable results. Incorporating eco-friendly natural pools into your backyard design can also inspire creative color experimentation in your projects. To enhance your setup, consider the importance of investment strategies for ensuring that your equipment remains a valuable asset over time. Furthermore, achieving color accuracy is crucial for making precise adjustments to your projector settings.
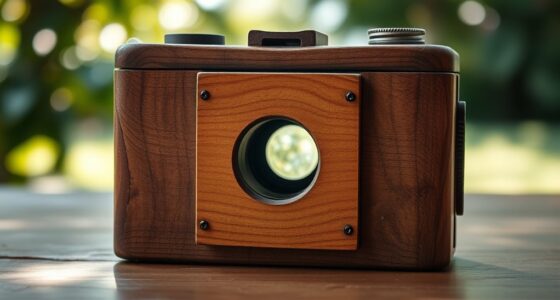
Essential Camera Equipment
Having the right camera equipment is vital for accurately measuring colors in your DIY colorimeter project. Start with a camera that offers manual control over settings like ISO, shutter speed, and white balance to guarantee consistent results. A good lens is essential; choose one with minimal distortion and good color reproduction—prime lenses often perform better than zooms. Understanding color theory helps you interpret the images better, so select a lens that captures true-to-life colors. Avoid using smartphone cameras unless they allow for manual adjustments, as automatic settings can skew results. Make sure your camera sensor is clean to prevent color inaccuracies. Proper setup, including stable mounting and consistent lighting, complements the equipment and enhances measurement precision. Additionally, exploring cultural festivals can inspire creative approaches to your color projects, reflecting the vibrancy of the local community. Incorporating plants like snake plants can also enhance your workspace, providing a calming environment while you work on your color projects. The vibrant nightlife and culinary scene in places like Las Vegas can also offer a fascinating backdrop for color exploration. Finally, understanding digital skills can significantly improve your ability to analyze and interpret the data you collect from your colorimeter, as this knowledge is essential for utilizing tools like the 16PF to enhance self-awareness in your creative endeavors.
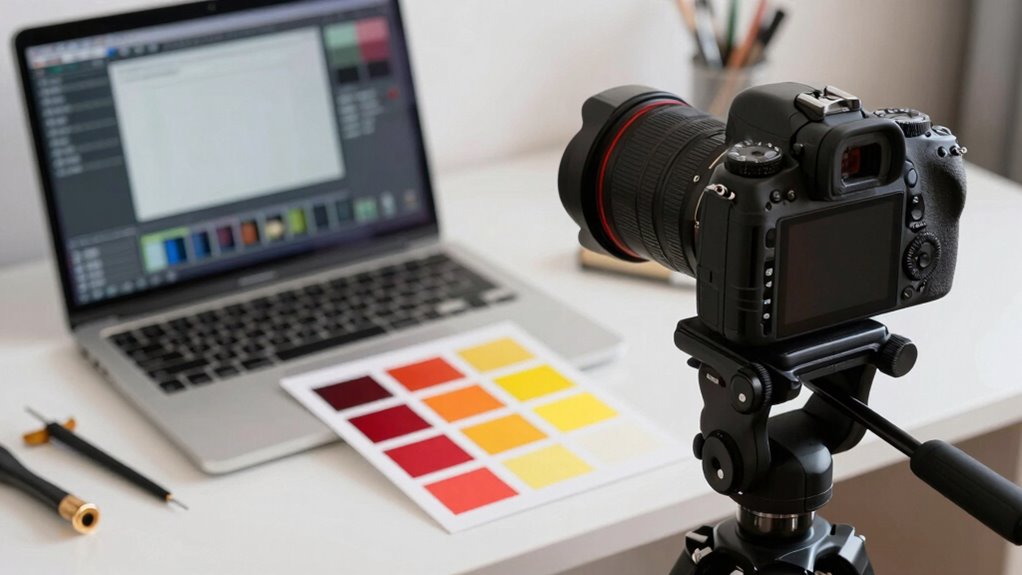
Calibration Procedures
Ever wonder how to guarantee your colorimeter readings are accurate and reliable? The key lies in proper calibration, which guarantees your camera’s sensor aligns with color theory principles. Start by using a neutral gray card or a standard white reference to calibrate your camera. This step helps eliminate color biases caused by lighting or sensor inconsistencies. Perform sensor calibration by capturing images of these reference targets under consistent lighting conditions, then adjust your camera settings or software accordingly. Regular calibration maintains measurement accuracy, especially when lighting or camera settings change. Remember, understanding color theory helps you interpret your readings correctly, ensuring your DIY colorimeter produces consistent, trustworthy results. Proper calibration is essential for meaningful color shift measurements.
Optimal Lighting Setup
Setting up ideal lighting for your DIY colorimeter is essential to guarantee accurate and consistent readings. Good lighting minimizes color shifts caused by external factors. Use lighting that aligns with principles of color theory and lighting techniques to ensure true color capture. To achieve this:
- Use diffuse, even lighting—LED or daylight bulbs work best—to avoid shadows and glare.
- Maintain a consistent light source distance and angle for reliable comparisons.
- Use a neutral background or white card behind your sample to prevent color contamination.
Proper lighting setup helps your camera accurately interpret colors without interference. Adjust your camera settings for proper exposure and white balance to match your lighting conditions, making sure your measurements stay precise and repeatable every time. Additionally, indoor air quality can affect the lighting environment, so ensure that your workspace is free from dust and pollutants to achieve optimal results.
high quality camera lens for color accuracy
As an affiliate, we earn on qualifying purchases.
As an affiliate, we earn on qualifying purchases.
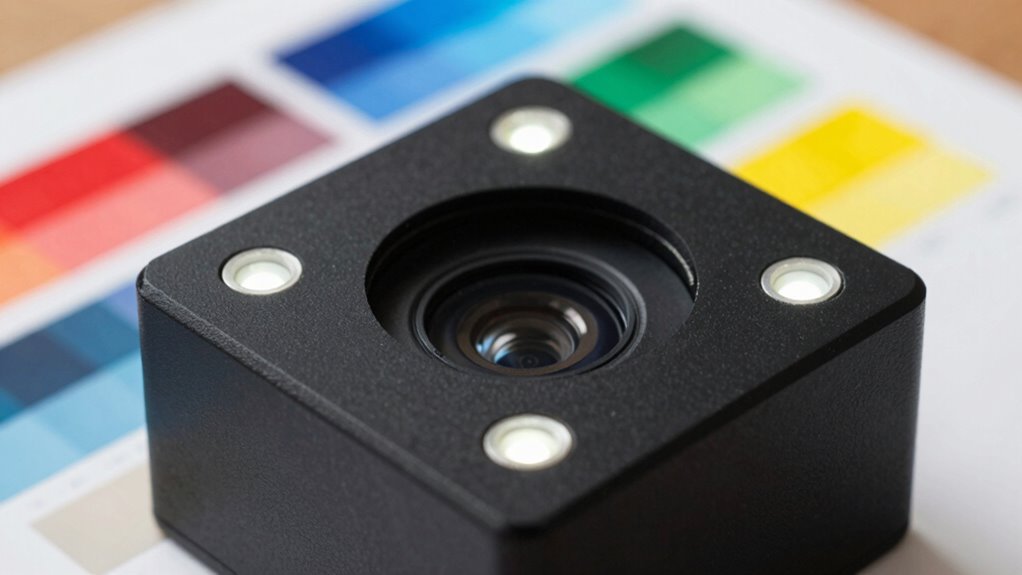
Constructing an Effective Light Filter for Accurate Color Measurement
To guarantee accurate color measurements with your DIY colorimeter, constructing an effective light filter is essential. A well-chosen color filter helps isolate specific parts of the light spectrum, reducing interference from unwanted wavelengths. Select a filter that matches the spectral range relevant to your measurements, such as a narrow bandpass filter for precise color detection. This ensures your camera captures consistent, reliable data by limiting the influence of ambient light variations. When installing the filter, secure it firmly over your light source to prevent shifting or gaps. Keep in mind that the quality of your color filter considerably impacts measurement accuracy. A properly designed filter minimizes errors caused by extraneous light and ensures your color readings reflect true color shifts, making your DIY colorimeter more precise. Additionally, ice cream remains a favorite treat among various age groups, which can serve as a reminder of how color perception can vary in different contexts. Furthermore, understanding sound therapy can help you enhance the effectiveness of your filter setup. For instance, incorporating home safety practices can further ensure that your measurement environment is free from distractions and unwanted light sources. Effective debt management can also enhance your overall financial situation, allowing you to invest in better equipment for your projects.
LED photography lighting kit
As an affiliate, we earn on qualifying purchases.
As an affiliate, we earn on qualifying purchases.
Calibrating Your Colorimeter for Consistent Results
Calibrating Your Colorimeter for Consistent Results
Calibrating your colorimeter is a crucial step to guarantee consistent and accurate measurements. Without proper calibration, color consistency can vary, making your results unreliable. To ensure precision, follow these calibration techniques:
- Use a standardized white reference or gray card to set a baseline for your measurements. This helps establish a consistent reference point for your color readings. Additionally, maintaining software quality assurance practices can further enhance the reliability of your measurement process. Furthermore, employing architectural solutions can assist in creating environments that improve lighting conditions for accurate color assessment.
- Regularly recalibrate, especially if you notice shifts in color readings.
- Keep your camera lens clean and free of smudges to avoid measurement errors.
- Consider the importance of custom preferences in your calibration process to enhance measurement accuracy. Additionally, understanding bank SWIFT codes can help in managing financial transactions tied to your projects.
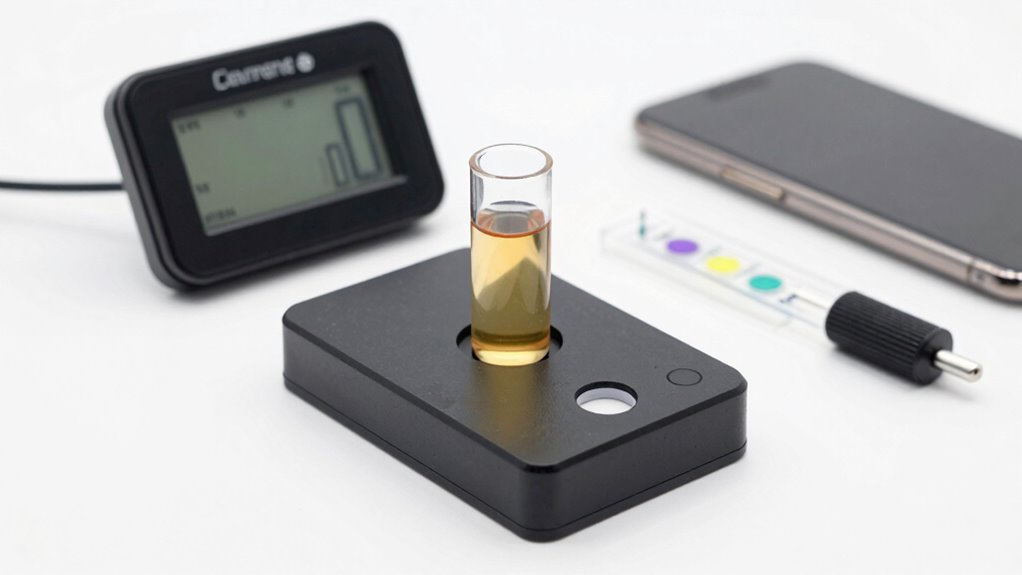
How to Capture Color Data Using Your Smartphone or Camera

To get accurate color data, start by choosing consistent, neutral lighting conditions that minimize shadows and color casts. Additionally, consider how ethical consumption plays a role in selecting materials for your projects. Next, adjust your camera settings to avoid automatic adjustments, locking in exposure and white balance for reliable results. Finally, analyze your captured images carefully, ensuring your data is precise before proceeding with your analysis. Additionally, consider using water-resistant materials to protect your equipment from environmental factors while capturing images outdoors.
Selecting Proper Lighting Conditions
Have you ever noticed how the lighting conditions can make or break your color measurements? Proper lighting ensures accurate, repeatable results. To achieve this, focus on maintaining lighting consistency and controlling color temperature. Here’s what to keep in mind:
- Use diffuse, even lighting to avoid shadows and glare.
- Opt for a light source with a stable color temperature, ideally around 5000K, to match natural daylight.
- Avoid mixed lighting (e.g., combining sunlight and artificial light) which can skew color data.
Consistent lighting conditions help you compare measurements accurately over time. Adjust your environment to minimize fluctuations in brightness and color temperature, ensuring your camera captures true colors without interference from external factors.
Calibrating Your Camera Settings
Once you’ve set up consistent lighting conditions, the next step is to fine-tune your camera settings to accurately capture color data. Proper camera calibration guarantees your device’s color perception aligns with real-world colors, minimizing distortions. Start by setting your camera to the highest resolution and disable auto white balance to maintain consistent color capture. Adjust exposure and ISO to prevent overexposure or underexposure, which can skew color data. Using manual settings allows you to control these variables precisely. Take test shots of a neutral gray or white reference under your lighting conditions, then review the images to verify consistent color reproduction. Proper calibration helps you gather reliable color information, making your measurements more accurate and reducing the need for extensive post-processing.
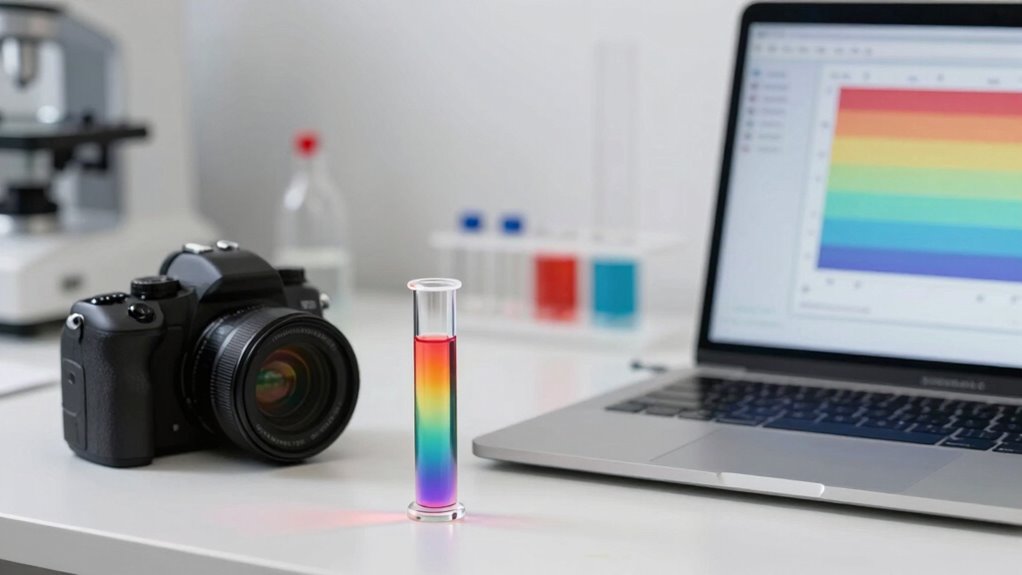
Analyzing Color Data
Wondering how to accurately capture color data with your smartphone or camera? First, guarantee consistent lighting to reduce shadows and glare, which can distort data. Then, use your device’s camera in manual mode if possible, adjusting exposure and white balance for accurate digital imaging. To analyze your color data effectively, consider these steps:
- Record RGB values from your images, keeping in mind color theory principles to interpret color shifts.
- Use software or apps that allow precise color measurement for better accuracy.
- Compare your data over multiple captures to identify consistent trends or shifts in color.
Analyzing and Interpreting Color Shifts in Your Data
When analyzing color shift data from your DIY colorimeter, it’s essential to identify patterns and understand what they reveal about your sample or process. Recognizing consistent shifts helps you interpret how your sample’s color perception changes over time or under different conditions. Data visualization techniques, like graphs or color charts, make these shifts easier to see and analyze. For example, tracking R, G, and B values over time can reveal trends or anomalies. Use the following ideas to guide your interpretation:
| Pattern Type | What It Indicates | Visualization Method |
|---|---|---|
| Steady Shift | Consistent change, possible drift | Line graph or trend chart |
| Sudden Change | Abrupt variation, potential issue | Scatter plot or bar chart |
| Cyclical Pattern | Regular fluctuations, environmental factors | Repeating cycle graph |
| No Change | Stable color perception | Flat line or constant graph |
| Irregular Variations | Inconsistent data, possible errors | Error bars or scatter plot |
Troubleshooting Common Issues and Improving Accuracy
Troubleshooting common issues with your DIY colorimeter is essential for ensuring accurate and reliable results. If you notice inconsistent color readings, start by checking your hardware calibration. Proper calibration helps maintain color accuracy across measurements. Here are three key tips:
Troubleshoot hardware calibration regularly for consistent, accurate color measurements.
- Regularly calibrate your camera and light source to prevent drift.
- Use consistent lighting conditions and avoid shadows that could skew data.
- Verify that your sensor and filters are clean and properly aligned.
Implementing these steps reduces errors caused by hardware variations, ensuring more precise color measurements. Remember, maintaining hardware calibration is vital for consistent color accuracy. If issues persist, review your setup to identify loose connections or misaligned components. Consistently troubleshooting these factors guarantees your DIY colorimeter delivers trustworthy results.
Practical Applications of Your DIY Colorimeter
A well-calibrated DIY colorimeter opens up numerous practical uses across various fields. It helps you analyze color perception accurately, making it easier to detect subtle color shifts in different materials. In industries like art and design, you can use it for precise pigment matching, ensuring color consistency across projects. In food production, it allows you to monitor color changes during processing, maintaining product quality. In manufacturing, it helps verify that products meet color specifications, saving time and reducing waste. Additionally, it’s useful in environmental testing, such as tracking water quality through color indicators. Overall, your DIY colorimeter provides an affordable, versatile tool for any application where understanding and controlling color is essential, from creative projects to quality assurance tasks.
Frequently Asked Questions
Can I Use Any Camera Model for Building a DIY Colorimeter?
You can use many camera models for building a DIY colorimeter, but the key is ensuring proper camera calibration for accurate readings. Not all cameras offer consistent color output, so choosing a model with good color consistency helps. Regularly calibrate your camera to account for lighting and device variations, which improves measurement accuracy. Ultimately, selecting a camera with reliable color reproduction makes your DIY project more precise and effective.
What Are the Limitations of a Camera-Based Colorimeter?
Think of your camera as a painter with a limited palette. Its sensor sensitivity varies, affecting color accuracy, especially under different lighting. Calibration challenges arise because you’ll need to fine-tune settings regularly, or your measurements may drift. Unlike specialized devices, a camera-based colorimeter struggles with consistency, making it less reliable for precise color analysis, especially when lighting conditions aren’t ideal or if your camera’s sensors aren’t sensitive enough.
How Does Ambient Lighting Affect Measurement Accuracy?
Ambient lighting profoundly impacts your measurement accuracy because inconsistent lighting conditions can cause color shifts that skew your results. When lighting varies, your camera might pick up different shades, making it harder to get consistent measurements. To maintain measurement consistency, always perform color readings in stable, controlled lighting environments. Using standardized lighting setups or diffusers can help minimize ambient light effects, ensuring your colorimeter produces reliable and accurate results.
Is Specialized Software Necessary for Data Analysis?
You don’t need specialized software for data analysis; basic tools like spreadsheets can often suffice. Interestingly, studies show that 85% of hobbyists successfully interpret their data without advanced programs. However, for precise data interpretation, dedicated software simplifies calibration, reduces errors, and enhances accuracy. While not mandatory, specialized software can considerably improve your ability to analyze subtle color shifts, making your measurements more reliable and insightful.
How Often Should I Recalibrate My DIY Colorimeter?
You should recalibrate your DIY colorimeter regularly—ideally, every few weeks or after significant changes in lighting conditions—to maintain calibration frequency and measurement consistency. Frequent recalibration guarantees your device provides accurate readings over time. If you notice inconsistent measurements or color shifts, it’s a sign to recalibrate sooner. Consistent calibration helps you trust your results and keeps your color measurements reliable.
Conclusion
With your DIY colorimeter in hand, you’ve transformed your camera into a keen eye for color shifts, turning simple snapshots into precise measurements. Like an artist’s brush capturing subtle hues, your setup reveals the delicate dance of light and shade. As you refine your technique, you’ll open new depths of understanding in color analysis—an alchemy of science and creativity. Embrace this tool, and let your curiosity paint a vibrant canvas of discovery.