To make a pinhole camera without a lens, start by sealing a small lightproof box or container, ensuring no unwanted light leaks in. Create a tiny, smooth hole (about 0.2mm to 0.5mm) in one side with a needle or pin, then position photographic paper or film at the opposite end, aligned directly behind the hole. Aim the camera at your scene, open the shutter for an appropriate time, and develop the image. Continue exploring for more tips to perfect your pinhole photography process.
Key Takeaways
- Assemble a sealed enclosure using cardboard or a milk carton, ensuring it is airtight to prevent unwanted light leaks.
- Create a small, smooth-edged pinhole (0.2mm–0.5mm) on the enclosure using a pin or needle.
- Position light-sensitive material (photographic paper or film) opposite the pinhole at the far end, securing it in place.
- Point the camera at the scene and expose the photographic material for seconds to minutes, depending on lighting conditions.
- Develop the photographic material in a darkroom or chemical solution to reveal the image formed through the pinhole.
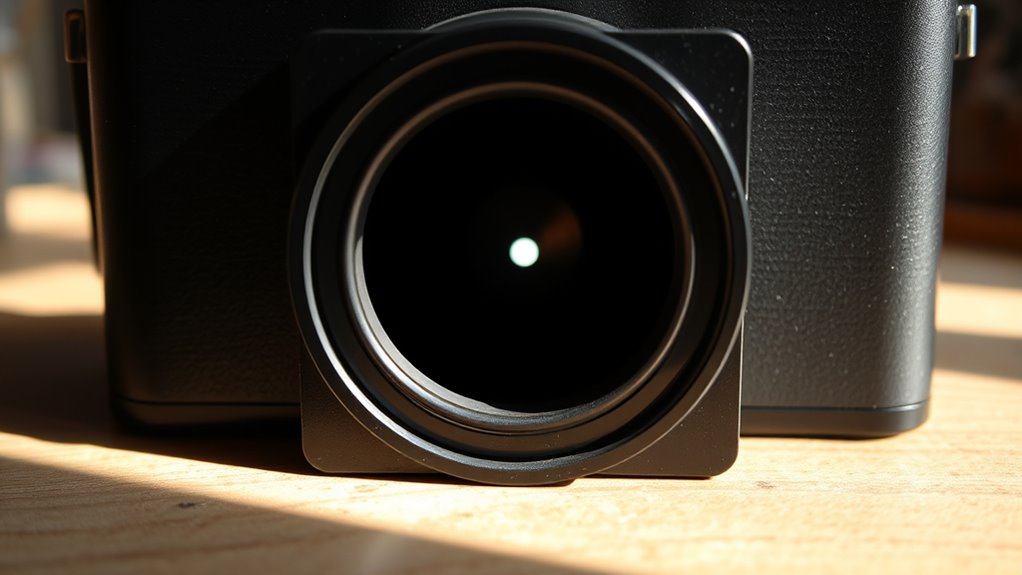
Creating a pinhole camera is a simple and fun way to explore the fundamentals of photography. The first step is to assemble a lightproof enclosure, which is vital to prevent unwanted light from entering and ruining your image. You can use a small cardboard box, a milk carton, or any container that can be sealed tightly. The idea is to create a space where light can only enter through a tiny opening, guaranteeing your camera captures a clear, focused image. This small opening, called the pinhole, acts as a lens, so its size is essential. A pinhole that’s too large will let in too much light and produce a blurry, overexposed picture, while a pinhole that’s too small may restrict light so much that your image appears faint or faintly detailed. Generally, a pinhole size between 0.2mm and 0.5mm works well for most projects. You can make the hole by carefully piercing a thin piece of aluminum foil or thick paper with a pin or needle. Once you have your pinhole, place it on one side of your lightproof enclosure. The placement should be precise—centered and not too close to the edges—to avoid distortion. To make sure your pinhole is as round and smooth as possible, you might want to gently sand or polish the edges, which helps improve image sharpness.
Next, you need to prepare your camera for capturing images. Inside the enclosure, you’ll want to place light-sensitive material like photographic paper or film at the opposite end from your pinhole. Once everything is sealed, you can point your camera toward a scene with good lighting. Remember, since there’s no lens to focus the image, distance and pinhole size will determine how sharp or blurry your photo turns out. A smaller pinhole generally gives a sharper picture, but it also requires a longer exposure time because less light enters. You’ll need to experiment with different pinhole sizes and exposure times to get the best results. When you’re ready to take a picture, remove the cover or open a shutter (if you’ve set one up) for the necessary exposure time, which can range from a few seconds to several minutes depending on lighting conditions. After exposing your photographic paper or film, you’ll develop it in a darkroom or with a safe chemical process to reveal your image. Additionally, understanding the importance of contrast ratio in imaging helps optimize your results by controlling the difference between light and dark areas in your photos.
Making a pinhole camera teaches you how light works and how simple tools can create detailed images without a lens. It’s an accessible project that combines creativity with scientific curiosity, giving you a deeper appreciation for the art and science of photography.

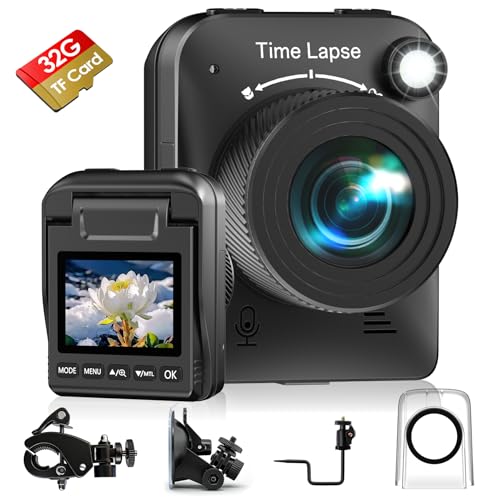
4K Time Lapse Camera Outdoor Construction Plant Weather Life, Manual Focus, IP66 Waterproof, 6 Month Battery Life, 32GB TF Card Included
【Upgrade to 4K Ultra HD】Our advanced mini time-lapse camera now captures sharper, more detailed footage than ever—perfect for...
As an affiliate, we earn on qualifying purchases.
Frequently Asked Questions
How Does Light Travel Through a Tiny Pinhole?
When light travels through a tiny pinhole, it diffracts, bending around the edges of the aperture. This diffraction causes the light to spread out slightly, forming an inverted image on the opposite side. The aperture size affects sharpness; a smaller pinhole reduces blurring, but too small can cause excessive diffraction. You control the image clarity by adjusting the pinhole size, balancing between diffraction and focus.
Can a Pinhole Camera Capture Color Images?
Think of a pinhole camera as a tiny window to the world, capturing more than just shadows. Yes, it can record color images if you use color film or digital sensors designed for color. Just like a camera obscura, it projects a scene onto film, which then needs film development to reveal the colors. While simple, it beautifully symbolizes how light’s journey shapes our view of reality.
What Materials Are Best for Making a Pinhole?
For a pinhole camera design, you want suitable materials that are sturdy and light-proof. Use a thin sheet of metal or thick cardboard for the pinhole itself, and choose a lightweight box or can as the main body. Aluminum foil works well for creating a tiny, precise pinhole. Make sure all materials are opaque to prevent unwanted light leaks and guarantee sharp images. This will give you the best results in your pinhole camera.
How Long Should the Exposure Time Be?
You should set the exposure duration based on your camera’s light sensitivity and the lighting conditions. For bright daylight, start with 1-2 seconds, while in low light, you might need 10-30 seconds or longer. Experiment with different exposure times to find the right balance, ensuring your photo isn’t overexposed or underexposed. Keep in mind that longer exposures increase the chance of motion blur, so adjust accordingly.
Is a Pinhole Camera Suitable for Professional Photography?
A pinhole camera is generally not suitable for professional photography due to its limited image quality and long exposure times. However, it’s excellent for artistic applications and educational use, helping you understand basic optics and the fundamentals of photography. You can experiment creatively with pinhole cameras and inspire others, making them valuable tools for learning and artistic expression, even if they don’t replace modern, high-resolution cameras.

Time Lapse Camera, Rechargeable Outdoor Timelapse Camera, Up to 180 Days Standby Battery, IP66 Water-Resistant, for Construction, Weather, Plant Growth, Vlog Recording, 32GB SD Card Included
1080P Clarity & Built-in Flash:Equipped with an advanced chip, starlight lens, and 1/2.7” CMOS sensor, this outdoor time...
As an affiliate, we earn on qualifying purchases.
Conclusion
Now that you’ve built your pinhole camera, you’ve seen how light can create images without a lens. Did you know that a tiny pinhole can produce a clear image even at distances over 100 feet? This simple device shows how light travels and forms pictures naturally. Keep experimenting with different pinhole sizes and distances to reveal more about light’s fascinating behavior. Your own camera is just the beginning of discovering the amazing world of optics!
Time Lapse Camera, 4K Timelapse Outdoor Construction Camera with 3 Mount, Waterproof Housing, SD Card for Construction Sites, House Building, Plant Growth
【Powerful 4K】 Timelapse camera 4k equipped with advanced chip & fill light can capture images clearly even in...
As an affiliate, we earn on qualifying purchases.

ATLI 1080P Time Lapse Camera FHD APP Control Timelapse Video Camera Remote Access with Memory Card for Indoor Flower Plants Weather Cooking Artist (Red)
✅ Automatic Time-lapse Video Creation: ATLI time lapse camera allows you to effortlessly create time lapse videos without...
As an affiliate, we earn on qualifying purchases.