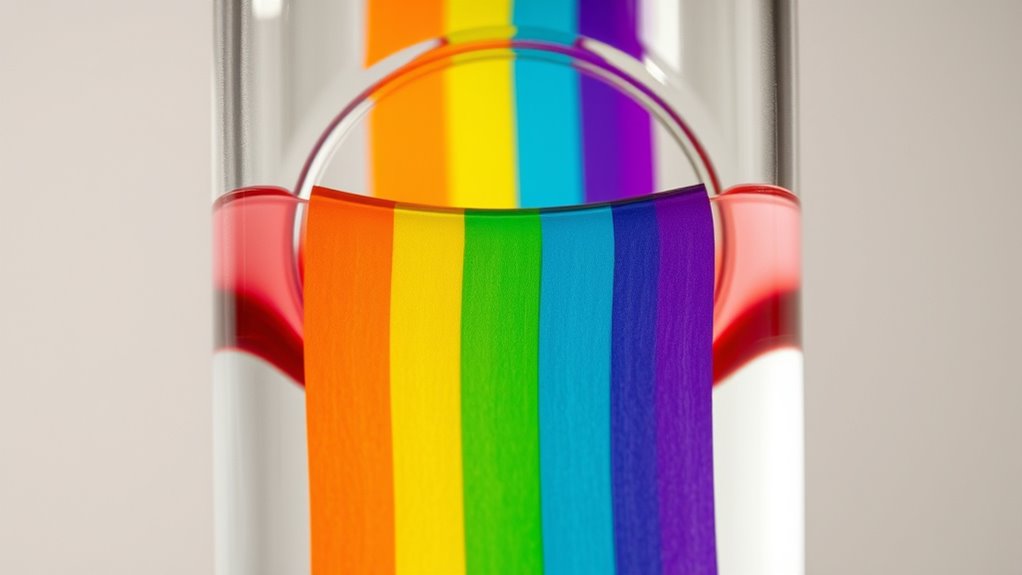

To create a rainbow in a glass with paper chromatography, you’ll first gather supplies like filter paper, food dyes, and water. You cut the paper into strips and carefully apply small drops of different dyes at the bottom. Place the strips in jars with a bit of water, making sure the water touches the bottom but doesn’t cover the dye spots. As the water rises, it separates the colors, revealing a vibrant rainbow. Keep exploring for more tips and techniques.
Key Takeaways
- Paper chromatography separates mixed food dyes into individual colors by exploiting differences in dye polarity and affinity for the paper and solvent.
- Proper preparation involves applying small, distinct dye spots and ensuring the paper is dampened for consistent dye migration.
- Setting up the experiment requires placing the chromatography strip vertically in water, with dye spots above the water level for effective separation.
- As water rises through the paper, it carries dye molecules at different rates, creating a visible rainbow of separated colors.
- Analyzing the bands’ positions and hue helps identify individual dye components and understand their chemical properties.
![Grade 1 Chromatography Paper 6 x 0.75 Inches for Laboratories, School, Pigment Separation and Experiments [Bag of 50 Strips]](https://m.media-amazon.com/images/I/31wdQoIyu5L._SL500_.jpg)
Grade 1 Chromatography Paper 6 x 0.75 Inches for Laboratories, School, Pigment Separation and Experiments [Bag of 50 Strips]
Laboratory grade chromatography test paper for separating mixtures into their components
As an affiliate, we earn on qualifying purchases.
As an affiliate, we earn on qualifying purchases.
Gathering the Supplies Needed for the Experiment
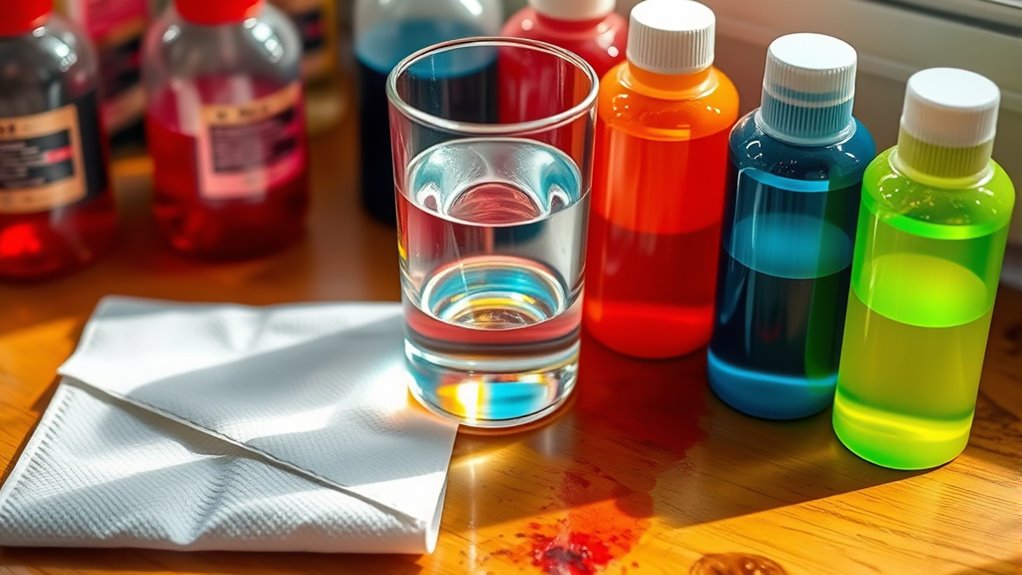
Before you begin your rainbow in a glass experiment, gather all the necessary supplies. Start by organizing your equipment to guarantee everything is within reach and easily accessible. This includes items like glass jars, food dyes, water, and paper chromatography strips. Prioritize safety precautions—wear gloves and protective eyewear to avoid staining or irritation from dyes. Make sure your workspace is clean and free of clutter to prevent accidents and spills. Having your supplies well-organized minimizes disruptions and helps the experiment run smoothly. Double-check that you have enough of each item, especially the dyes, so you don’t have to stop midway. Proper equipment organization and safety precautions set the foundation for a successful and safe chromatography experiment. Additionally, practicing space optimization can help you create an efficient setup that maximizes your workspace and minimizes clutter.

Food Coloring Liquid Set,12 Colors x10ml Food Grade Vibrant Food Dye Concentrated Liquid Coloring for Cake Decorating,Baking,Easter Eggs,Fondant,Icing,Slime Making DIY Supplies Kit-0.35 Fl. oz/Bottles
Vibrant Food Coloring Set for Cake Food Baking: Brighter and more concentrated food coloring liquid for cake decorating,…
As an affiliate, we earn on qualifying purchases.
As an affiliate, we earn on qualifying purchases.
Preparing Your Chromatography Paper and Dyes
To prepare your chromatography paper and dyes effectively, start by cutting the chromatography paper into strips that are about 1 to 2 centimeters wide and long enough to fit comfortably in your jars. Next, consider the paper pore size, which influences how well dyes move during separation. Choose a paper with a uniform pore size to guarantee consistent flow. When preparing your dyes, keep in mind their dye solubility—soluble dyes will travel farther, creating clear separations. Before applying the dyes, lightly dampen the paper to help with even absorption. Additionally, selecting the appropriate Kia Tuning components can optimize the performance of a vehicle if you decide to further customize it.
- Guarantee the paper is free of wrinkles and dust for better results
- Use small, consistent spots of dye to avoid overlapping
- Keep dyes separate to prevent cross-contamination

TLC Developing Glass Jar Bottle for TLC Strips (w/Sample Strips & Forceps incl.) Small Cylindrical Tank Chamber 4.5cm I.D. AAdvance Instruments (7.5 cm x 4.5 cm)
12/23/2022: Grounded joint is lightly pre-greased for a smoother feel. Vapor will be well sealed with or without…
As an affiliate, we earn on qualifying purchases.
As an affiliate, we earn on qualifying purchases.
Setting Up the Workspace for Safe and Effective Separation
Start by selecting a well-ventilated area to keep fumes safely away from you. Gather all necessary safety gear, like gloves and goggles, to protect yourself during the process. Then, organize your workspace materials so everything is within easy reach, ensuring a smooth and safe separation. Consider placing your setup near an air purifier to help maintain a clean environment during the experiment.
Choose a Well-Ventilated Area
Choosing a well-ventilated area is essential for guaranteeing safety and effectiveness during separation tasks. Proper ventilation helps reduce exposure to fumes and prevents the buildup of vapors, emphasizing the ventilation importance for safety considerations. When setting up your workspace, consider these factors:
- Keep windows or doors open to allow fresh air circulation.
- Use fans to improve airflow if natural ventilation is limited.
- Avoid enclosed spaces with poor airflow to minimize inhalation risks.
- Incorporating adequate lighting can also improve visibility and safety during the process.
Good ventilation not only protects you but also ensures the chemicals and dyes disperse safely, leading to more accurate results. Ensuring proper airflow minimizes hazards, making your chromatography experiment safer and more reliable. Always prioritize ventilation to promote a safe and effective workspace.
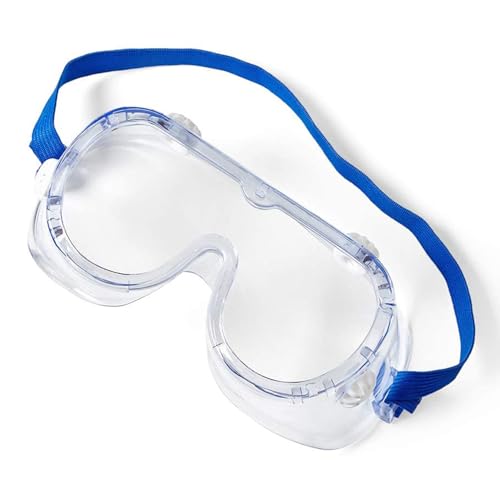
Gather Necessary Safety Gear
Before beginning your separation tasks, you need to gather and wear the appropriate safety gear to protect yourself from potential hazards. Personal protective equipment (PPE) is essential for safety. Wear gloves to prevent dye contact with your skin, safety goggles to shield your eyes, and a lab apron or apron to keep your clothes clean. Being prepared for emergencies is also vital. Keep a first aid kit nearby and know how to respond if accidental spills or splashes occur. Here’s a visual to help you set up: Glycolic acid benefits
| Safety Gear | Purpose | Emergency Preparedness |
|---|---|---|
| Gloves | Protect skin from dyes | First aid kit on hand |
| Safety Goggles | Shield eyes from splashes | Know spill cleanup procedures |
| Lab Apron | Prevent clothing contamination | Emergency contact info nearby |
This setup guarantees you’re ready and protected.
Arrange Workspace Materials
Properly arranging your workspace sets the foundation for safe and efficient separation. Clear your area of clutter to prevent accidental spills or contamination. Use a sturdy table covered with paper or a cloth to protect surfaces. Organize essential materials nearby for easy access:
- Filter paper and chromatography setup tools
- Pipettes or droppers for precise dye application
- Safety gear like gloves and goggles
Pay attention to dye chemistry and color mixing principles, ensuring dyes are handled carefully to avoid unwanted reactions. Keep solvents and chemicals away from ignition sources and use in well-ventilated areas. Label all containers to prevent mix-ups. Halloween safety precautions are important to consider when handling chemicals and ensuring a safe workspace. A tidy, well-organized workspace minimizes risks and helps you focus on the science behind separating food dyes with paper chromatography.
United Scientific™ Kids Safety Goggles – Chemistry Protective Goggles for Students, Lightweight, Comfortable Fit and Chemical Splash Kids Eye Protection – Meets ANSI Z87.1 Safety Standards (Pack of 1)
PROTECTION FOR THEIR LITTLE EYES: Our safety goggles for kids are designed for arts, outdoor play, and science…
As an affiliate, we earn on qualifying purchases.
As an affiliate, we earn on qualifying purchases.
Applying the Food Dyes to the Paper Strip
Start by preparing your dye mixture carefully to get the right consistency. Then, use a pipette or dropper to apply precise spots of color onto the paper strip. Make sure you distribute the dyes evenly to create a vibrant, clear rainbow effect. For best results, choose a high-quality, absorbent paper such as chromatography paper or filter paper commonly used in laboratory settings.
Preparing the Dye Mixture
To prepare the dye mixture, you’ll need to carefully apply small drops of food coloring onto the paper strip. Be precise to guarantee proper separation during chromatography. Focus on creating distinct spots that won’t run into each other, which is vital for observing effective color blending and separation. Using the principle of comparative advantage can help optimize your technique by focusing on precise application methods. This careful application helps in forming a proper dye mixture, making sure the colors stay separate enough for accurate analysis. Properly prepared dye spots will lead to better results and clearer separation of the food dyes during the experiment.
Applying Precise Dye Spots
Once you’ve prepared your dye spots, carefully apply each color onto the paper strip using a pipette or toothpick. Place small, precise dots about an inch from the bottom of the strip, guaranteeing consistent dye concentration for accurate results. Keep the spots distinct and avoid overlapping to prevent mixing during the separation process. Remember, the amount of dye you apply influences paper absorption; too much dye can cause blurring, while too little may produce faint bands. Use steady hands to maintain accuracy and uniformity in your spots. Proper application helps ensure clean, clear separation of dyes later. Take your time to position each spot carefully, as this step is vital for obtaining meaningful and interpretable chromatography results. Applying precise dye spots is essential for accurately analyzing the different components in food dyes.
Ensuring Even Distribution
Achieving even distribution of the food dyes on your paper strip is essential for accurate chromatography results. Proper application ensures consistent color mixing and reveals distinct separation patterns based on dye chemistry. To do this effectively:
- Use a fine-tipped pipette or dropper to control dye placement.
- Place small, precise dots without overlapping to prevent blending.
- Allow each spot to dry before adding more dye to maintain sharp boundaries.
- Paying attention to material properties can influence how dyes migrate and separate during the process.
This careful application minimizes confounding variables, such as uneven dye migration caused by inconsistent spot size or concentration. Understanding dye chemistry helps you select appropriate solvents and application methods, ensuring each color moves independently during chromatography. By focusing on even distribution, you set the stage for clear, interpretable results, revealing the unique properties of each dye and their interactions with the paper medium.
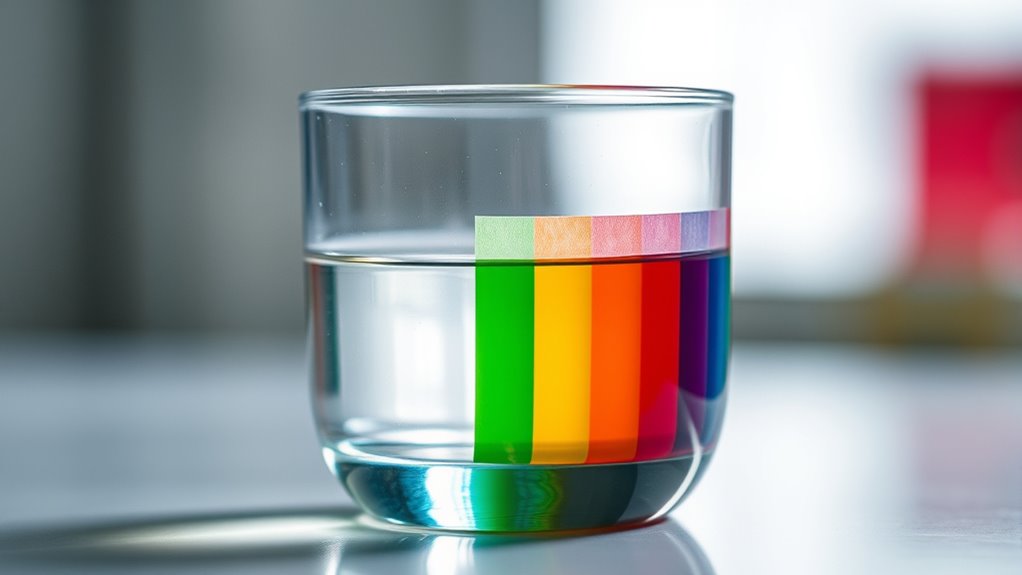
Initiating the Chromatography Process With Proper Water Placement
Begin by carefully adding water to the bottom of your chromatography setup, ensuring it doesn’t touch the paper or material you’re analyzing. Proper water placement is vital to start the separation process effectively. Before pouring the water, check that your paper is prepared correctly—trim it to the right size and secure it in your setup without wrinkles or folds. When adding water, make sure it’s just enough to contact the bottom edge of the paper without submerging it. This creates a water reservoir that allows capillary action to carry the dyes upward. Keep the water level steady throughout the experiment to guarantee consistent results. Proper water placement and paper preparation set the foundation for successful color separation in your chromatography process.
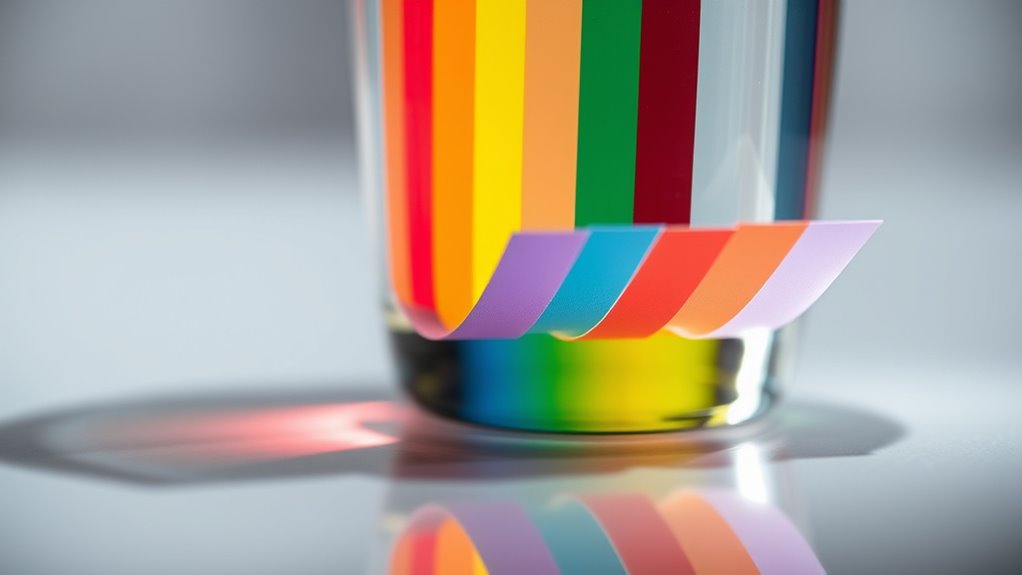
Observing the Separation of Colors as the Chromatogram Develops

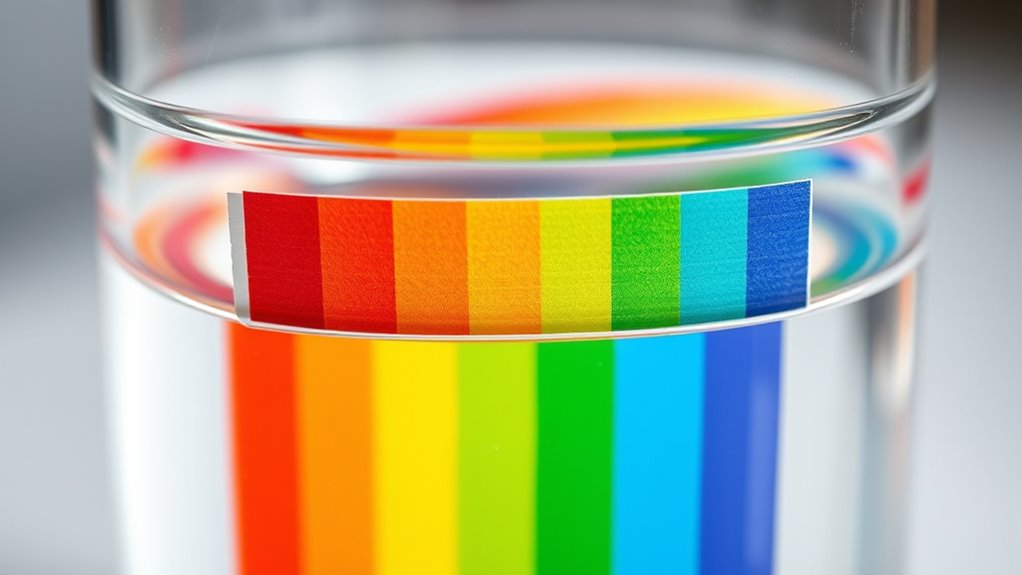
As the water rises through the chromatography paper, you’ll start to see colors separating into distinct bands. This process illustrates how dye migration causes different components to move at varying speeds. Watch closely as the initial single color begins to split into multiple hues, forming clear color bands. These bands reveal the unique properties of each dye in the mixture.
As the water rises, colors separate into distinct bands revealing the unique properties of each dye.
- Observe how each dye’s migration rate affects the position of its color band
- Note the sharpness or diffusion of the boundaries between bands
- Recognize that the pattern of color band formation indicates the composition of the original mixture
This visual progression allows you to see the separation process in action, providing insight into the different pigments involved.
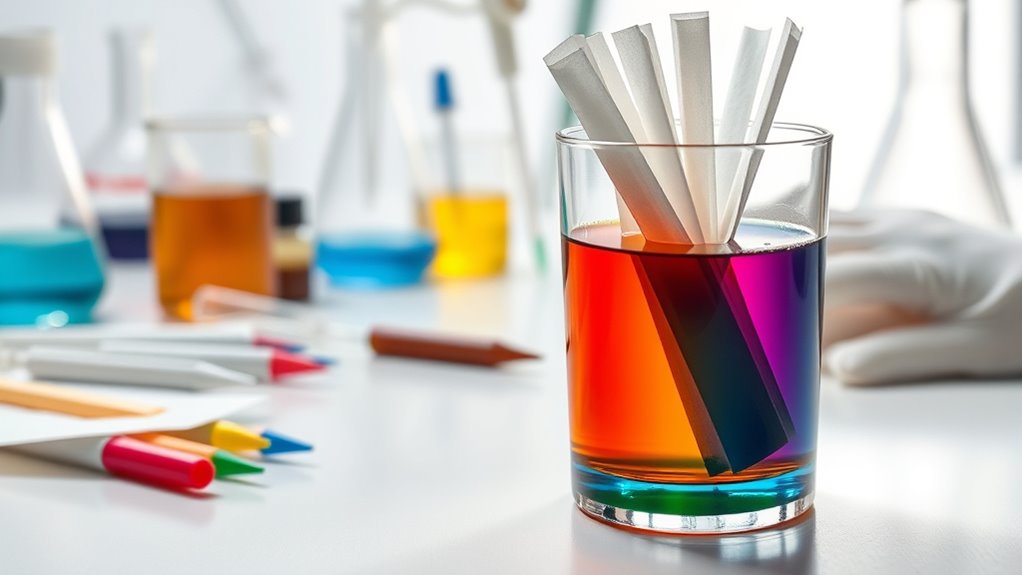
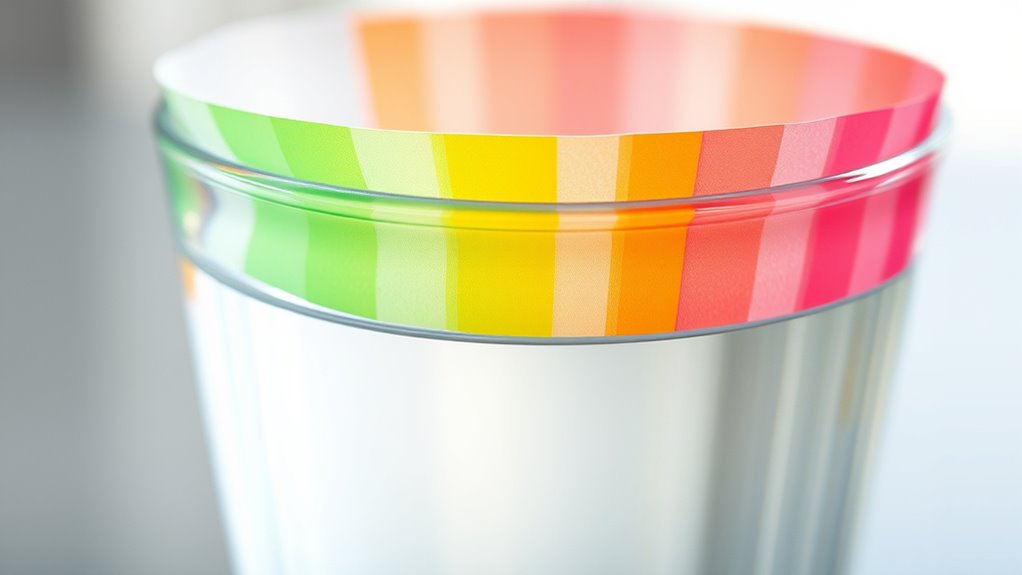
Analyzing the Results: Identifying the Different Color Components

Once the chromatogram has fully developed, you can analyze the separated color bands to identify the different components in the mixture. Look closely at each band’s position and color; these are clues for color identification. Typically, each dye in the mixture has a unique spot on the chromatography paper, reflecting its specific dye composition. Comparing the colors and positions to known standards helps determine which dyes are present. Take note of the distance each dye traveled relative to the solvent front, called the Rf value, which aids in distinguishing different components. By carefully examining these factors, you can accurately identify the individual dyes in your sample, revealing the dye composition that created the colorful separation.
Understanding the Science Behind Color Separation in Dyes
- The polarity of dye molecules
- The affinity for the solvent versus paper
- The molecular size and structure
This interplay results in a distinct separation of colors, revealing the unique composition of each dye.
Tips for Experimenting Further and Exploring Other Color Combinations

Building on your understanding of how dyes separate into distinct colors, you can expand your experiments by trying different types of dyes and solvents. Experiment with various food dyes or even natural dyes to see how they produce unique color patterns. By adjusting the solvent composition, you can explore different solvent polarities, which influences how colors blend or stay separate. This approach helps you understand color blending and the nuances of dye synthesis. You might also try combining dyes before applying them to paper, creating new color combinations and gradients. Record your results carefully to recognize patterns and understand how different dyes interact. These experiments will deepen your grasp of color separation, dye properties, and how to manipulate them for more complex, vibrant color displays.
Frequently Asked Questions
What Safety Precautions Should I Take During the Experiment?
During your experiment, you should prioritize safety by wearing proper safety gear, like gloves and safety goggles, to protect your skin and eyes from potential chemical splashes. Always handle chemicals carefully, following instructions precisely to avoid spills or accidents. Work in a well-ventilated area, and keep your workspace tidy. If any chemical gets on your skin or eyes, rinse immediately with water. Safety comes first to guarantee a successful and safe experiment.
Can I Use Homemade or Natural Dyes Instead of Food Dyes?
Imagine turning your experiment into a vibrant jungle of colors with homemade or natural dyes! Yes, you can definitely use natural dye extraction instead of food dyes. Just remember, homemade dye safety is essential—ensure you use safe ingredients and handle them carefully. Natural dyes can produce stunning results, but always test them first to make sure they don’t interfere with your chromatography process. Have fun exploring this colorful world safely!
How Can I Improve the Resolution of the Separated Colors?
To improve the resolution of separated colors, you should consider adjusting solvent polarity and paper porosity. Use a solvent with the right polarity to better separate dyes, and select paper with appropriate porosity to control how quickly the solvent moves. This helps achieve clearer separation of colors. You can also experiment with different solvent mixtures and paper types to optimize your results and get more distinct dye bands.
What Are Common Mistakes to Avoid During Chromatography?
Ever wondered what could go wrong during chromatography? You should avoid common mistakes like using impure dyes, which affect dye purity and skew results. Also, don’t pick the wrong solvent—select one that effectively separates the dyes. Be careful not to spot too much dye on the paper or let the solvent run too high. These errors can ruin your separation, but careful technique guarantees clearer, more accurate results.
How Does Temperature Affect the Separation Process?
You might wonder how temperature effects separation during chromatography. When temperature rises, solvent viscosity decreases, allowing the solvent to move faster through the paper. This can cause dyes to spread less distinctly, reducing separation quality. Conversely, cooler temperatures increase viscosity, slowing the process and potentially improving separation. Consequently, controlling temperature is essential to achieve the best results, as it directly influences solvent flow and dye resolution.
Conclusion
As you watch the colors bloom and separate like a rainbow in a glass, you realize this experiment is more than just science—it’s a reminder that even the simplest things hold hidden complexity. The paper becomes a canvas revealing the secrets within each dye, symbolizing discovery and curiosity. Keep exploring, and let each new color you uncover inspire you to see the world’s vibrant depths beyond what meets the eye.