
Understanding dynamic range helps you capture photos with vibrant detail and realistic depth. It’s the difference between the brightest highlights and darkest shadows your camera can record in a single shot. By using techniques like HDR, shooting in RAW, and choosing quality equipment, you can maximize this range. Proper exposure and post-processing can also enhance your images. Keep exploring these tips to make every photo truly stand out and pop with life.
Key Takeaways
- Higher dynamic range captures more detail in bright and dark areas, making photos more vibrant and realistic.
- Use HDR, bracketing, and RAW formats to maximize and preserve the full tonal range in your images.
- Proper exposure adjustments prevent blown-out highlights and lost shadow details, enhancing overall image quality.
- Choosing quality lenses and larger sensors improves light-gathering, contrast, and scene depth for better dynamic range.
- Post-processing techniques like curves and levels help recover details and balance contrast for more striking photos.

Atomos Shinobi II 5.2" HDMI Camera Monitor with HDR Touchscreen Display | Lightweight Monitor for Photography with Battery, Charger and Camera Hot Shoe Mount Advanced Bundle Set
Atomos Shinobi II 5.2" HDMI HDR Monitor: Experience unparalleled clarity with the Shinobi II camera monitor, perfect for…
As an affiliate, we earn on qualifying purchases.
As an affiliate, we earn on qualifying purchases.
What Is Dynamic Range in Photography?
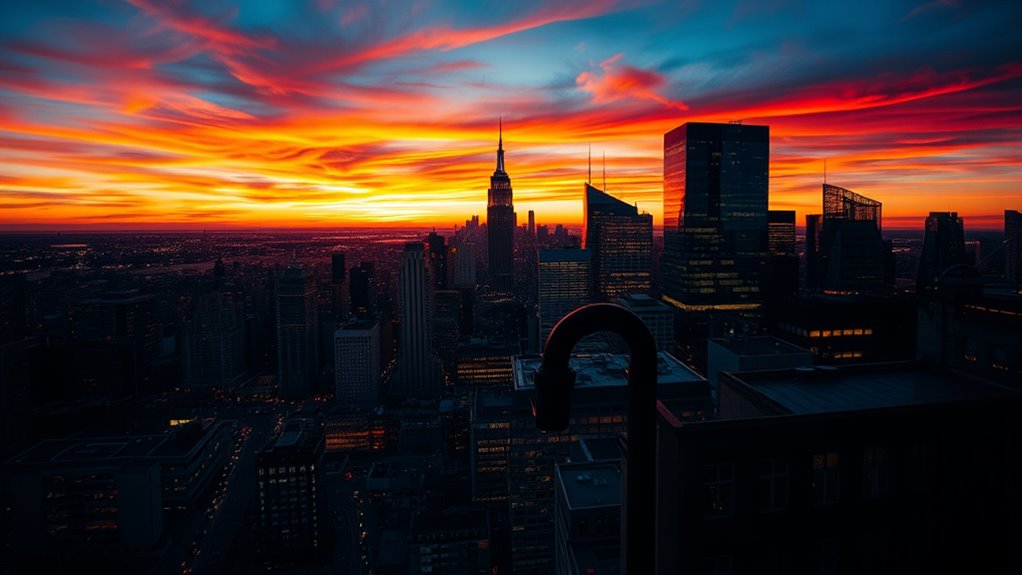
Have you ever taken a photo where the bright areas are washed out or the dark areas are too shadowy to see details? That’s often due to limited dynamic range in your camera sensor. Dynamic range refers to the difference between the lightest and darkest parts a camera can capture in a single shot. It’s how well your camera handles exposure control to preserve details across shadows and highlights. When exposure control isn’t balanced, bright areas may become overexposed, losing detail, while dark areas get underexposed, hiding information. A camera with a wide dynamic range can handle challenging lighting conditions, allowing you to capture scenes with both bright skies and dark shadows without sacrificing detail. Understanding this helps you make better choices when adjusting your camera settings. Regional resources can also influence how well you can capture or process images in various lighting environments.

Nikon COOLPIX P1100 Superzoom Digital Camera | 125x Optical Zoom with Image Stabilization 16 MP 4K Ultra HD Video Wi-Fi Connectivity RAW Format and Rotating LCD Screen (Black)
125x Optical Zoom. Ultra-telephoto reach equivalent to 24-3000mm with a 250X Dynamic Fine Zoom
As an affiliate, we earn on qualifying purchases.
As an affiliate, we earn on qualifying purchases.
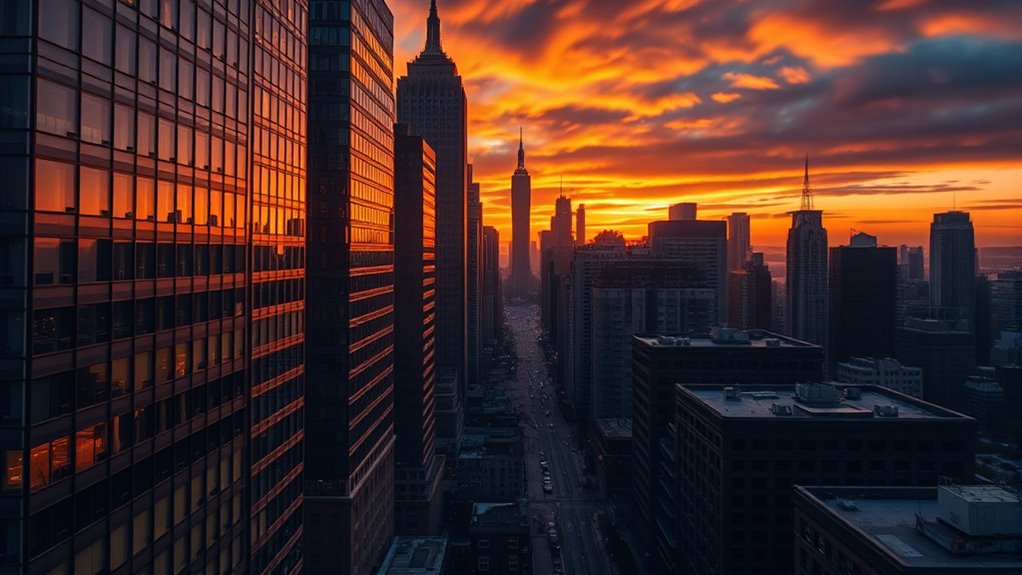
Why Dynamic Range Matters for Your Photos
Understanding why dynamic range matters for your photos is essential because it directly influences the quality and realism of your images. A higher dynamic range captures a broader spectrum of light and dark areas, enhancing color depth and contrast ratio. This results in photos that look more vibrant and true to life. When your camera can handle a wide dynamic range, you avoid washed-out highlights and lost shadow details. To maximize this, consider these factors:
- Increased color depth creates richer, more nuanced hues.
- Better contrast ratio ensures clear separation between light and dark areas.
- Enhanced detail in highlights and shadows adds depth.
- Overall realism improves, making your images more engaging.
- Proper calibration of your camera’s color accuracy ensures consistent and true-to-life colors.
Mastering dynamic range helps you produce photos that truly pop and resonate.

Practical HDR: A complete guide to creating High Dynamic Range images with your Digital SLR
As an affiliate, we earn on qualifying purchases.
As an affiliate, we earn on qualifying purchases.
How Cameras Capture Light and Dark Areas
Your camera captures light and dark areas through its sensor’s ability to record a range of brightness levels. This process is constrained by the sensor’s recording capacity, which can cause loss of detail in extreme shadows or highlights. Using proper exposure techniques helps balance these areas and ensures your photos retain the full dynamic range. Incorporating advanced filtration technology can also enhance image quality by reducing unwanted particles and improving clarity in your shots.
Light and Dark Balance
How do cameras guarantee that both bright highlights and dark shadows are captured accurately in a single shot? They balance lighting contrast and shadow detail through various techniques. First, adjusting exposure settings helps prevent blown-out highlights or lost shadow details. Second, using bracketing captures multiple images at different exposures for later merging. Third, HDR (High Dynamic Range) combines these exposures to preserve detail in both extremes. Fourth, in-camera processing enhances contrast to maintain clarity across bright and dark areas. Additionally, understanding the power consumption of your camera and related equipment can help optimize battery life during shooting sessions. These methods ensure you capture the full tonal range, making your photos vibrant and well-balanced. By understanding how your camera manages light and dark areas, you can better control lighting contrast and shadow detail for stunning, dynamic photos.
Sensor’s Recording Limits
Cameras can only record a limited range of brightness levels in a single shot, defined by their sensor’s capabilities. These sensor limitations set the recording boundaries, determining how much detail you can capture in both shadows and highlights. If a scene exceeds the sensor’s limits, bright areas may be blown out, losing detail, while dark areas can turn into pure black, hiding textures. Understanding these boundaries helps you recognize why certain scenes look flat or overly harsh. Your sensor’s quality and dynamic range directly impact how well it handles contrasts. To maximize detail within these constraints, you need to be aware of the sensor’s recording limits and adjust your shooting approach accordingly. Recognizing the sensor’s dynamic range can help you plan better shots to retain more tonal information and achieve a balanced exposure. This knowledge ensures your photos retain more information across the entire tonal spectrum.
Exposure Techniques Explained
Ever wonder how cameras manage to record both bright highlights and dark shadows in the same scene? It’s all about exposure techniques. To balance the light, you can:
- Use HDR imaging—combining multiple exposures for a full range of tones.
- Adjust aperture and shutter speed—controlling how much light hits the sensor.
- Apply gradual ND filters—reducing light pollution in bright areas.
- Practice proper color grading—enhancing details in shadows and highlights during post-processing.
These methods help prevent blown-out highlights or lost shadow details, making images vibrant and true to life. Understanding exposure is key to capturing scenes with high contrast, especially in environments with challenging lighting conditions.

Alarm.com ADC-V723 1080p Outdoor Wi-Fi Camera with HDR 1920×1080 Live Resolution, High Dynamic Range (HDR)
As an affiliate, we earn on qualifying purchases.
As an affiliate, we earn on qualifying purchases.
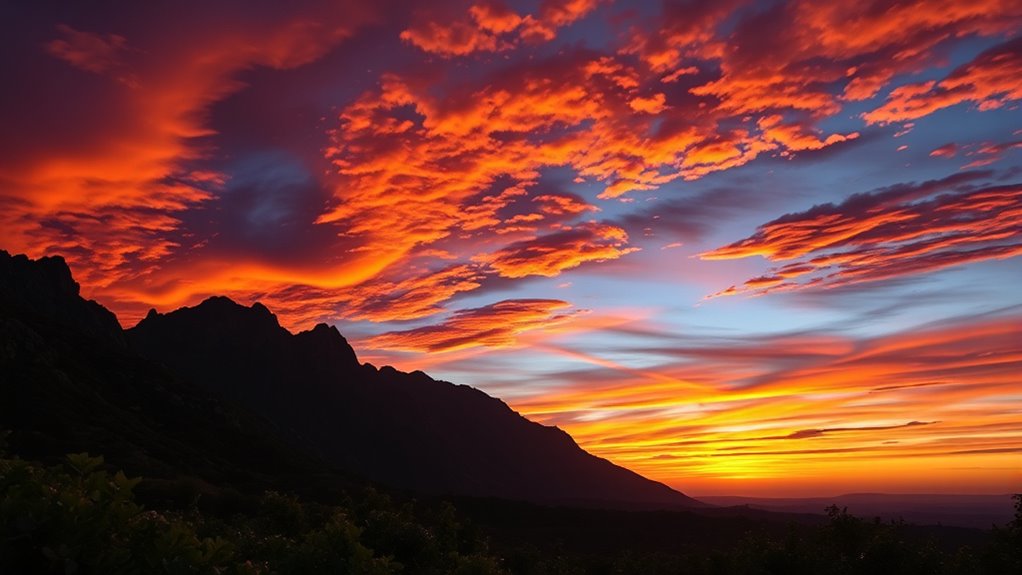
The Difference Between HDR and Standard Photos
High dynamic range (HDR) photography captures a wider spectrum of light and color than standard photos, resulting in images that better represent what your eyes see. Unlike standard photos, which often lose detail in bright or dark areas, HDR combines multiple exposures to balance shadows and highlights. This technique allows for richer color grading, making your photos more vibrant and true to life. Lens selection plays a pivotal role—using a wide-angle lens can enhance scene depth, while a telephoto helps focus on details. The key difference is that HDR emphasizes dynamic range, producing images with more tonal variation, whereas standard photos may appear flat or overexposed. Understanding this distinction helps you decide when to use HDR for more expressive, eye-catching shots. Additionally, automation technologies in cameras and editing software can assist in creating seamless HDR images, streamlining the process for both amateurs and professionals.
Tips to Maximize Your Camera’s Dynamic Range

To get the most out of your camera’s dynamic range, start by using proper exposure settings to balance the highlights and shadows. Shooting in RAW format allows for greater flexibility in post-processing, revealing more detail in your images. Additionally, employing HDR techniques can help you capture scenes with extreme contrast, ensuring nothing gets lost.
Use Proper Exposure Settings
Using proper exposure settings is essential for maximizing your camera’s dynamic range. To do this effectively, start with selecting the right metering mode—spot, evaluative, or center-weighted—to accurately measure exposure based on your scene. Adjust your aperture settings to control depth of field and ensure proper exposure across highlights and shadows. Here are key tips:
- Choose the appropriate metering mode for your scene.
- Use a smaller aperture (higher f-number) for greater depth and detail.
- Avoid overexposing highlights by checking the exposure histogram.
- Keep exposure consistent to prevent clipped shadows or highlights.
- Incorporate natural materials like wood and linen to create a warm, authentic feel that enhances the overall image quality.
Shoot in RAW Format
Have you considered shooting in RAW format to unseal your camera’s full dynamic range? RAW benefits include capturing more detail in highlights and shadows, giving you greater file flexibility during editing. Unlike JPEGs, RAW files preserve all image data, making it easier to recover details and adjust exposure without quality loss. To visualize this, consider the following comparison:
| Aspect | JPEG | RAW | Benefit |
|---|---|---|---|
| Image Data | Compressed, limited detail | Uncompressed, full detail | Better editing flexibility |
| Exposure Range | Less forgiving | Maximize dynamic range | Recover shadows/highlights |
| File Size | Smaller | Larger | More detail retained |
| Editing Ease | Limited | Extensive adjustments possible | Make every photo pop |
Choosing RAW unseals your camera’s full potential, ensuring every shot captures the scene’s true dynamic range. Additionally, understanding the importance of sound design can help you create more immersive visual content by pairing high-quality audio with your images.
Utilize HDR Techniques
Ever wondered how to capture a scene’s full range of brightness without losing detail? HDR techniques can help you do just that. By combining multiple exposures, you enhance color contrast and tonal gradation, revealing details in shadows and highlights. To maximize your camera’s dynamic range with HDR:
- Use bracketing mode to shoot multiple exposures.
- Select the ideal shutter speed for each shot.
- Merge images in editing software, ensuring smooth tonal transitions.
- Adjust contrast and saturation to emphasize color contrast without overdoing it.
- Be aware of passive voice use in your descriptions to improve clarity and engagement.
These steps help you preserve subtle tonal gradation and vibrant colors, making every part of your photo pop. HDR allows you to capture the scene’s true depth, revealing details often hidden in high-contrast settings.
Editing Techniques to Enhance Dynamic Range
To effectively enhance dynamic range in your images, you need to apply specific editing techniques that balance the exposure across shadows and highlights. Start with tonal adjustments to recover details in dark areas and tone down bright regions, ensuring a natural look. Use tools like curves or levels to fine-tune contrast and preserve detail. Color grading can also play a crucial role by subtly shifting hues to emphasize depth and dimension, making the image more vibrant without oversaturating. These adjustments help create a seamless progression between light and dark areas, making your photo pop. Remember, the goal is to enhance the image’s natural contrast without sacrificing detail or introducing noise. With precise tonal adjustment and thoughtful color grading, your photos will exhibit a richer, more dynamic range.
Common Mistakes That Reduce Dynamic Range
One common mistake that reduces dynamic range is overexposing highlights, which causes bright areas to lose detail and appear washed out. Overexposure pitfalls often result from not adjusting settings for the scene’s brightness, leading to clipped highlights. Conversely, underexposure errors hide shadow details, making parts of your photo too dark. To avoid these issues, watch out for:
- Ignoring the histogram and over-relying on the LCD screen
- Using the wrong exposure mode for challenging lighting
- Not bracketing exposures in high-contrast scenes
- Failing to review images for clipped highlights or shadows
- Neglecting to adjust camera settings based on lighting conditions to maintain balanced exposure.
Choosing the Right Equipment for Better Dynamic Range
Choosing the right equipment is vital for capturing images with ideal dynamic range. Your lens selection plays an essential role, as lenses with good contrast and minimal flare help retain detail in highlights and shadows. Opt for a lens with a wide aperture to gather more light, improving your chances of capturing a broader dynamic range. Sensor size also matters—larger sensors, like full-frame, naturally handle high contrast scenes better by capturing more light and reducing noise. Smaller sensors may struggle with dynamic range, leading to blown-out highlights or lost shadow detail. Investing in a camera with a larger sensor and quality lenses ensures you can accurately capture scenes with high contrast, giving your photos more depth, detail, and a professional look.
Frequently Asked Questions
How Does Lighting Affect a Photo’s Dynamic Range?
Lighting greatly influences a photo’s dynamic range by affecting the contrast between bright and dark areas. When lighting is well-balanced, HDR techniques can be used to capture details across shadows and highlights, making your images more vibrant. Poor lighting, however, limits this range, causing loss of detail. To make every photo pop, you should aim for ideal lighting balance and utilize HDR techniques to maximize dynamic range effectively.
Can Smartphone Cameras Achieve Good Dynamic Range?
Ever wonder if your smartphone can capture the full drama of a scene? Thanks to advancements in sensor technology and HDR photography, modern smartphones can achieve impressive dynamic range. They cleverly blend multiple exposures, balancing shadows and highlights. While they might not match professional cameras, today’s smartphones are more capable than ever, making every photo pop with vibrant detail and rich contrast. So, yes, your phone can deliver stunning, dynamic images.
What Role Does ISO Play in Dynamic Range?
ISO effects play a significant role in your camera’s dynamic range. When you increase ISO, your sensor becomes more sensitive to light, but this often reduces the exposure control and can introduce noise, limiting the range of details captured in shadows and highlights. To maximize dynamic range, keep ISO low, especially in well-lit conditions, so your camera can better balance exposure and capture a full spectrum of details.
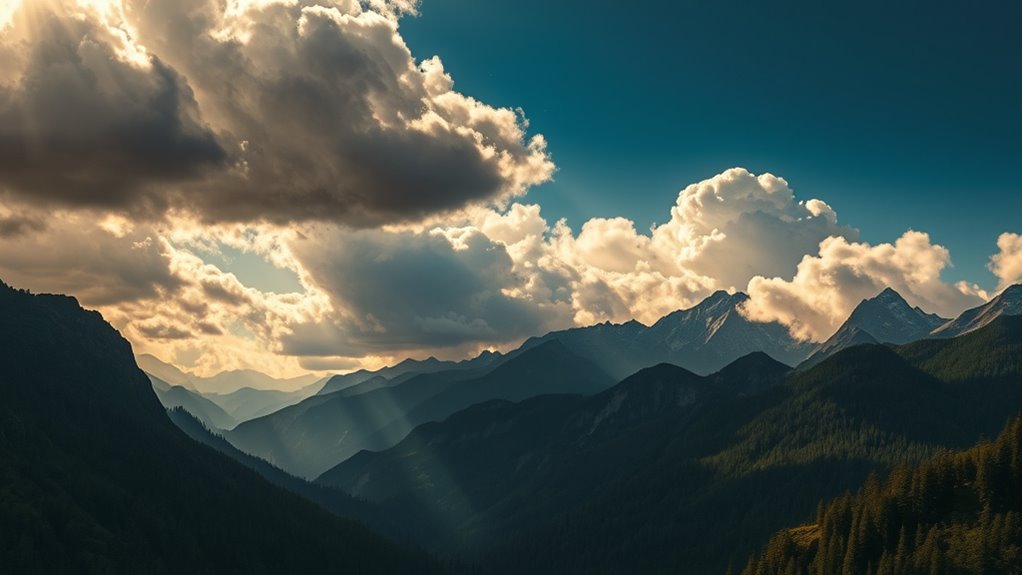
How Does Weather Impact Dynamic Range in Outdoor Photography?
Weather conditions and atmospheric haze considerably impact your outdoor photos’ dynamic range. Bright, sunny days can create high contrast, making it harder to capture details in both shadows and highlights. Overcast skies soften shadows and reduce contrast, increasing dynamic range. Atmospheric haze can wash out details and reduce color richness. By adjusting your exposure settings and using filters, you can mitigate these effects and guarantee your photos retain detail across the entire tonal range.
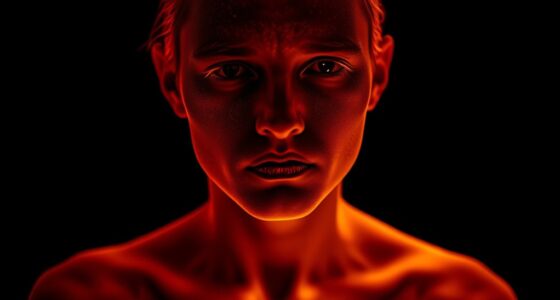
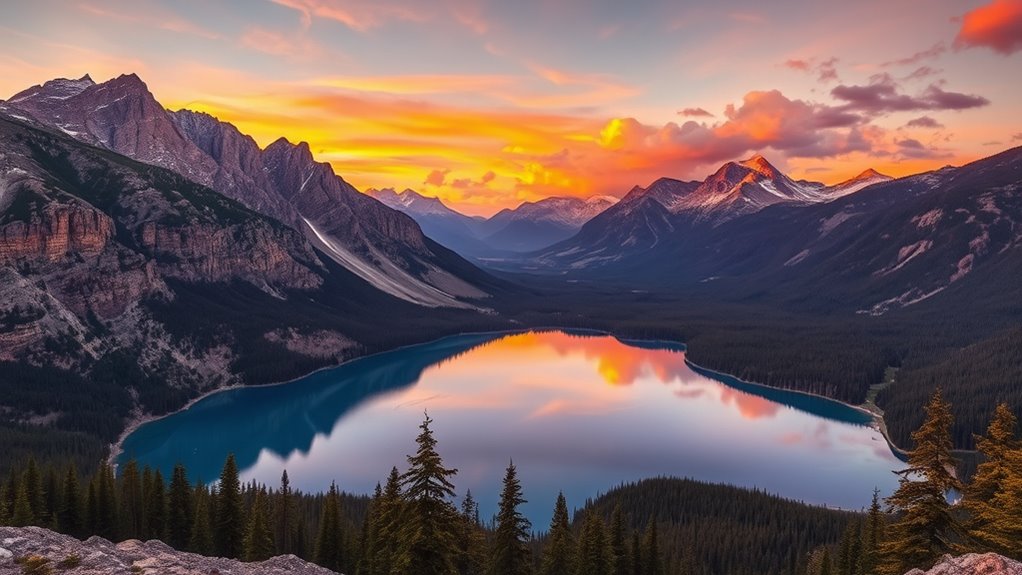
Are There Specific Genres That Benefit Most From High Dynamic Range?
Did you know that landscape and portrait photography benefit most from high dynamic range? You’ll notice a dramatic difference in landscape enhancement, capturing vibrant skies and detailed shadows. For portraits, high dynamic range adds depth, revealing subtle skin tones and background separation. If you want your photos to truly stand out, especially in challenging lighting, embracing high dynamic range makes every shot more vivid, detailed, and mesmerizing.
Conclusion
So, now that you’re a dynamic range expert, go ahead—crank up that contrast, ignore proper exposure, and pretend your photos are masterpieces. After all, who needs balanced tones when you can have that dramatic flair? Just remember, in the world of photography, it’s all about making every pixel pop—whether it’s intentional or not. Happy shooting, and may your photos forever stay just a little too bright or dark!