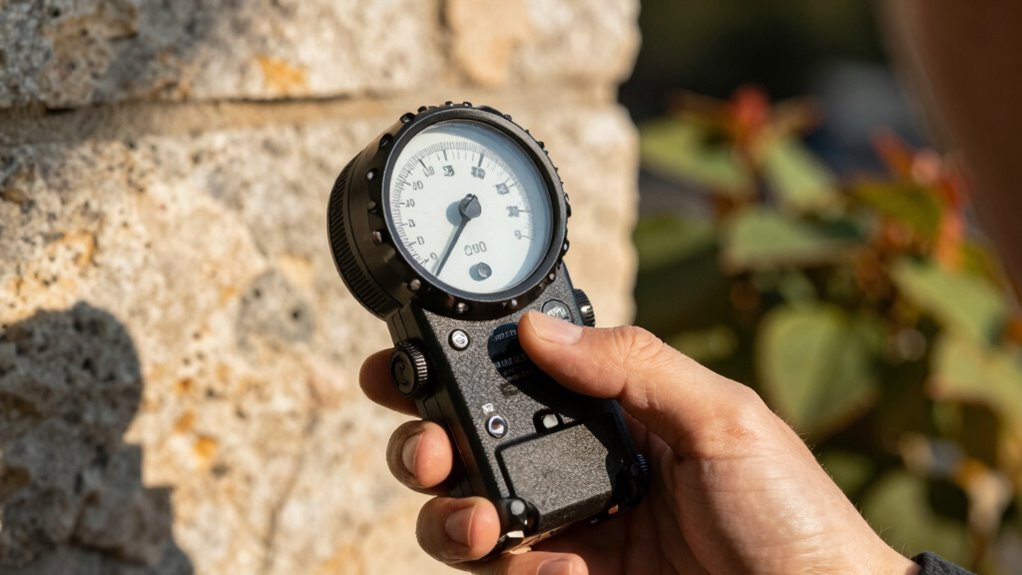
A handheld light meter is essential when your camera’s built-in meter struggles, like in mixed or tricky lighting conditions. It offers precise exposure control, especially in complex scenes such as sunsets, night shoots, or urban environments. By measuring light directly, you can avoid common mistakes and get consistent results. If you want to improve your photography accuracy and understand how to handle challenging lighting, keep reading to discover more useful tips.
Key Takeaways
- Handheld light meters provide more accurate readings in complex or mixed lighting situations where camera meters may struggle.
- They allow precise control over exposure, especially in challenging scenes like night photography or high-contrast environments.
- Handheld meters are essential when camera meters are affected by scene reflections, color temperature variations, or uneven lighting.
- Regular calibration and proper technique ensure reliable measurements beyond the limitations of camera-based metering.
- Using a handheld meter enhances creative control, reduces guesswork, and improves overall image quality in difficult lighting conditions.
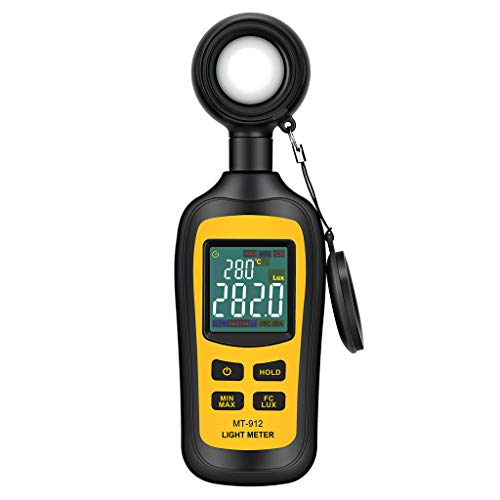
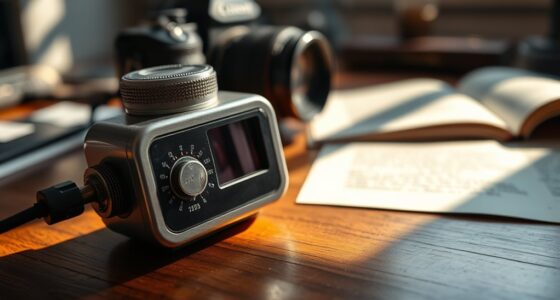
Light Meter Digital Illuminance Meter Handheld Ambient Temperature Measurer, Range up to 200,000 Lux, Luxmeter with 4 Digit Color LCD Screen
Measures luminosity from 0 to 200,000 Lux and ambient temperature
As an affiliate, we earn on qualifying purchases.
As an affiliate, we earn on qualifying purchases.
Why Camera Meters Sometimes Fail to Capture the Perfect Shot
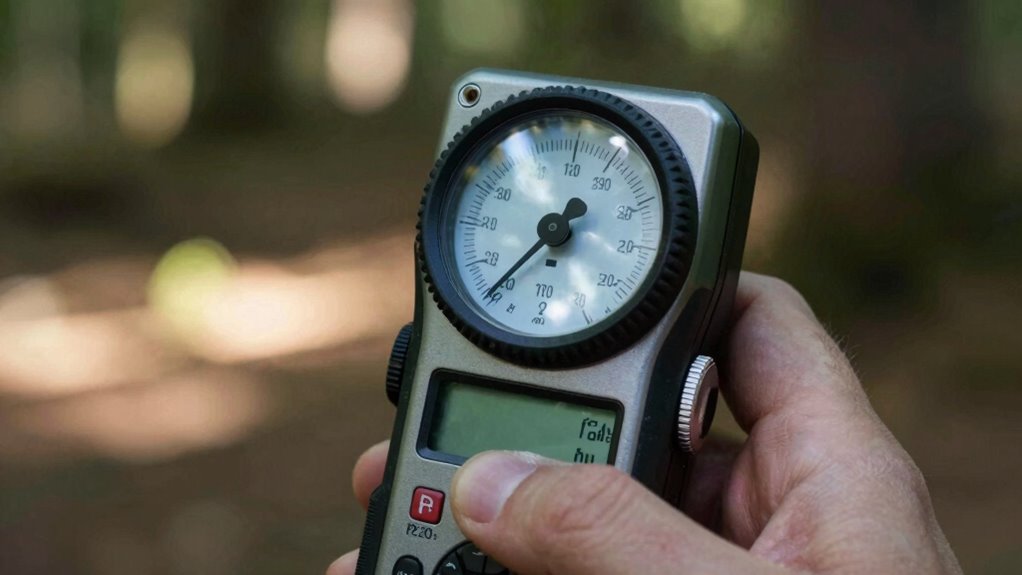
Camera meters are generally reliable, but they can sometimes fall short in capturing the perfect shot because they rely on algorithms that assume a standard lighting scene. Variations in lighting conditions, like mixed light sources, can lead to inaccurate readings. Additionally, issues like improper color calibration can skew your exposure, making images appear washed out or overly dark. Lens compatibility also plays a role—some lenses may cause metering inaccuracies due to their design or coatings, affecting how light is measured. When these factors combine, your camera might struggle to deliver the ideal exposure. In such cases, relying solely on the built-in meter isn’t enough. Using a handheld light meter can help you bypass these limitations and achieve more consistent, accurate results. Creating seating areas for social gatherings can also enhance your understanding of these technical nuances. Moreover, knowledge of yarn yardage can inform how you approach lighting for photography sessions involving textile products. Understanding media literacy can further empower photographers to critically evaluate their tools and techniques.
Light Meter Digital Illuminance Meter Handheld Ambient Temperature Measurer, Range up to 200,000 Lux, Luxmeter with 4 Digit Color LCD Screen
Measures luminosity from 0 to 200,000 Lux and ambient temperature
As an affiliate, we earn on qualifying purchases.
As an affiliate, we earn on qualifying purchases.
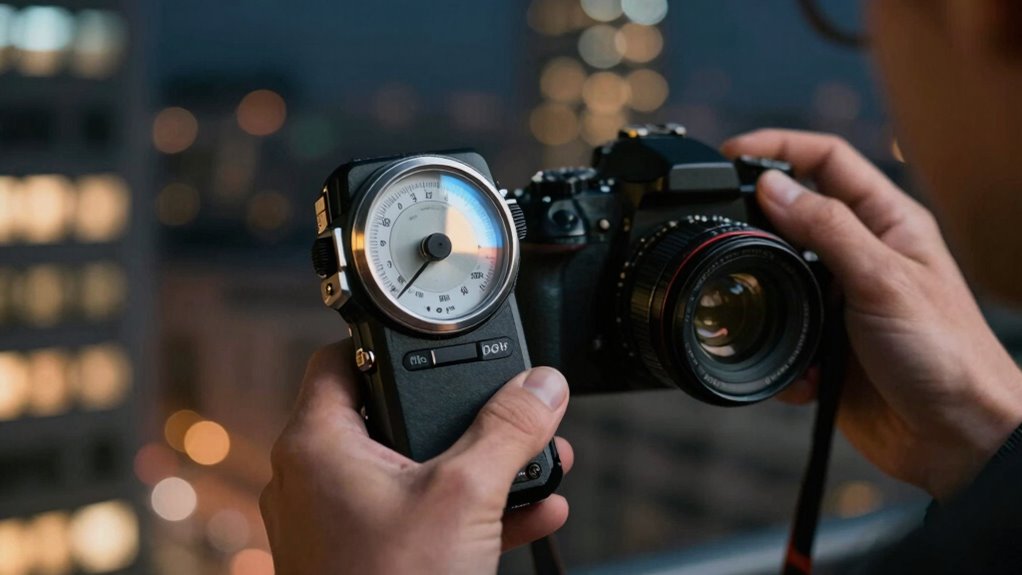
How Do Camera Light Meters Work? (Made Simple)

Understanding how camera light meters work can help you make better exposure decisions, especially when the built-in meter isn’t giving the results you want. Your camera’s meter measures the scene’s light, often using reflected light, which can be affected by color temperature and light diffusion. Color temperature influences how the meter interprets light, making scenes appear warmer or cooler, affecting exposure. Light diffusion, on the other hand, softens shadows and spreads light evenly, helping the meter get a more accurate reading. The meter calculates the correct exposure by balancing aperture, shutter speed, and ISO, aiming for a middle gray or 18% reflectance. Knowing these factors helps you understand why your camera might struggle in tricky lighting and when a handheld light meter can provide more precise control.
Light Meter Digital Illuminance Meter Handheld Ambient Temperature Measurer, Range up to 200,000 Lux, Luxmeter with 4 Digit Color LCD Screen
Measures luminosity from 0 to 200,000 Lux and ambient temperature
As an affiliate, we earn on qualifying purchases.
As an affiliate, we earn on qualifying purchases.
Choosing the Best Handheld Light Meter for Your Photography

Choosing the right handheld light meter depends on your specific photography needs and budget. You want a meter that helps you achieve accurate color balance and smooth flash synchronization. Consider these factors:
- Type of Light Meter: Incident or reflective metering, depending on whether you prefer measuring light falling on your subject or bouncing off it.
- Features: Look for options with precise color temperature readings to control color balance, especially in mixed lighting. Additionally, a meter with advanced technology can facilitate better results in challenging environments.
- Compatibility: *Guarantee* the meter supports your camera’s flash system for reliable flash synchronization.
A good light meter simplifies capturing consistent exposures, especially in complex lighting conditions. It’s worth investing in one that matches your style and workflow, giving you confidence in achieving perfect exposure and color fidelity every time. Mastering Firewood can also enhance your understanding of lighting in outdoor environments, making your photography even more versatile.
Light Meter Digital Illuminance Meter Handheld Ambient Temperature Measurer, Range up to 200,000 Lux, Luxmeter with 4 Digit Color LCD Screen
Measures luminosity from 0 to 200,000 Lux and ambient temperature
As an affiliate, we earn on qualifying purchases.
As an affiliate, we earn on qualifying purchases.
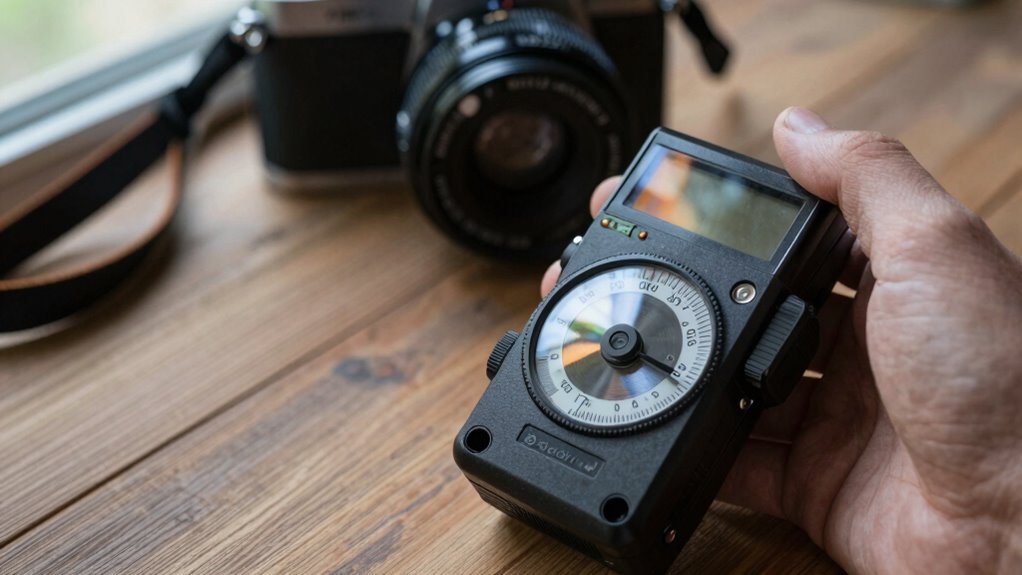
How to Use a Handheld Light Meter for Accurate Exposure
To get accurate exposure, you need to set the correct exposure levels based on your scene’s lighting. Make sure your light meter is properly calibrated to avoid errors that could affect your images. Once set, simply follow the meter’s readings to adjust your camera settings for the best results. Additionally, understanding luxury lifestyle products can enhance your photography experience, providing tools that complement your creative process. Incorporating balance exercises into your routine can also improve your overall steadiness while shooting. Using a wood pellet stove can create a warm and inviting atmosphere for your photography space, enhancing your overall creative environment. Regular maintenance of your equipment, similar to how proper disposal habits can extend a toilet’s lifespan, ensures optimal performance and longevity of your tools. Using a well-draining soil mix for any plants in your workspace can also improve air quality, fostering a better creative atmosphere.
Setting Correct Exposure Levels
Ever wonder how to set your camera’s exposure accurately using a handheld light meter? First, verify your meter is set to match your camera’s mode (aperture or shutter priority). Take a light reading of your scene, and adjust your camera settings accordingly. Keep in mind, proper exposure isn’t just about brightness—it’s about color accuracy, so avoid overexposing or underexposing to preserve true hues. Also, consider lens compatibility; different lenses may require slight adjustments because of their light transmission qualities. To get it right:
- Use the meter’s incident or reflected light mode based on your scene. Additionally, aromatherapy benefits can enhance your overall photography experience by creating a calming atmosphere conducive to creativity. Understanding how to reduce digital distractions can further help you focus on achieving the best shots.
- Double-check your settings for consistency before shooting.
- Adjust exposure to maintain color accuracy, especially in tricky lighting situations. Additionally, understanding how to protect hearing can enhance your overall experience in settings where sound is as crucial as visual quality.
Calibrating Your Light Meter
Before relying on your handheld light meter, it’s crucial to calibrate it to guarantee accurate readings. Start by testing it in a controlled environment with a consistent light source, considering the color temperature. Adjust the meter if it doesn’t match a known standard, making sure it accounts for variations in light diffusion. Light diffusion affects how light spreads, so verify your meter is calibrated for the specific conditions you’ll shoot in. If shooting outdoors, check how the meter responds to different weather conditions and adjust accordingly. Proper calibration helps prevent misjudged exposures caused by color temperature shifts or uneven light diffusion. Regularly recalibrate your meter to maintain accuracy, particularly when changing environments or equipment. This guarantees your handheld light meter consistently provides reliable, precise readings for your photography.
Real-Life Scenarios Where a Handheld Light Meter Makes a Difference
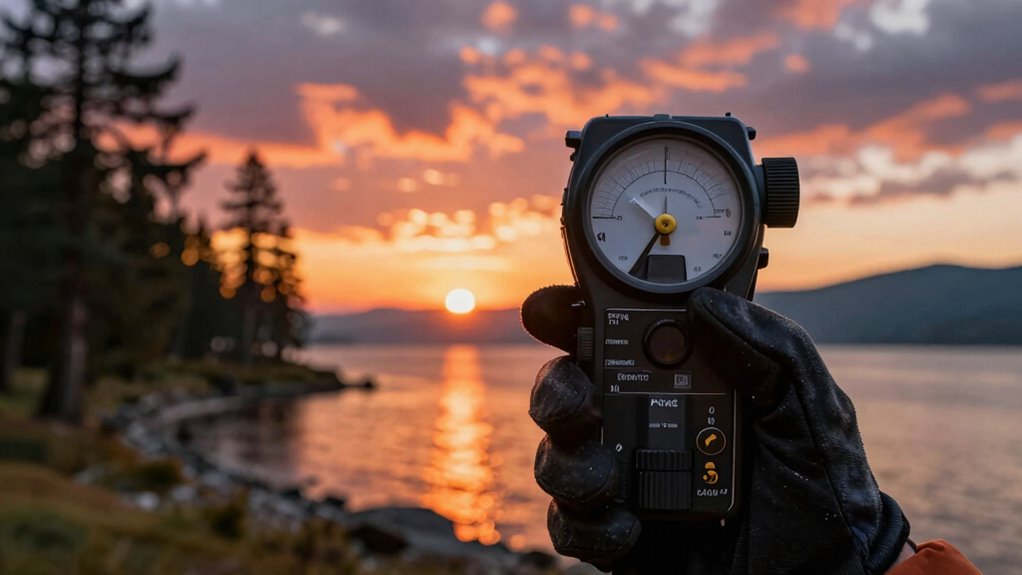
In many real-world photography scenarios, relying solely on your camera’s built-in metering can lead to inaccurate exposures, especially in challenging lighting conditions. A handheld light meter provides precise readings, ensuring your images are correctly exposed. This is essential in historical applications where authenticity matters or when using specific artistic techniques to achieve a desired mood. For example, when shooting high-contrast scenes or complex lighting setups, a handheld meter helps you measure incident or reflected light accurately. It’s especially valuable in situations like studio portraiture, landscape photography at sunrise or sunset, or nighttime cityscapes. By using a handheld light meter, you gain control over exposure, allowing your artistic vision to shine through without guesswork. This tool becomes indispensable when precision makes or breaks your shot, as it offers advantages similar to those found in Gold IRAs for retirement planning that enhance investment strategies. Additionally, understanding the importance of light quality can significantly improve the overall aesthetic of your photographs.
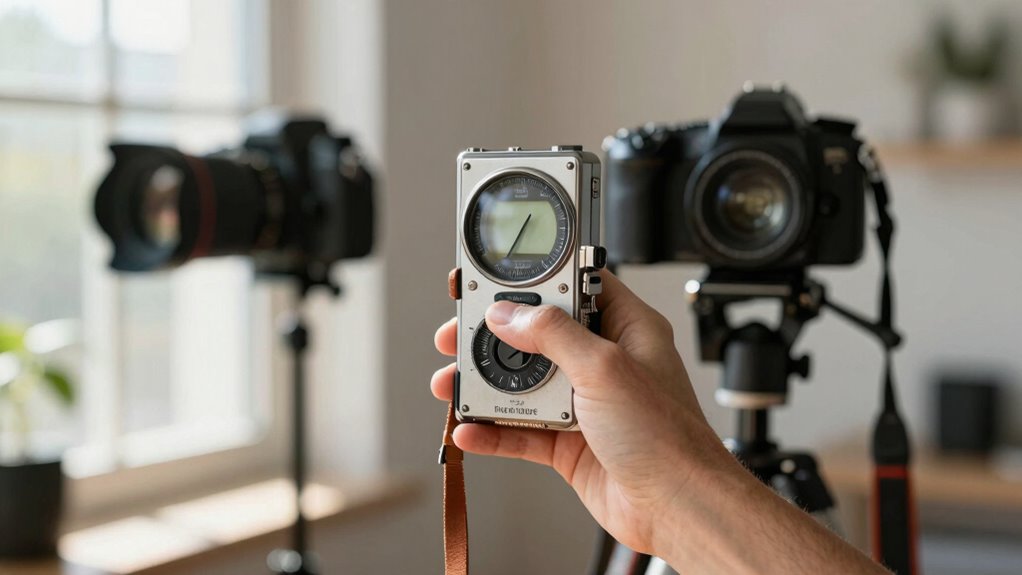
Incorporating a Handheld Light Meter Into Your Shooting Routine
Integrating a handheld light meter into your shooting routine can considerably enhance your control over exposure, especially in complex lighting situations. In historical photography, where accurate lighting was vital, photographers relied heavily on light meters to capture the scene as intended. Today, light pollution from urban environments can distort camera meters, making handheld meters invaluable for precise readings. Incorporate the meter by taking spot measurements of key elements or the overall scene, rather than relying solely on your camera’s meter. This practice guarantees consistent exposures, even in tricky conditions with uneven or artificial lighting. Regular use of a handheld light meter builds confidence and helps you develop a deeper understanding of light behavior, making your photography more intentional and technically accurate.
Common Mistakes When Using a Handheld Light Meter: and How to Avoid Them

One common mistake is incorrect meter positioning, which can lead to inaccurate readings. Ignoring light variations or changing conditions can also throw off your results if you’re not paying attention. Additionally, overlooking proper meter calibration risks consistent errors, so always check your device regularly. Remember that different environments, such as vibrant nightlife in cities like Las Vegas, can significantly affect your light readings. Using a performance part that enhances your camera’s capabilities can also improve your overall shooting experience. In areas with diverse lighting, such as electric bike settings, understanding how to adapt your measurements is crucial for achieving accurate results. Always be mindful of proper diet for your equipment, as maintaining it can ensure reliable performance in varied conditions. Furthermore, understanding how to set an appropriate budget for your photography gear can help you invest wisely in high-quality tools.
Incorrect Meter Positioning
Incorrect meter positioning is a common mistake that can lead to inaccurate light readings. If your meter isn’t properly aligned with the scene, you risk skewed measurements due to incorrect meter positioning or light source interference. Always hold the meter at the subject’s subject height and angle it toward the light source, avoiding reflections or obstructions. Keep the meter steady and avoid pointing it directly at bright light sources, which can cause inaccurate readings. Be aware that light source interference may distort the measurement if the meter faces a strong light or reflective surface. Incorporating proper safety tips can enhance your overall experience when using a handheld light meter. Additionally, just as aquatic exercises promote physical recovery through correct techniques, proper meter positioning ensures you get accurate light readings for your photography. Understanding individual evidence can help you grasp how precise measurements impact your photography results.
- Hold the meter at the subject’s eye level for consistent readings.
- Avoid pointing the meter directly at bright or reflective surfaces.
- Keep the meter steady and free from obstructions.
Ignoring Light Variations
Ignoring light variations across a scene can lead to significant inaccuracies in your measurements, even if your meter is properly positioned. Light pollution from nearby artificial lights can skew readings, making an area seem brighter than it truly is. Similarly, seasonal brightness changes affect natural light levels, which your meter might not account for if you don’t measure different parts of the scene separately. For example, shaded areas or spots affected by reflections can differ greatly from sunlit sections. Relying on a single measurement without considering these variations causes inconsistent exposures and poor image quality. To avoid this, take multiple readings across the scene, especially in areas impacted by light pollution or seasonal changes. This approach guarantees more accurate exposure settings tailored to the scene’s actual lighting conditions.
Overlooking Meter Calibration
Even if you understand how to operate your handheld light meter, neglecting proper calibration can lead to inaccurate readings. Over time, factors like sensor drift can cause your device to become unreliable, giving you incorrect exposure settings. Additionally, a declining battery life can affect the meter’s accuracy, so it’s essential to check and replace batteries regularly. Failing to calibrate your meter or ignoring signs of drift may result in underexposed or overexposed images. To avoid this, keep these points in mind:
- Regularly calibrate your meter against a known light source
- Monitor sensor drift and recalibrate as needed
- Replace batteries proactively to maintain measurement accuracy
Is Investing in a Handheld Light Meter Worth It?
Wondering whether investing in a handheld light meter is worth it? If you care about lighting aesthetics and achieving consistent results, a handheld meter can be a game-changer. It offers precise readings, especially in tricky lighting conditions where your camera’s meter might falter. Plus, a quality handheld light meter is built with equipment durability in mind, so it withstands long shoots and rough handling. While it’s an upfront investment, it can save you time and frustration by helping you set accurate exposure settings quickly. If you work professionally or pursue fine-tuned creative control, the benefits outweigh the cost. Ultimately, a handheld light meter enhances your confidence in lighting decisions, making it a valuable tool for serious photographers and videographers.
Troubleshooting Tips for Accurate Readings With Your Meter
To guarantee your handheld light meter provides accurate readings, it’s essential to understand common issues and how to troubleshoot them effectively. Proper meter maintenance is key; regularly clean the sensor and check batteries to prevent errors. Be aware of light pollution, which can distort readings, especially in urban environments. If your readings seem off, recalibrate your meter or compare with a known light source. Avoid holding the meter in direct sunlight or near reflective surfaces, as these can cause false readings. Also, make certain the meter is correctly leveled and positioned.
Regularly clean, recalibrate, and shield your meter from reflective surfaces for accurate readings.
- Clean sensor and replace batteries routinely
- Minimize exposure to light pollution and reflective surfaces
- Recalibrate periodically for consistent accuracy
Frequently Asked Questions
Can a Handheld Light Meter Replace My Camera’s Built-In Meter Entirely?
Yes, a handheld light meter can replace your camera’s built-in meter entirely, especially if you want more precise light measurement. It allows you to use various metering techniques like incident or reflective metering, giving you better control over exposure. With a handheld meter, you’ll get accurate readings in tricky lighting situations, ensuring consistent results. It’s an invaluable tool for professional photographers seeking reliable light measurement beyond what your camera’s built-in meter offers.
What Features Should I Look for in a Professional Handheld Light Meter?
When choosing a professional handheld light meter, look for high light meter precision to guarantee accurate readings across various situations. You’ll also want good battery life considerations, so it doesn’t die mid-shoot. Features like multiple measurement modes, easy calibration, and a clear display make your work smoother. While advanced options can be tempting, prioritize reliability and accuracy to truly enhance your photography, just like a trusted companion in the field.
How Do I Calibrate My Handheld Light Meter for Consistent Accuracy?
To calibrate your handheld light meter for consistent accuracy, start by checking the sensor calibration against a known light source, like a reflective or incident light standard. Regularly maintain your battery, replacing it as needed to guarantee accurate readings. Perform calibration checks periodically, especially after battery replacements or if you notice inconsistent results. This keeps your meter reliable and precise, ensuring your exposure settings are spot-on every time.
Are Handheld Light Meters Suitable for All Types of Photography?
Like a trusty compass in a sailor’s hand, handheld light meters suit many photography styles, including film photography and studio lighting. They excel in precise control for studio setups or challenging lighting conditions. However, they might be less practical for fast-paced street photography or spontaneous moments. So, while versatile, consider your shooting environment to determine if a handheld light meter fits your needs.
How Much Does a Quality Handheld Light Meter Typically Cost?
A quality handheld light meter usually costs between $200 and $600, depending on features and brand. While budget light meters may start around $50, they often compromise on light meter accuracy and durability. Investing in a mid-range or high-end model guarantees precise readings and reliable performance, especially for professional work. Consider your needs carefully, balancing the cost with the importance of accurate exposure measurements for your photography.
Conclusion
While some might think a handheld light meter is unnecessary with modern cameras, it truly elevates your control and accuracy in tricky lighting situations. If you’re worried about complexity, don’t be—using a meter is straightforward once you get the hang of it. Investing in one can help you achieve perfectly exposed shots every time, even when your camera’s meter isn’t enough. Give it a try, and see your photography improve dramatically.