
To dial in the perfect artwork hanging height without guesswork, start by finding your eye level as a baseline. Measure carefully using a tape measure and level, marking spots with painter’s tape for accuracy. Adjust the height based on your room’s size, ceiling height, and nearby furniture. Keep in mind framing styles and balance to create harmony. Stick to these tips, and you’ll master the art of precise placement—more helpful insights await if you keep exploring.
Key Takeaways
- Use eye level as a starting point to ensure artwork is comfortably visible and visually balanced.
- Measure and mark precise heights with tools like a level and painter’s tape for accuracy.
- Consider room and ceiling height to adjust artwork placement for optimal proportion and impact.
- Align artwork with furniture or wall features to create natural, cohesive visual flow.
- Make small adjustments after initial placement to fine-tune balance and achieve the desired visual intensity.

Go Hang It! Pro, All-in-One Picture Hanging Kit – Picture Leveling and Hanging Tool – Hang Sawtooth/Wire Hangers – Wall Hanging Kit and Level Tool – Hardware Case with 85-Piece Hanging Essentials
Easy Picture Hanging with Precision : Hang your saw-tooth or wire picture frames effortlessly without the hassle of…
As an affiliate, we earn on qualifying purchases.
As an affiliate, we earn on qualifying purchases.
Why Proper Artwork Hanging Height Matters
Hanging artwork at the right height is essential because it directly affects how viewers experience and appreciate your pieces. When you consider proper height, you create a cohesive look that enhances color coordination across your space. For example, placing artwork at eye level makes it easier to notice how colors complement each other and tie the room together. Door swings should also be taken into account when planning your layout, as they can impact how easily viewers can access and engage with the artwork. Frame styles also play a role—thicker or ornate frames may require different heights to balance visual weight. If your artwork hangs too high or low, it can disrupt the flow and make the room feel unbalanced. Proper height guarantees your art is engaging and inviting, allowing viewers to connect with it naturally. This thoughtful approach elevates your decor and showcases your style effortlessly. Additionally, considering the ethics in genetic testing can help inform your choices in integrating artwork that reflects personal values and beliefs into your space. Incorporating color theory principles can further enhance the impact of your artwork within the room’s design. Furthermore, employing sulfate-free options for cleaning your art pieces can ensure they remain vibrant and appealing over time. Remember, a well-thought-out display can transform your environment and contribute to a smart lifestyle that promotes well-being and creativity.
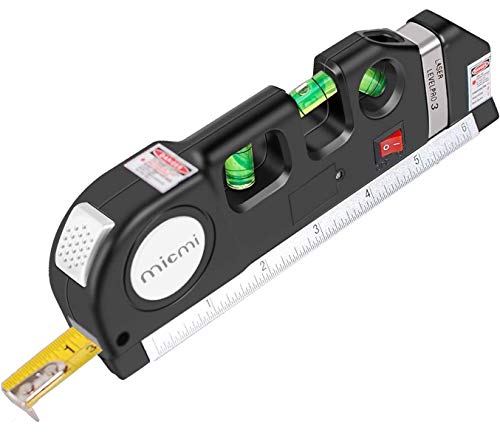
Laser level, Multipurpose Laser tape measure Line 8ft+ Tape Measure Ruler Adjusted Standard and Metric Rulers Update Batteries MICMI A80 (Laser level)
Laser level, PINPOINT ACCURACY – featuring the latest multipronged measurements technology, this laser level is a major improvement…
As an affiliate, we earn on qualifying purchases.
As an affiliate, we earn on qualifying purchases.
Finding Your Eye Level as a Starting Point
To find the ideal starting point for hanging your artwork, you need to identify your eye level—where your gaze naturally falls when standing comfortably. This height serves as your baseline, ensuring your art feels balanced and inviting. Consider color coordination when selecting artwork; pieces that complement your room’s palette will stand out best at eye level. Frame selection also plays a pivotal role, as a well-chosen frame can enhance the artwork’s impact and guide your eye naturally. Keep in mind, a frame that’s too thick or ornate might draw attention away from the piece itself, so choose one that harmonizes with your decor. Starting here helps create a cohesive look, making your space feel thoughtfully curated from the moment you hang your art. Additionally, incorporating essential oils for relaxation can enhance the overall atmosphere of your space while you enjoy your artwork. A proper understanding of watt-hours and capacity can also ensure that your lighting complements the art effectively. Using pre-soaking pads before hanging can help maintain the artwork’s pristine condition and ensure it remains a focal point in your decor. Consider using oak wood for frame materials, as its strength and durability can beautifully support your artwork. This thoughtful approach can also align with manifestation of desires, as creating a harmonious environment encourages positive energy in your space.

4 Rolls Premium Painters Tape, Blue Tape, Masking Tape, Paint Tape for Multi-Purpose, Painting, Painter's, DIY Crafts Arts (88yd =0.94IN*22yd*4) Decoration Labeling No Residue, Easy Removal
Professional Mask Tape – Multi-Surface adhesive tape made of high quality blue crepe paper not easy to lift…
As an affiliate, we earn on qualifying purchases.
As an affiliate, we earn on qualifying purchases.
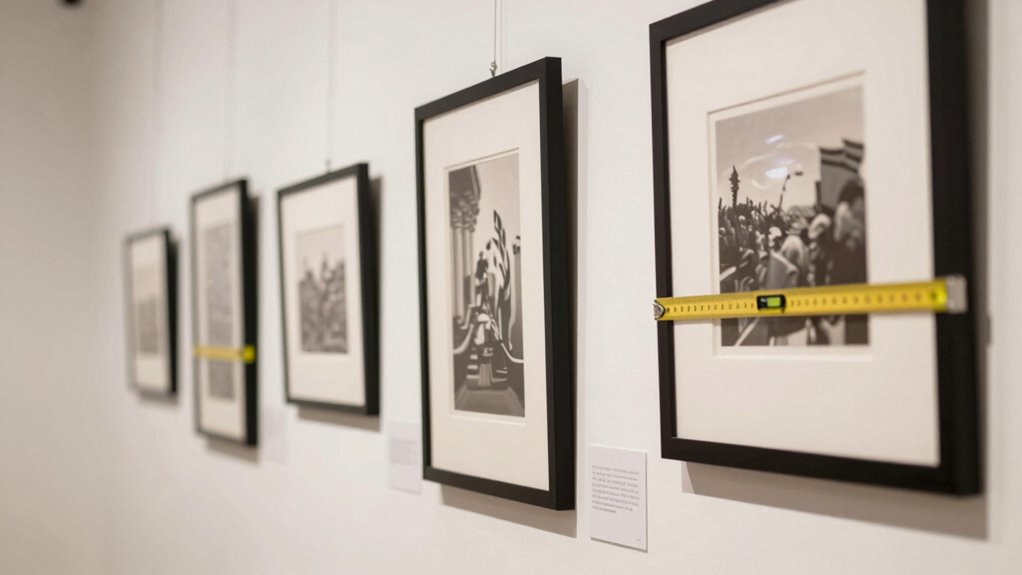
Measuring and Marking the Perfect Height

To hang your artwork at the right height, you need to use accurate measurement techniques to find the perfect spot. Marking precisely guarantees your piece stays level and looks just right. Using the right tools and methods makes the entire process straightforward and reliable. Additionally, incorporating proper spacing guidelines can enhance the visual impact of your artwork. Regular practice in auditory feedback therapy can also improve your confidence in making adjustments. Understanding knife placement techniques can help you achieve a similar precision in arranging your kitchen tools effectively. Furthermore, considering paint viscosity can ensure that your artwork maintains its quality over time. For added inspiration, consider the horsepower of electric dirt bikes, which demonstrates how precision and performance can elevate your experience.
Accurate Measurement Techniques
Getting the height just right starts with precise measurement. To guarantee your artwork or decor looks balanced, consider color coordination and frame selection before measuring. Choose a consistent eye level or focal point as your reference, especially if your pieces vary in size or style. When measuring, use a reliable tape measure or ruler, and double-check your marks to avoid mistakes. Proper projector installations can also benefit from similar principles of precision. Keep in mind that the right height often depends on the room’s lighting and wall color—lighter walls may call for slightly higher placements, while darker walls might benefit from lower positioning. Taking these factors into account helps you mark accurately and achieve a harmonious look. Additionally, understanding piercing care and hygiene can significantly impact the overall visual appeal of your projections and artwork. Many restaurants, such as those in Kansas City, often feature unique atmospheres that enhance the dining experience. Proper measurement prevents guesswork, making hanging easier and more visually appealing. Additionally, understanding cybersecurity strategies can enhance the way you protect your home environment and personal art collections from potential threats.
Precise Marking Methods
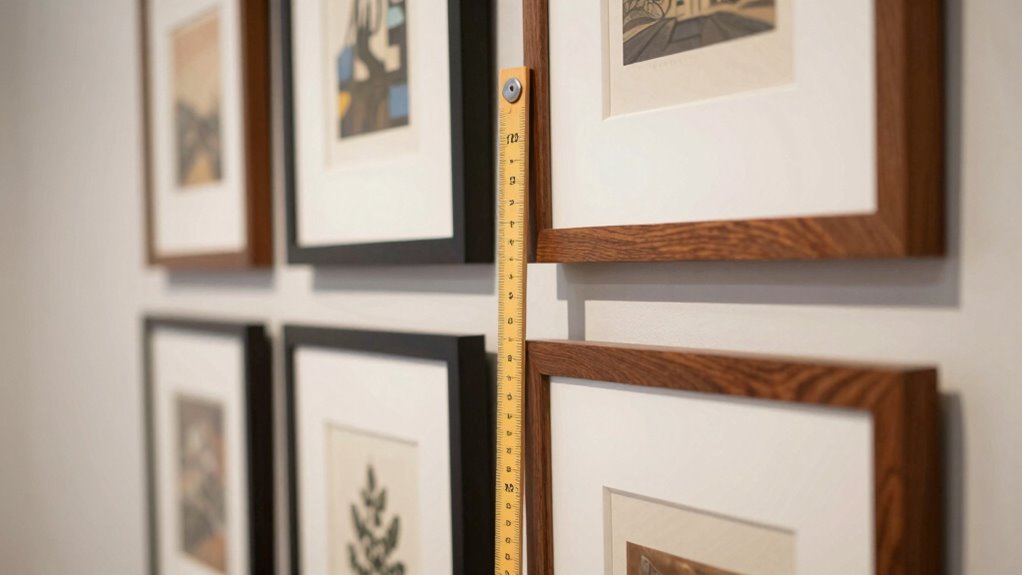
Accurate marking is essential for hanging artwork at the perfect height, and it starts with careful measurement and clear marking techniques. Use painter’s tape and a level to mark the spot, guaranteeing your lines are straight and consistent. When considering frame styles, match your markings to the frame’s proportions for a balanced look. Color coordination can guide your choice of marks; for example, using a contrasting tape color makes it easier to see your measurements. Measure multiple points if needed, especially for larger pieces, to ensure even hanging. Double-check your marks before drilling or nailing. Precise marking eliminates guesswork, helping you achieve a professional, polished display that complements your space’s aesthetic and highlights your artwork’s visual impact. Additionally, understanding digital content formats can enhance your approach to displaying artwork in a visually engaging manner. Furthermore, employing media literacy skills can help you critically assess the visual elements of your display, ensuring they resonate with your intended audience.

ZEARPT Coffee Guide Print, Coffee Wall Art with Classic Coffee Types, Espresso Latte Cappuccino Coffee Drink Chart Poster for Kitchen Art, Coffee Bar, Cafe, Office Wall Decor, Coffee Lovers Gift
☕ COFFEE DRINK CHART WALL ART — Features a variety of classic coffee drinks including espresso, latte, cappuccino,…
As an affiliate, we earn on qualifying purchases.
As an affiliate, we earn on qualifying purchases.
Adjusting Hanging Height for Room Size and Ceiling Height
Adjusting Hanging Height for Room Size and Ceiling Height
When adjusting hanging height, consider the size of your room to guarantee the piece doesn’t overpower or get lost. Ceiling height plays a big role; taller ceilings allow for higher placements, while lower ones need more careful positioning. Balancing the space helps create a cohesive look, making your room feel proportionate and inviting. Additionally, using eco-friendly materials for your hanging decor can reduce environmental impact, enhancing both aesthetics and sustainability. Incorporating natural light into your design can further elevate the ambiance, promoting a sense of well-being and comfort. It’s also essential to assess personal risk tolerance levels when making significant design investments, ensuring that your choices align with your overall financial goals.
Optimal Height for Room
Choosing the right hanging height depends largely on your room’s size and ceiling height, as these factors influence what looks balanced and feels comfortable. In a room with bold color schemes, keep artwork slightly higher to avoid overwhelming the space, ensuring it complements rather than dominates. For rooms with lower ceilings, hang pieces closer to eye level to create a sense of openness. Consider your frame styles—sleek, minimal frames benefit from a slightly higher placement, while ornate or larger frames work best when hung lower to ground the display. The goal is to create harmony within the room, so adjust the height to match the overall aesthetic and scale, making sure your artwork feels integrated into the space without feeling cramped or disconnected.
Ceiling Height Considerations
Room size and ceiling height play an essential role in determining the ideal hanging height for your artwork. In rooms with high ceilings, you have more flexibility with lighting placement, allowing you to highlight pieces and create visual balance. For lower ceilings, aim to hang art slightly higher than traditional guidelines to prevent the space from feeling cramped. Consider the wall texture, as rough or textured surfaces may require adjustments to hanging height to avoid uneven display. When working with taller ceilings, you might want to hang artwork closer to eye level to maintain visibility and engagement. Properly accounting for ceiling height ensures your artwork complements the room’s proportions, enhances lighting effects, and creates a cohesive, inviting space.
Adjusting for Space Balance
To achieve a balanced and visually appealing display, you need to modify your hanging height based on the room’s size and ceiling height. In smaller spaces, hang artwork slightly higher to create the illusion of height and prevent clutter. For larger rooms, lower the artwork to establish a cozy feel and fill the space effectively. Consider color coordination when choosing what to hang—matching frame colors to wall tones can unify the look, while contrasting frames add visual interest. When selecting frames, opt for styles that complement the room’s overall decor and scale. Bigger frames work well in spacious rooms, while smaller frames suit more compact areas. Adjusting the hanging height thoughtfully ensures your artwork enhances the room’s proportions and balance seamlessly.
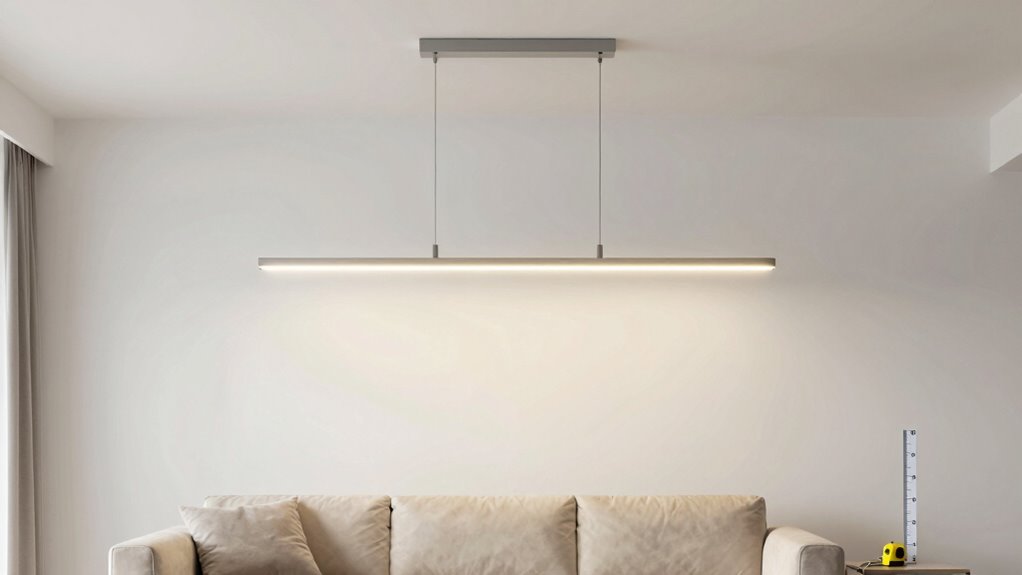
Using Furniture and Wall Features as Guides
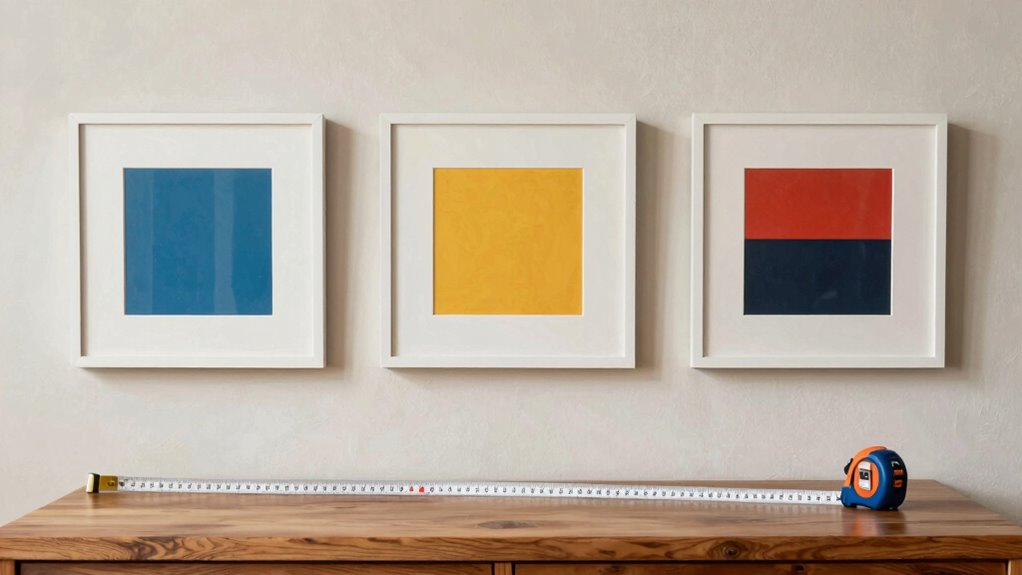
Using furniture and wall features as guides makes hanging artwork straightforward and guarantees the pieces are at an eye-catching height. Start by considering furniture placement, such as sofas or tables, and align artwork accordingly—typically about 4 to 6 inches above the back of a sofa. Wall color contrast also plays a role; if your wall is a bold color, a piece hung slightly higher can create visual balance, while neutral walls allow for more flexibility. Use these features as reference points to establish a natural flow within the space. This approach simplifies the process and assures your art complements the room’s design. By paying attention to these guides, you’ll create a cohesive, visually appealing display without guesswork.
Common Mistakes When Hanging Artwork (And How to Avoid Them)
Hanging artwork might seem simple, but many people make mistakes that can disrupt the balance and harmony of a space. One common error is ignoring artwork weight, which affects the choice of hardware and placement. Using inappropriate hooks for heavy pieces can cause damage or accidents. Another mistake is not considering framing styles; bulky frames require more sturdy support and proper positioning. Hanging artwork too high or too low can also throw off the visual flow. Additionally, neglecting to measure and align multiple pieces results in a cluttered look. Ultimately, rushing the process without planning can lead to uneven spacing or crooked displays. Being mindful of artwork weight, framing styles, and precise measurements helps you avoid these pitfalls and create a polished, balanced display.
Tools and Tips for Accurate Measurements
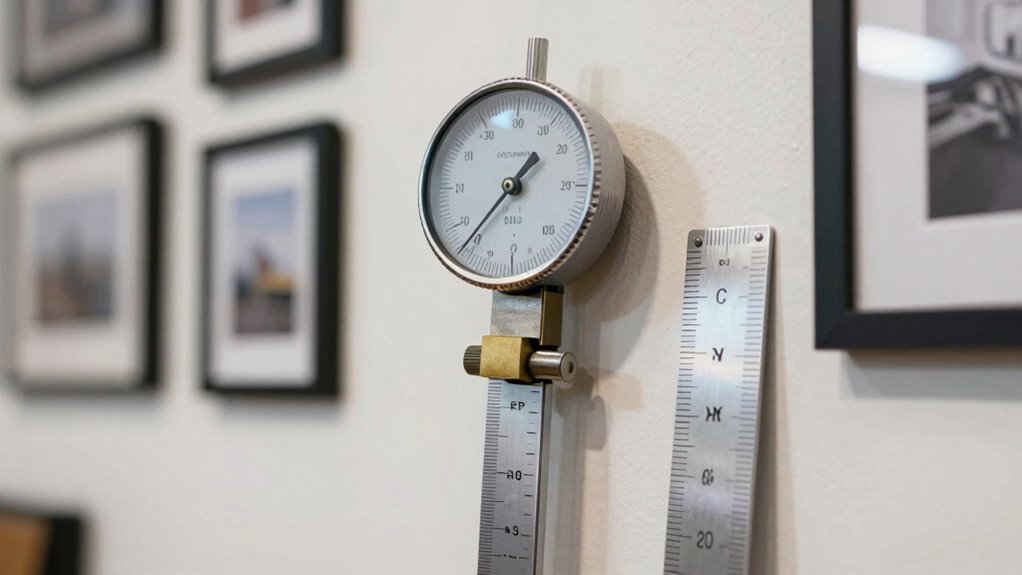
Accurate measurements are the foundation of a well-balanced artwork display, and having the right tools makes all the difference. Use a tape measure or a laser level to guarantee precise height and spacing. A ruler helps with aligning artwork at eye level, while a level ensures your frames are straight. When considering color coordination, measurements guide you in creating a cohesive look across multiple pieces. Properly measuring for frame selection prevents artwork from overpowering or getting lost on the wall. Keep a pencil and painter’s tape handy for marking spots without damaging the wall. These tools help you avoid guesswork, ensuring your artwork is hung at the perfect height and harmony, making your display visually pleasing and balanced.
Final Adjustments for Visual Balance and Harmony
Once you’ve hung your artwork at the correct height, the final step is fine-tuning its placement to achieve visual balance and harmony. Focus on how the piece interacts with its surroundings, considering color coordination and frame selection. Adjust slightly if the artwork feels off-center or clashes with nearby decor. Pay attention to the spacing between multiple pieces to create a cohesive gallery wall. Check if the colors complement each other and the room’s palette, enhancing overall harmony. Sometimes, swapping out a frame or changing positioning can make a significant difference. Remember, small adjustments can elevate the entire display. Trust your eye, and don’t hesitate to make tweaks until everything feels perfectly balanced and visually appealing.
Fine-tune artwork placement for harmony, balancing color, frames, and spacing to perfect your display.
- Consider how color coordination influences overall harmony
- Experiment with different frame styles for added impact
- Guarantee spacing creates a balanced composition
- Adjust height for ideal eye-level viewing
- Fine-tune placement based on surrounding decor
Frequently Asked Questions
How Do Different Artwork Types Affect Hanging Height Choices?
You should adjust hanging height based on artwork framing and type—larger or framed pieces often work best at eye level for visibility, while smaller or unframed art can be hung slightly higher. Use hanging tools like a tape measure or level to guarantee precise placement. Different artwork types demand different heights to enhance their visual impact, making your space feel balanced and inviting without guesswork.
What Are the Best Lighting Considerations for Artwork Display?
Did you know proper lighting can enhance artwork by up to 50%? To achieve this, focus on lighting angles that minimize glare and shadows, ensuring the piece is evenly illuminated. Choose bulb colors like warm white for a cozy feel or cool white for a modern look. Proper lighting not only highlights details but also preserves the artwork’s vibrancy, making your display truly stand out.
How Can I Hang Artwork Securely on Different Wall Materials?
To hang artwork securely on different wall materials, you should use appropriate wall anchors tailored to each surface, like drywall, brick, or plaster. Make certain proper weight distribution by selecting anchors that support the artwork’s weight. For heavier pieces, opt for heavy-duty anchors or studs. Always drill carefully, and double-check that your hooks or hangers are firmly secured to prevent any accidents or damage.
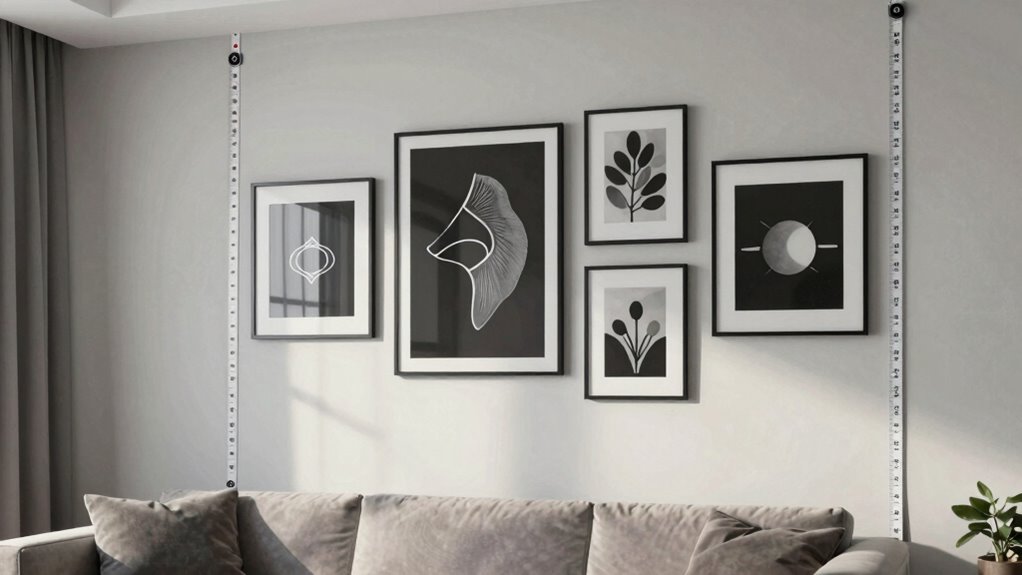
What Are Tips for Hanging Multiple Pieces as a Gallery Wall?
Get your gallery wall right the first time by planning your arrangement styles on paper or using painter’s tape. Use the right mounting hardware for each piece, considering weight and wall type. Keep spacing consistent, usually 2-4 inches, to create a cohesive look. Mix and match sizes for visual interest, and hang at eye level. Remember, a well-thought-out layout makes your gallery pop without a hitch.
How Does Wall Color Influence Artwork Placement and Visibility?
Wall color plays a vital role in artwork placement and visibility by influencing color psychology and creating visual harmony. You should choose a wall hue that complements your art, making colors pop or blend seamlessly. Light, neutral shades enhance visibility and emphasize contrast, while bold or dark colors add depth and mood. Consider the emotional impact and overall ambiance you want to achieve, ensuring your artwork stands out beautifully against the wall.
Conclusion
Now that you have the steps to hang artwork perfectly, you’re ready to transform your space with confidence. Remember, it’s all about finding that sweet spot where your art feels natural and balanced. So, why settle for guesswork when precise measurements and thoughtful adjustments can make your walls come alive? With these tips, you’ll create a gallery wall that invites admiration and sparks conversation—are you ready to elevate your home’s style?