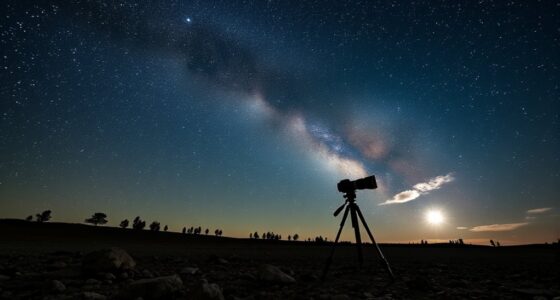

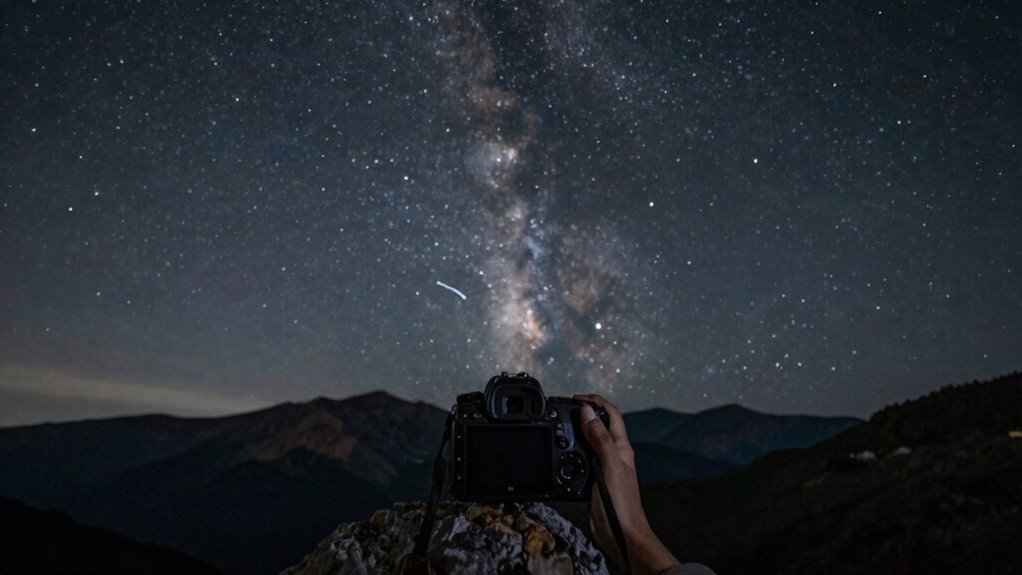
Backfocus is a hidden issue that causes your stars to look soft or blurry in astrophotography. It happens when your camera’s focus isn’t aligned properly, either due to equipment miscalibration, lens imperfections, or focus shifts during long exposures. This misalignment means your stars aren’t sharp enough, ruining image clarity. If you keep exploring, you’ll discover how to identify, test, and fix backfocus problems to improve your night sky photos.
Key Takeaways
- Incorrect backfocus causes stars to appear blurry or soft, especially at the edges of astrophotography images.
- Misaligned focus or sensor calibration issues lead to star softness, even with proper camera settings.
- Focus shift during long exposures can result in star trails or blurred points if backfocus isn’t correctly maintained.
- Environmental factors like lens quality, aperture, and equipment stability influence backfocus accuracy.
- Regular focus testing and equipment calibration are essential to prevent and correct backfocus problems causing soft stars.
Rokinon FE14M-C 14mm F2.8 Ultra Wide Lens for Canon (Black)
SUPERIOR IMAGE QUALITY – Experience exceptional sharpness and clarity with 14 elements in 10 groups, designed to deliver…
As an affiliate, we earn on qualifying purchases.
As an affiliate, we earn on qualifying purchases.
Understanding Backfocus and Why It Affects Your Photos
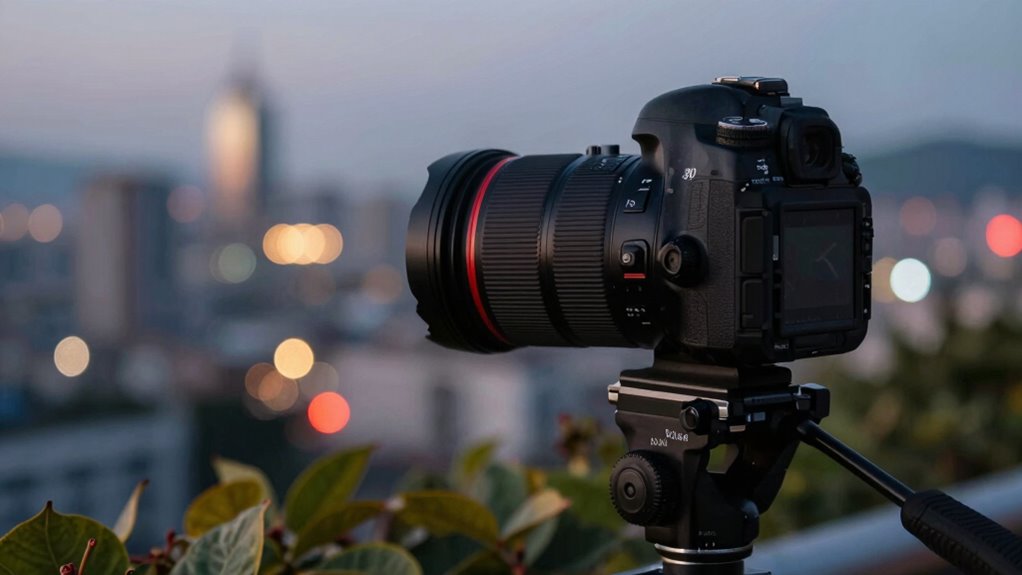
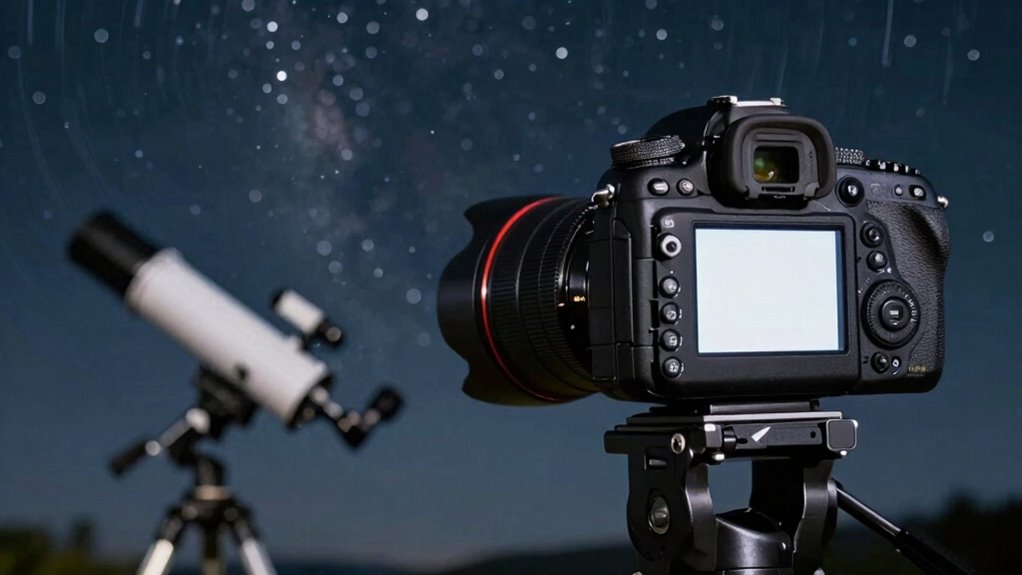
Understanding backfocus is essential because it directly impacts the sharpness of your photos. When capturing star trail techniques or doing astrophotography, proper focus ensures your images are crisp and detailed. If your backfocus isn’t set correctly, stars can appear blurry or soft, even if your camera settings are perfect. The key is to align your lens and camera so that the focus point is precisely where your stars are. Using quality astrophotography gear, like a sturdy tripod and a remote shutter release, helps maintain consistent focus during long exposures. Additionally, choosing a lens with a lightweight flywheel effect can improve your overall shooting stability. Adjusting backfocus might involve fine-tuning your lens or using live view to focus manually. Mastering this step guarantees your star trails stay sharp and vibrant, making your astrophotography images stand out. Furthermore, exploring new frontiers in digital content can provide you with additional insights and techniques to enhance your photography skills. Moreover, understanding digital systems can significantly influence how you approach focusing techniques. Additionally, understanding unbeatable savings on camera accessories can enhance your gear without breaking the bank. Moreover, implementing firewood management techniques can help you develop better patience and precision in your overall photography practice.

K&F Concept 64 inch/163cm Lightweight Outdoor Travel Camera Tripod
【Lightweight and Portable】4 section leg can adjust tripod height from 20.4''/52cm to 64.1''/163cm; it can be folded to…
As an affiliate, we earn on qualifying purchases.
As an affiliate, we earn on qualifying purchases.
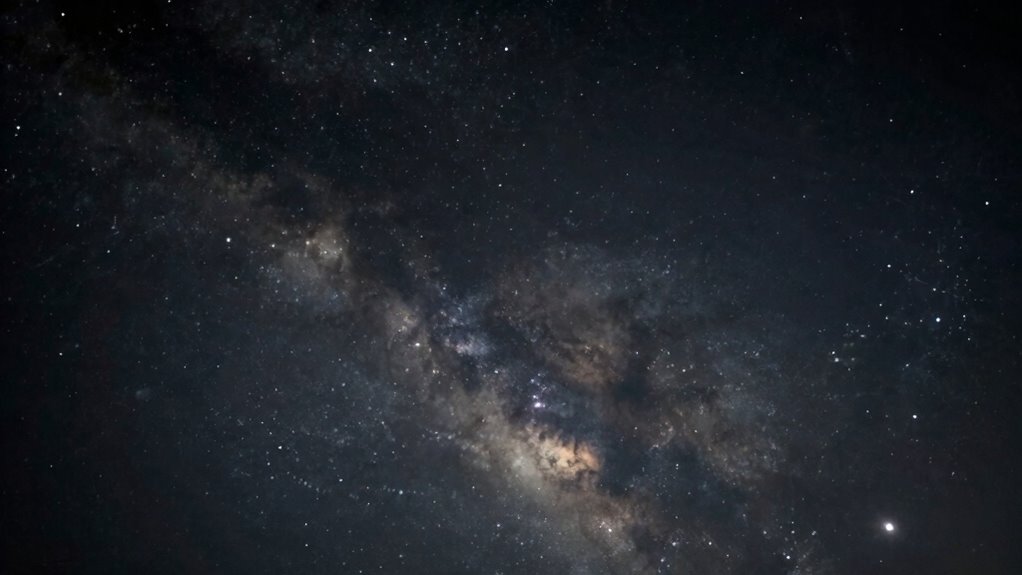
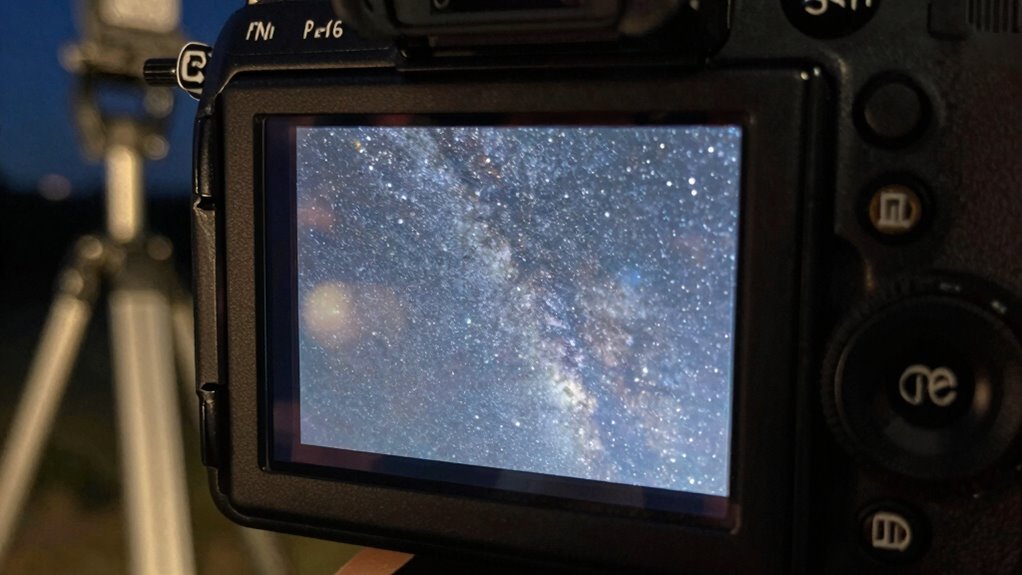
How Backfocus Makes Stars Look Soft or Blurry
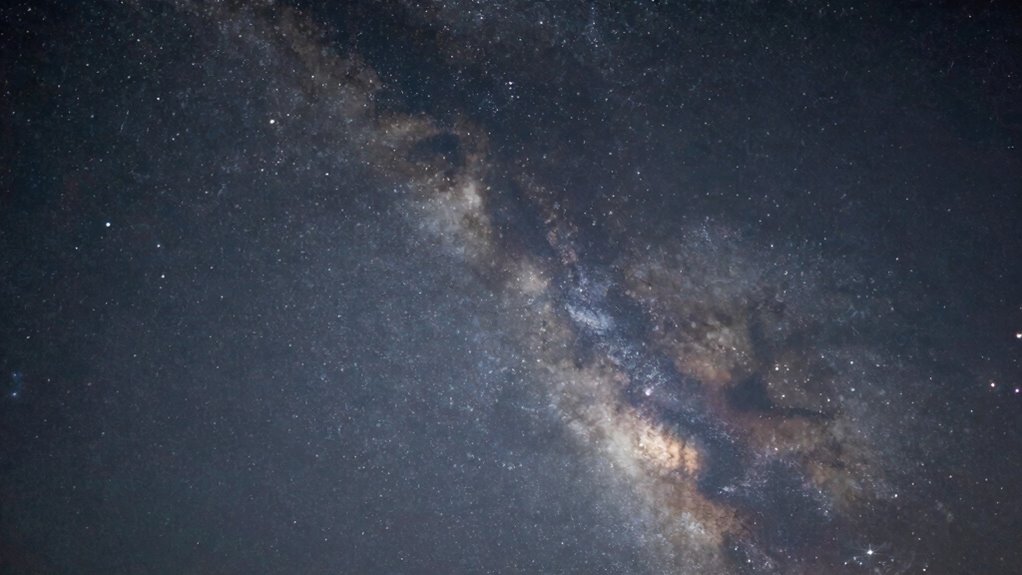
When your camera isn’t correctly focused, stars can appear soft or blurry because of focusing distance errors. Misalignment of the camera sensor can also cause the stars to lose their sharpness. Addressing these issues guarantees your star images stay crisp and clear. Additionally, achieving optimal color accuracy is essential for enhancing overall image quality in astrophotography. Regular routine checkups on your equipment can help maintain its performance and prevent focus-related issues. It’s also vital to be aware of early detection methods for potential issues, as they can help you catch problems before they become severe. Ensuring your setup is as portable as beach canopies can also contribute to a more effective shooting experience in varying conditions. Engaging in cultural festivals can inspire creativity and enhance your approach to capturing the beauty of the night sky.
Focusing Distance Errors
Focusing distance errors occur when your camera or telescope isn’t precisely aligned with the most suitable focus point, causing stars to appear soft or blurry. Small deviations in focusing distance can greatly affect image sharpness, especially for distant stars. Lens coating quality influences how well light passes through your lens, impacting focus accuracy. Poor coatings may cause glare or halo effects, making precise focusing harder. Additionally, aperture settings play a role; a wider aperture reduces depth of field, increasing sensitivity to focus errors. If you don’t adjust focus carefully for your chosen aperture, stars can appear blurry or smeared. Ensuring your focusing distance is accurate, along with choosing ideal aperture settings and considering lens coating quality, helps achieve sharp, pinpoint stars in your astrophotography.
Camera Sensor Alignment
Ever wondered why your stars sometimes appear soft or blurry even when your focus looks perfect? The culprit often lies in camera sensor alignment. When the sensor isn’t properly calibrated or optically aligned, it causes backfocus issues that can blur star images. To fix this, you need to check:
- Sensor calibration – ensure your camera’s sensor is correctly aligned with the lens or telescope. This is crucial because even slight misalignments can lead to compromised image quality. Additionally, understanding how astrological signs can influence perception may enhance your appreciation of the beauty in your astrophotography. Regularly checking your gear setup can help detect any alignment issues early on. Maintaining a clean lens is also vital for achieving optimal clarity and image resolution.
- Optical alignment – verify the sensor is centered and parallel to the optical axis.
- Focus adjustments – fine-tune focus after alignment to compensate for any residual misalignment.
Misaligned sensors shift the focal plane, making stars appear fuzzy. Proper sensor calibration and optical alignment are essential for pinpoint sharpness in astrophotography and avoiding soft, blurry stars caused by backfocus. Additionally, using top car protection can help safeguard your equipment from environmental factors that may affect performance.

PROfezzion 164ft Remote Shutter Release Wireless for Select Canon Cameras
[Compatibility] – Suit for Canon EOS Rebel T7(2000D), Rebel T6(1300D), Rebel T5(1200D), T3(1100D), T8i(850D), T7i(800D), T6i(750D), T6s(760D), T5i(700D),…
As an affiliate, we earn on qualifying purchases.
As an affiliate, we earn on qualifying purchases.
Spotting Backfocus in Your Images: Signs to Watch For

If your images show blurry edges around your subject, it’s likely a sign of backfocus. You might also notice that focus points aren’t consistent across different shots or even within the same image. Paying attention to these signs helps you identify backfocus issues early. Additionally, understanding accessibility features can improve your overall shooting experience by allowing you to customize settings for better focus control. Engaging in music-making can also enhance your concentration, which might help you catch focus issues more effectively. Improving your media literacy can also empower you to discern technical problems in your photography. Using high-quality glassware in your shots can also enhance the overall aesthetic and draw attention to your subject. Regularly checking for passive voice in your writing can further clarify your communication about focus issues.
Blurry Subject Edges
Have you noticed that the edges of your subject look blurry, even though the center appears sharp? This often indicates backfocus issues, especially when capturing star trail techniques or celestial composition. Blurry edges can make your images look soft and lack detail, detracting from the overall quality. To identify this problem, check for:
- Edges that are less crisp than the center, despite correct focus.
- Inconsistent sharpness across different parts of the frame.
- A noticeable softness around the outline of your subject, especially in low-light conditions like astrophotography.
If you see these signs, your lens might be focusing slightly behind or in front of the intended point, impacting the clarity of your star trail images and celestial scenes. Additionally, understanding advanced technology in equipment can help prevent these issues in your photography, as proper calibration can greatly reduce backfocus error in your images. Ensuring that your camera settings are optimized for personalized care can also enhance the overall quality of your shots. Incorporating techniques from aquatic exercise can also help improve your focus skills, as the fluidity required in such activities mirrors the precision needed in your photography. Regular maintenance of your cookware and appliances can also contribute to better performance and longevity, ensuring your equipment stays in optimal condition.
Inconsistent Focus Points
Inconsistent focus points become obvious when different areas of your image appear sharp while others are noticeably blurry, even though you used the same focus setting. This often happens if your star tracking methods or astrophotography techniques aren’t perfectly aligned. When your camera isn’t precisely focused on the target, some sections—like the center—may be sharp, while edges are soft. Backfocus can cause this issue, especially during long exposures or with high magnification. To identify this, compare multiple images taken with the same focus. If focus shifts within a single shot or between shots, it’s a sign of backfocus. Adjusting your focus calibration, ensuring your tracking system is stable, and refining your star tracking methods can help achieve consistent focus points across your entire image.

DSLRKIT Lens Focus Calibration Tool Alignment Ruler Folding Card,Pack of 2
This compact ruler allows you to determine if your lens is auto-focusing accurately as it should. It is…
As an affiliate, we earn on qualifying purchases.
As an affiliate, we earn on qualifying purchases.
Common Causes of Backfocus Problems in Cameras
Backfocus problems often stem from misalignments or calibration issues within the camera itself. One common cause is lens coatings, which can degrade over time or differently across lenses, affecting focus accuracy. Additionally, poor calibration of your camera’s autofocus system can lead to backfocus issues. Image stabilization, while useful, can also interfere if it’s not properly configured, causing slight shifts that impact focus precision.
Here are the main causes:
- Lens coatings deteriorating or uneven
- Autofocus system miscalibration
- Improper use or settings of image stabilization
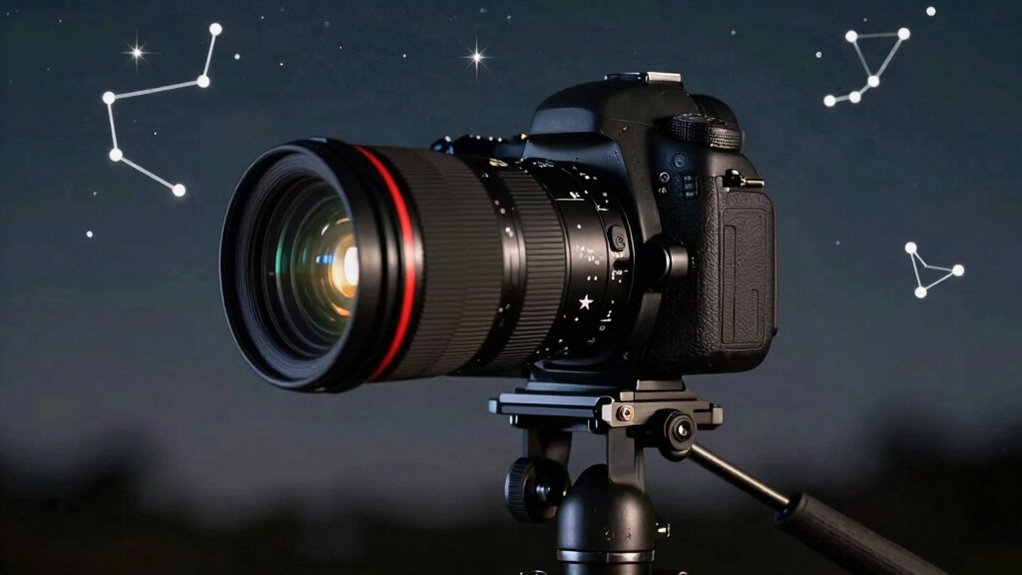
How to Test Your Camera for Backfocus
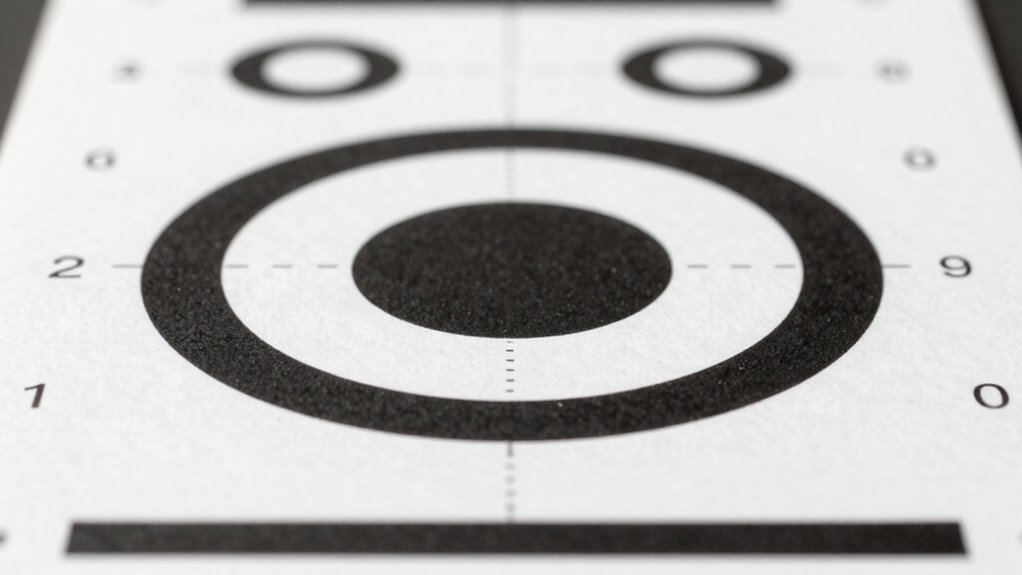
Testing your camera for backfocus issues is a straightforward process that helps determine if the autofocus system is functioning correctly. Set up a static subject, like a printed chart or a detailed object, at a fixed distance. Use a lens with good coatings to guarantee clarity, and set your aperture to a mid-range value for consistency. Focus on the target, then take a shot. Review the image to see if the focus is sharp or slightly behind the target. To visualize, imagine this table:
| Focus Point | Image Sharpness | Notes |
|---|---|---|
| Correct | Sharp | Focus aligns with subject |
| Front | Soft behind | Slightly in front of target |
| Back | Soft ahead | Focus is behind target |
Adjust focus if needed, checking again until it’s accurate.
Fixing Backfocus on Different Camera Types
Fixing backfocus varies depending on your camera type, as different models and systems require specific adjustments. For DSLR or mirrorless cameras, you might need to calibrate autofocus settings or tweak lens focusing. For cameras with built-in stabilization, check if image stabilization affects focus accuracy and disable it during calibration. When adjusting, consider lens coating, which can influence focus precision, especially with multi-coated lenses. Here’s a quick guide:
- Adjust autofocus microfocus setting or perform calibration specific to your camera body.
- Disable or toggle image stabilization to see if it impacts focusing accuracy.
- Verify lens coating compatibility and cleanliness to guarantee ideal focus performance.
Following these steps helps address backfocus issues across various camera types effectively.
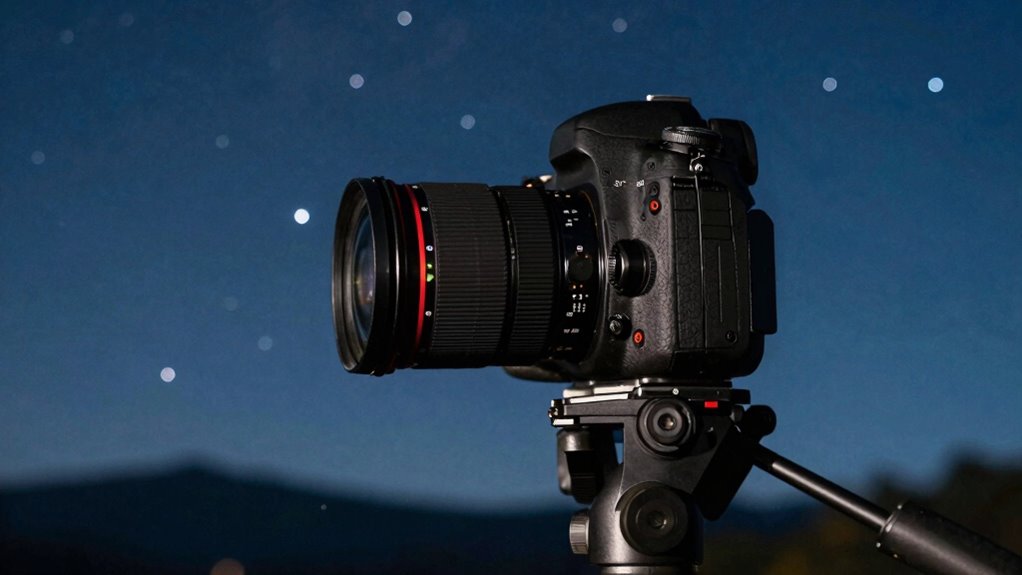
Focus Tips for Night Sky Photography
Achieving sharp focus in night sky photography can be challenging due to the darkness and distant subjects. To improve your focus, use live view and magnify the image to fine-tune your focus on a bright star or distant light. Incorporate star trail techniques by setting your camera to manual focus and avoiding autofocus, which often struggles in low light. Pay attention to moon phase considerations; shooting during a new moon minimizes light pollution and enhances star visibility, making focusing easier. Use a small aperture to increase depth of field, but balance it with your ISO and shutter speed to avoid noise or star trails. Consistently check your focus during the shoot, especially if lighting conditions change or if you’re planning long exposures.
Avoiding Common Mistakes That Worsen Backfocus
One of the most common mistakes that worsens backfocus is rushing through the setup process without double-checking your camera’s focus settings. Poor focus calibration can make your stars appear soft, regardless of your star tracking techniques. To avoid this, consider these tips:
- Use high-quality astrophotography gear suited for your camera and lens, ensuring stability and precision.
- Always perform a focus check with a Bahtinov mask or focus tool before starting your session.
- Regularly review your star tracking setup, making small adjustments to focus and alignment during your shoot.
When to Get Your Camera or Lens Calibrated Professionally
Knowing when to seek professional calibration can make a significant difference in your astrophotography results. If you notice persistent soft or inconsistent star images, it’s time to get your camera or lens calibrated. Changes in lens coating or aging can affect focus accuracy, especially at night. Additionally, if your aperture blades become sticky or misaligned, autofocus may struggle, leading to backfocus issues. When you’ve tried adjusting settings but still see soft stars, or if your lens exhibits front or back focusing at different distances, professional calibration can fix these problems precisely. Regular maintenance ensures your gear performs at its best, especially for critical night shots. Investing in calibration helps you achieve sharper, more consistent star images, making your astrophotography sessions more successful.
Frequently Asked Questions
Can Backfocus Issues Occur With All Types of Lenses?
Backfocus issues can occur with all types of lenses, especially if lens compatibility isn’t perfect or if autofocus accuracy is compromised. When your lens doesn’t properly communicate with your camera body, it can cause focus errors. This problem isn’t limited to specific lenses; it can affect any lens if autofocus calibration is off or if the lens isn’t fully compatible with your camera system. Always check compatibility and calibrate for sharp, accurate focus.
How Often Should I Check My Camera’s Backfocus Calibration?
Think of your camera as a finely-tuned orchestra, where each instrument must be perfectly in sync. You should check your lens calibration and autofocus accuracy every few months or whenever you notice softness or focus shifts. Regular calibration guarantees your camera’s focus system stays sharp, preventing soft stars or blurry images. Keeping this in check maintains the harmony, so your photos stay crisp and clear, no matter the scene.
Does Backfocus Affect Video Recording as Well?
Yes, backfocus can affect video recording too. If your lens calibration isn’t spot-on, autofocus accuracy suffers, leading to soft or blurry footage. When you’re shooting video, precise focus is essential, especially with shallow depth of field. Regularly checking your lens calibration guarantees your autofocus remains reliable, so your videos stay sharp and in focus, whether you’re capturing fast-moving subjects or detailed scenes.
Are There Specific Settings That Can Help Reduce Backfocus Problems?
Did you know that nearly 30% of photographers experience backfocus issues? To reduce backfocus problems, you should perform lens calibration and autofocus adjustment regularly. Use your camera’s micro-adjustment feature to fine-tune autofocus, ensuring sharp images. Additionally, check your lens calibration for consistency across different focal lengths. These settings can considerably improve focus accuracy, helping your stars and distant subjects appear crisp and clear every time you shoot.
Can Software Post-Processing Fix Backfocus-Related Star Softness?
Yes, software correction and post-processing techniques can improve backfocus-related star softness, but they can’t fully fix it. You can use sharpening filters, deconvolution, or specialized astrophotography software to enhance star sharpness. However, it’s best to address backfocus issues during capture by adjusting your focus properly. Post-processing helps mitigate the softness but won’t replace correct focusing, so guarantee your setup is well-calibrated for ideal results.
Conclusion
Now that you know how backfocus can turn your star photos into cloudy dreams, you’re armed to troubleshoot and fine-tune your gear. Think of your camera as a delicate telescope — when perfectly focused, it reveals the universe’s brilliance; when misaligned, it clouds the cosmos. With a little patience and practice, you’ll sharpen your focus and let your night sky sparkle in all its celestial glory. Happy shooting!