
To create your own DIY light painting device with LEDs, start by gathering basic components like RGB LEDs, wires, a switch, and a power source such as batteries. Connect the LEDs in parallel, include a switch for easy control, and secure everything with solder or tape. Mount the device on a handle or frame for easy maneuvering during long exposures. Keep experimenting with colors and patterns; if you continue exploring, you’ll discover even more creative options.
Key Takeaways
- Gather RGB LEDs, wires, switch, power source, and basic tools to assemble a customizable light painting device.
- Connect LEDs in a parallel circuit for even brightness and simple assembly, ensuring adequate voltage distribution.
- Incorporate a switch or remote control module for easy on/off operation during creative use.
- Mount LEDs on a handle or frame to enable smooth, controlled movements during long-exposure photography.
- Experiment with different colors, patterns, and motion techniques to create diverse light painting effects.
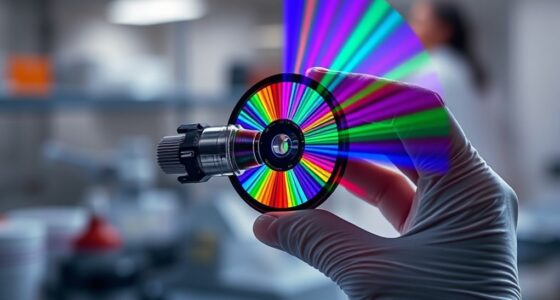
Creating your own DIY light painting device is a fun and rewarding project that lets you explore creative photography techniques without spending a fortune. Light painting is all about capturing long-exposure images while moving a light source through the frame, creating stunning trails, shapes, and effects. To get started, you’ll want to focus on building an LED construction that’s both simple and versatile. Using LEDs is ideal because they’re energy-efficient, bright, and customizable, making them perfect for light painting experiments.
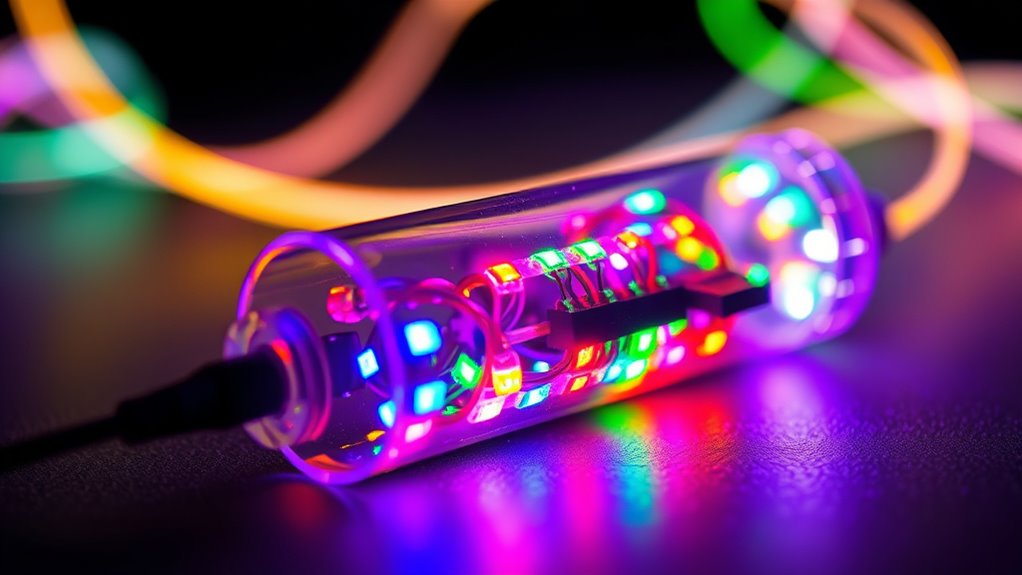
First, gather your materials: a few LED lights (preferably RGB for color flexibility), a basic switch, wires, a power source like batteries or a portable power bank, and some basic tools such as wire strippers and soldering equipment if needed. The goal is to assemble a lightweight, handheld device that can produce consistent light output. You can connect multiple LEDs in parallel or series depending on your desired brightness and power requirements. For beginners, a simple parallel circuit works best because it guarantees each LED receives enough voltage individually.
Gather LEDs, wires, switches, and power sources to build a simple, handheld light painting device.
Start by connecting your LEDs to the power source with the wires, making sure to include a switch that allows you to turn the device on and off quickly during your shoots. Secure all connections with solder or electrical tape to prevent loose contacts. Once assembled, test your LED construction by turning it on in a dark room. You should see a bright, steady glow, which indicates your device is ready for light painting.
For added creative control, consider integrating a simple toggle switch or even a remote control module if you want to switch the LEDs on or off remotely. This is especially useful for capturing complex light trails without disturbing your setup. Mount the LED construction on a comfortable handle, or create a small frame to hold it, so you can easily maneuver it during long exposures.
When using your DIY light painting device, remember that the key is in the movement. Practice moving the device smoothly and deliberately across your scene while your camera’s shutter remains open for several seconds or more. Experiment with different LED colors and patterns to produce varied effects. Over time, you’ll learn how to manipulate the intensity, timing, and shape of your light trails, revealing your artistic potential.
Building your own LED-based light painting device not only saves money but also deepens your understanding of basic electronics and creative photography. With a little effort, you’ll have a custom tool tailored to your style, enhancing your creative control, opening up endless possibilities for innovative light painting projects.

KSIPZE 100ft Led Strip Lights RGB Music Sync Color Changing Led Lights with Smart App Control Remote Led Lights for Bedroom Room Lighting Flexible Home Décor
APP and IR Remote Contorl: With a stable connection,control your LED lights,freely change in 16 million colors,adjust brightness,customize…
As an affiliate, we earn on qualifying purchases.
As an affiliate, we earn on qualifying purchases.
Frequently Asked Questions
What Safety Precautions Should I Take When Working With LEDS?
When working with LEDs, you should prioritize eye protection and electrical safety. Always wear safety glasses to shield your eyes from bright light or accidental sparks. Make certain your workspace is dry and avoid contact with exposed wires to prevent electrical shocks. Use proper insulation on wires and follow manufacturer guidelines. Keep your hands steady and work in a well-ventilated area to stay safe and avoid accidents.
How Do I Choose the Best Power Source for My Device?
You should prioritize battery capacity and voltage compatibility when choosing a power source. A higher capacity battery guarantees longer use without frequent replacements, while matching the voltage to your LEDs prevents damage and ensures efficient operation. Remember, investing in a reliable power source reflects the idea that a well-chosen energy supply fuels your creativity, proving that understanding your device’s power needs leads to better performance and safer operation.
Can I Customize the Colors of the LEDS Easily?
Yes, you can customize the colors of your LEDs easily. By using color mixing techniques, you can blend different LED colors to create a wide range of hues. Many LED strips or modules come with preset options or programmable controls, allowing you to select or design specific colors quickly. With some basic knowledge of LED presets, you can experiment and craft the perfect color palette for your light painting projects.
What Are Common Troubleshooting Steps for Malfunctioning LEDS?
When troubleshooting malfunctioning LEDs, start by checking your LED connection issues—ensure all wires are secure and solder joints are solid. Next, address power fluctuation troubleshooting by verifying your power source, using a multimeter to monitor voltage levels, and replacing faulty batteries or power supplies. Finally, inspect for damaged LEDs or loose connections, and reset your circuit if needed. These steps help restore your LEDs to their vibrant, steady glow.
How Long Does the LED Light Stay Bright During Extended Use?
The LED light typically stays bright for thousands of hours, depending on the LED’s longevity and how you use it. During extended use, the light intensity may gradually dim as the LED wears, but with proper heat management and avoiding overdriving, you can prolong brightness. Keep your LEDs cool and avoid excessive power to maximize their lifespan, ensuring consistent light during your creative projects.
DIY electronics kit
As an affiliate, we earn on qualifying purchases.
As an affiliate, we earn on qualifying purchases.
Conclusion
So, there you have it—your very own light painting device, ready to turn your walls into a neon nightmare or a subtle glow, depending on your mood. Who knew that a handful of LEDs and a bit of elbow grease could unleash your inner Picasso? Just remember, with great light comes great responsibility—so don’t go painting your cat’s face or confusing your neighbor’s house. Now go forth and dazzle the world—one pixel at a time!
battery powered LED lights
As an affiliate, we earn on qualifying purchases.
As an affiliate, we earn on qualifying purchases.
soldering iron kit
As an affiliate, we earn on qualifying purchases.
As an affiliate, we earn on qualifying purchases.