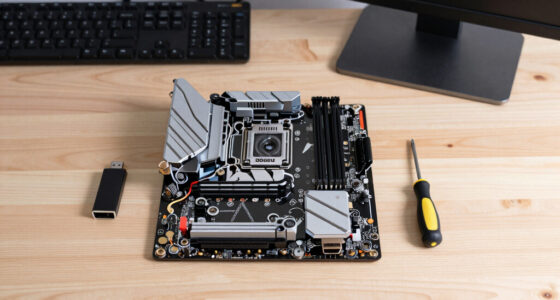

To build a light theremin, start by choosing the right sensors, like photocells, and calibrate them carefully to respond accurately to your hand movements. Adjust the setup so the sensor readings map smoothly to sound frequencies, ensuring responsiveness and expressiveness. Use a microcontroller to process signals and generate sound, experimenting with waveforms and effects to improve quality. If you’re curious about refining your instrument further, there’s much more to explore beyond this overview.

Get the latest gadgets delivered free — and shop member deals
- Fast, free delivery on millions of items
- Access to Prime Big Deal Days deals on October 6–7
- Prime Video, Amazon Music and more included
Key Takeaways
- Use light sensors (e.g., photodiodes or LDRs) to detect hand proximity and movement for sound control.
- Calibrate sensors to ensure accurate mapping of hand distance to desired sound frequency range.
- Connect sensors to a microcontroller (like Arduino) to process light readings and generate corresponding sound signals.
- Implement sound synthesis techniques, mapping sensor data to audio waveforms for responsive sound output.
- Experiment with effects and sensor sensitivity to enhance expressiveness and improve responsiveness of the light theremin.
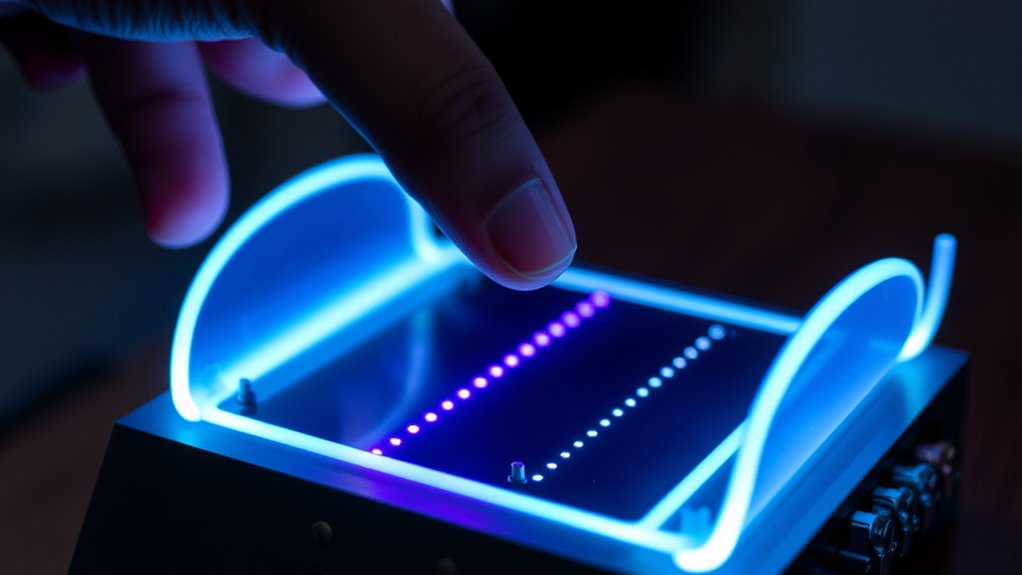
Building a light theremin is a rewarding project that combines electronics and creativity to produce an intriguing musical instrument. When you start, you’ll focus on sensor calibration, a vital step to guarantee your device responds accurately to your hand movements. Proper calibration aligns the sensor’s readings with the intended range of motion, making your theremin more sensitive and intuitive to play. To calibrate, you’ll need to test the sensor’s output at different distances and adjust the circuit or software parameters accordingly. This process helps you eliminate inconsistencies and guarantees that the sound synthesis reacts smoothly to your gestures. Think of calibration as tuning your instrument; it’s indispensable for achieving the best possible sound control.
Once your sensor is calibrated, you’ll move on to sound synthesis, which is how your theremin transforms sensor signals into audible tones. The core idea is to convert the varying sensor readings into frequency values, which then generate sound waves. You can do this with a microcontroller, like an Arduino, that reads the sensor data and maps it to a specific pitch range. For example, as your hand moves closer or farther from the sensor, the microcontroller adjusts the frequency output, producing a continuous glide of notes rather than discrete steps. This real-time mapping is what makes the theremin feel expressive and musical. Your goal is to create a smooth, responsive sound that reflects your gestures naturally.
To enhance sound synthesis, you might experiment with different waveforms—sine, square, or sawtooth—to give your instrument unique tonal qualities. You can also add effects like vibrato or modulation by manipulating the signal in software. Fine-tuning the calibration and sound synthesis processes allows you to craft a responsive instrument that reacts seamlessly to your hand movements. Remember, the key is to find the right balance between sensitivity and stability. If your sensor is too sensitive, small movements may cause erratic pitch changes; if it’s too rigid, the instrument might feel unresponsive. Adjusting parameters and testing regularly will help you achieve the ideal setup.
Additionally, understanding the sensor calibration process can greatly improve the responsiveness and accuracy of your theremin, ensuring a more expressive performance. Ultimately, building a light theremin involves a combination of precise sensor calibration and creative sound synthesis. Your hands become the instrument’s voice, and with patience and experimentation, you’ll craft a device that’s both fun to play and genuinely expressive. As you refine the calibration and explore different sound generation techniques, you’ll gain a deeper understanding of electronics and music technology, making this project not just a build but a journey into interactive sound creation.
As an affiliate, we earn on qualifying purchases.
Frequently Asked Questions
What Are Common Troubleshooting Steps for a Malfunctioning Light Theremin?
If your light theremin isn’t working, start by inspecting the wiring to verify all connections are secure and correct. Next, check the sensor calibration to make sure it responds accurately to hand movements. If the device still malfunctions, try resetting the sensor settings or replacing faulty components. Regularly testing and adjusting these aspects can help maintain proper functionality and prevent future issues.
Can I Customize the Sound or Pitch Range of the Theremin?
Customizing your theremin’s sound or pitch range is like tuning a musical instrument; you can definitely do it. You can adjust the sound modulation to change tonal qualities and tweak pitch settings to widen or narrow the pitch range. Many kits or circuits include potentiometers or switches for these adjustments, giving you control over your theremin’s unique sound. Experiment with these options to find your perfect sound!
What Safety Precautions Should I Consider During Assembly?
During assembly, prioritize electrical safety by disconnecting power before working on components. Handle all electronic parts carefully to avoid damage or static discharge. Use insulated tools and wear safety goggles if necessary. Keep your workspace dry and organized to prevent accidents. Double-check connections and verify no exposed wires are present. Following these precautions helps protect you and ensures a safe, successful build of your light theremin.
Is It Possible to Connect the Theremin to External Audio Equipment?
Yes, you can connect your light theremin to external audio equipment for better sound integration. Use a compatible output jack, typically a 3.5mm or 1/4-inch, to connect it to speakers, amplifiers, or recording devices. Make sure to match the input levels to avoid distortion. This setup enhances your sound experience, allowing you to control external audio with your hand movements and create a richer performance.
How Can I Improve the Sensitivity of the Hand Detection?
A stitch in time saves nine, so start by calibrating your sensor regularly to improve sensitivity. Adjust the ambient light settings to reduce interference, making hand detection more responsive. Fine-tune the sensor calibration to match your environment, ensuring it accurately detects hand movements. By keeping these adjustments in check, you’ll notice a significant boost in sensitivity, making your Light Theremin more intuitive and fun to play.
As an affiliate, we earn on qualifying purchases.
Conclusion
Now, with just a simple light sensor and your hands, you’ve created a device that transforms darkness into music. It’s a playful contrast—silence meets sound, stillness meets movement. As you experiment, you’ll notice how a gentle wave of your hand can command an entire melody, turning a basic circuit into a musical instrument. So, embrace the harmony between technology and touch, and let your light theremin inspire endless creative possibilities.
As an affiliate, we earn on qualifying purchases.
light sensors for electronics projects
As an affiliate, we earn on qualifying purchases.
As an affiliate, we earn on qualifying purchases.
Fall Picks
fall essentials
As an affiliate, we earn on qualifying purchases.