
To make kid-safe prisms from plastic bottles, gather clean, clear bottles and cut them into prism shapes using safe tools, with adult supervision. Decorate them with non-toxic paints or markers to add colorful patterns. Explain how light splits into different colors when passing through the prisms, which makes for fun experiments with dispersion and refraction. Keep safety in mind during the process, and hang or display your vibrant creations for everyone to enjoy—more tips await you!
Key Takeaways
- Collect and thoroughly clean clear plastic bottles for safe, DIY prism creation.
- Cut and shape bottles carefully using child-safe tools, smoothing edges to prevent injuries.
- Decorate prisms with non-toxic paint or markers to enhance visual appeal and encourage creativity.
- Use prisms to explore light dispersion, color mixing, and refraction, making science fun and educational.
- Supervise children during activities, ensuring safety with goggles and proper handling of materials.
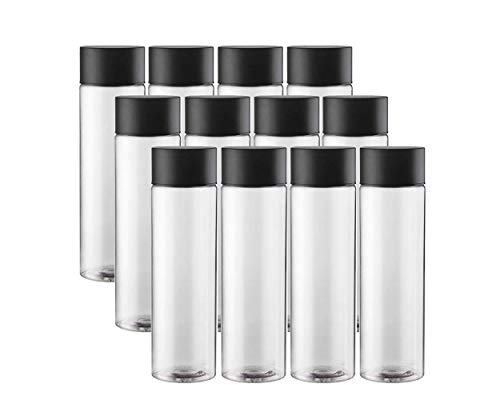
12-Pack Bulk Empty Plastic Reusable Juice / Water Bottles with Black Lids – Great for Smoothies, Sensory Crafts and Calming Bottles – 400ml
LEAK PROOF- Unlike our competitors, our empty plastic bottles are leakproof by design, including a slip that helps…
As an affiliate, we earn on qualifying purchases.
As an affiliate, we earn on qualifying purchases.
Gathering Supplies and Preparing Your Bottles
Before you start making your prisms, you need to gather the right supplies and prepare your bottles. First, collect clean, empty plastic bottles—preferably clear ones like soda or water bottles. Recycling tips suggest rinsing them thoroughly to remove any residue and labels, making the preparation easier. It’s smart to organize your bottles using simple storage solutions, like boxes or trays, so they’re ready when you need them. Check for any cracks or damage, as these can affect your prism quality. Keep a pair of scissors or a craft knife nearby for cutting, but avoid using them until you’re ready for the next step. Properly prepared bottles make the crafting process smoother, safer, and more enjoyable. Additionally, understanding the optical properties of the plastic can help you select bottles that will produce clearer and more vibrant light refractions.
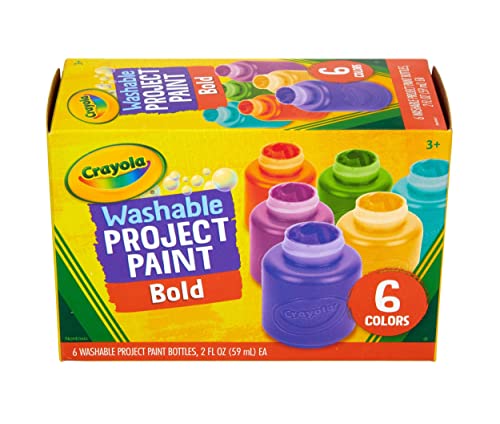
Crayola Washable Kids Paint (6ct), Assorted Bulk Paint Set for Kids, Essential Easter Basket Stuffer for Kids, Spring Craft & Art Supplies, Gift for Toddlers, Ages 3+
CRAYOLA WASHABLE PROJECT PAINT: Washable paint in 6 bold colors including Yellow, Green, Yellow Orange, Red Orange, Fuchsia,…
As an affiliate, we earn on qualifying purchases.
As an affiliate, we earn on qualifying purchases.
Cutting and Shaping the Plastic for Prism Construction

Have you ever wondered how to cut your plastic bottles accurately for creating perfect prisms? Proper cutting and shaping are key to successful projects and safe recycling. To start, always wear safety precautions like gloves and eye protection. When shaping your plastic, keep these steps in mind:
Master safe plastic bottle cutting with precise measurements and sharp tools for perfect prisms.
- Measure carefully to ensure consistent angles for your prism.
- Use a sharp, plastic-specific cutter or scissors to make clean cuts.
- Smooth edges with fine sandpaper to prevent injuries and improve light reflection.
- Regular maintenance and proper handling can extend the lifespan of your tools and ensure precise cuts, similar to how filter replacement maintains air purifier performance filter replacement.

Crayola Toddler Safety Scissors (3pk), Blunt Tip Training Scissors for Preschool Learning Activities, Right & Left Handed, Toddler Arts & Crafts Essentials
MY FIRST SCISSORS: This set includes 3 Crayola Safety Scissors designed for “ouch-free” paper cutting, ensuring a safe…
As an affiliate, we earn on qualifying purchases.
As an affiliate, we earn on qualifying purchases.
Painting and Decorating Your Plastic Prisms

Once you’ve shaped your plastic prisms, decorating them can enhance their visual appeal and customize your project. Using non-toxic paint or permanent markers, you can add vibrant colors or patterns that reflect your personality. Experiment with color mixing to create unique shades that suit your style. Applying different colors on each face can produce interesting effects when light hits the reflective surfaces of your prism. You might also consider adding glitter or metallic accents for extra sparkle. Be sure to let your decorations dry completely before handling. Decorating your prisms not only makes them more attractive but also encourages creativity and experimentation with color and design. With a little imagination, your plastic prisms will become colorful, eye-catching pieces ready to display or use in playful light experiments. Engaging in creative activities like this can foster curiosity and happiness, inspiring you to explore new artistic techniques and ideas.
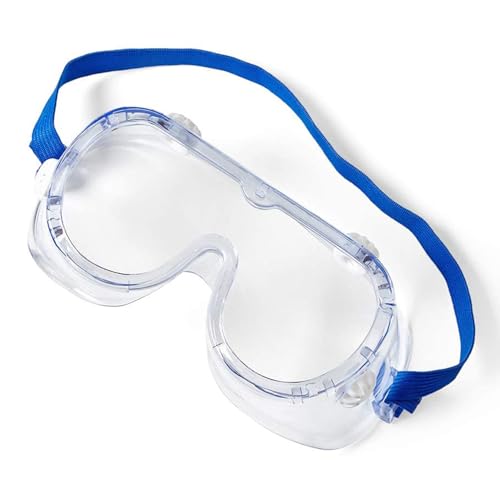
United Scientific™ Kids Safety Goggles – Chemistry Protective Goggles for Students, Lightweight, Comfortable Fit and Chemical Splash Kids Eye Protection – Meets ANSI Z87.1 Safety Standards (Pack of 1)
PROTECTION FOR THEIR LITTLE EYES: Our safety goggles for kids are designed for arts, outdoor play, and science…
As an affiliate, we earn on qualifying purchases.
As an affiliate, we earn on qualifying purchases.
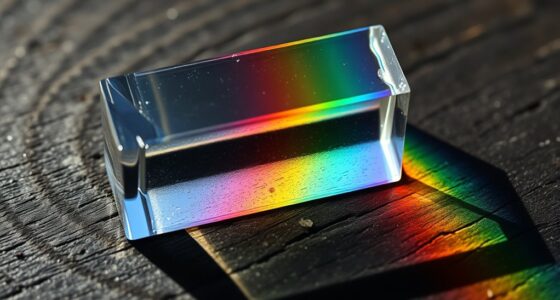
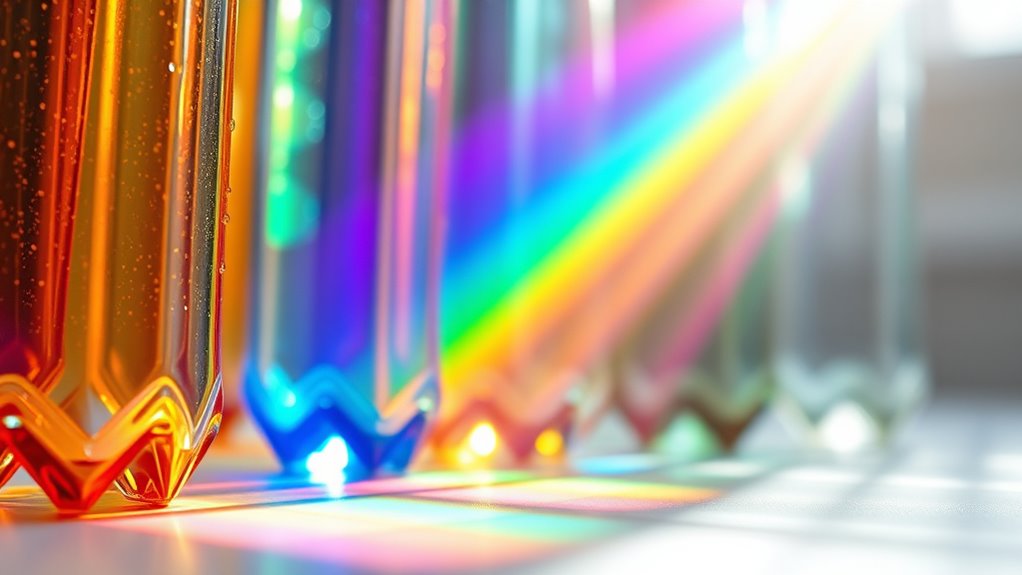
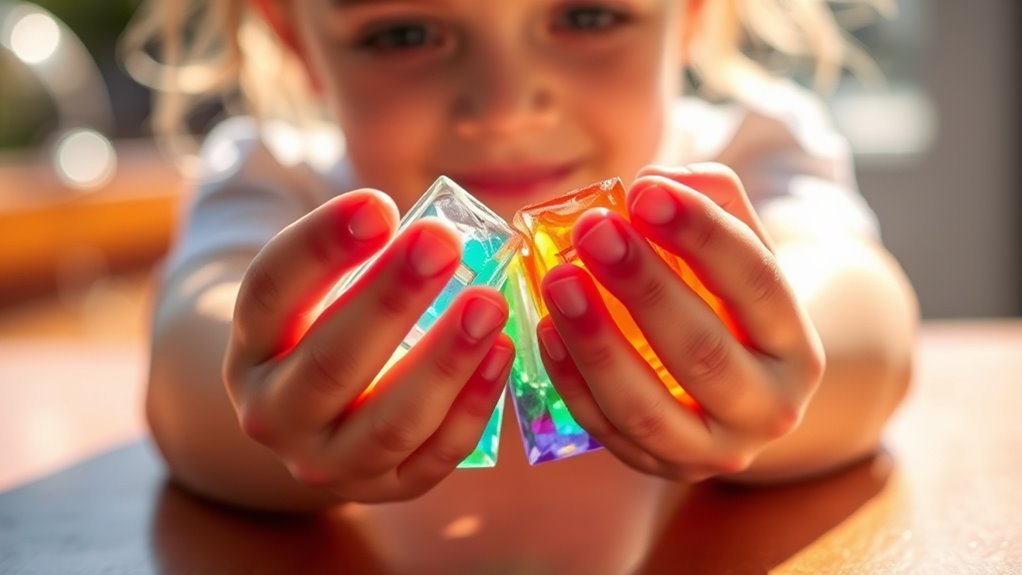
Understanding the Science Behind Light and Color
Decorating your plastic prisms introduces vibrant colors and patterns that make them visually striking, but understanding how light interacts with these colors adds another layer of fascination. Light travels through the light spectrum, which includes all visible colors. When sunlight hits your prism, it splits into different colors through dispersion, revealing how colors are formed. To deepen your understanding:
- Light consists of various wavelengths, each corresponding to different colors.
- Color mixing occurs when two or more colors combine to create new shades.
- By observing how light bends and splits, you see how prisms turn white light into a rainbow.
This science helps you grasp why certain colors appear and how they blend, making your spectrum fun even more engaging and educational.
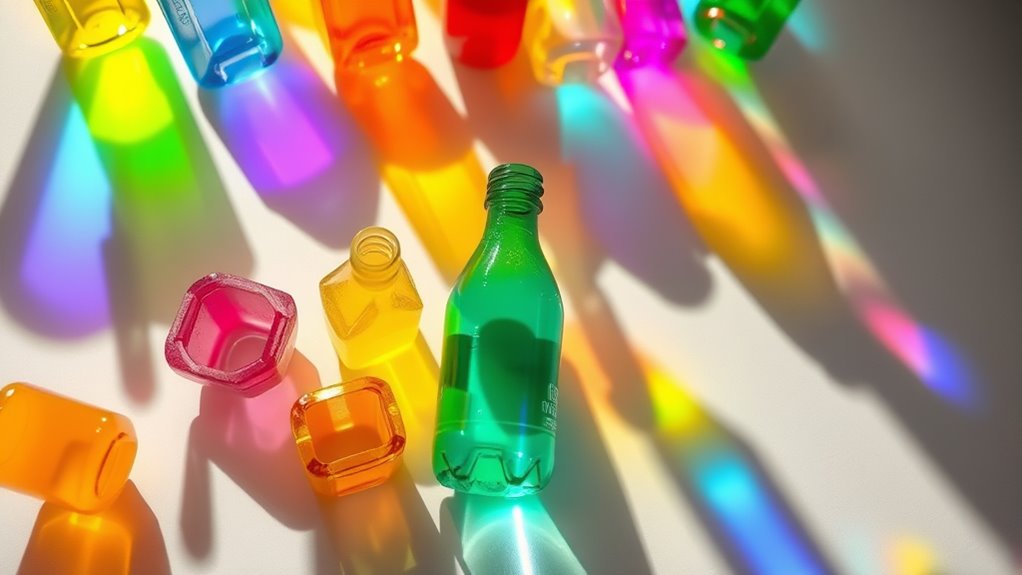
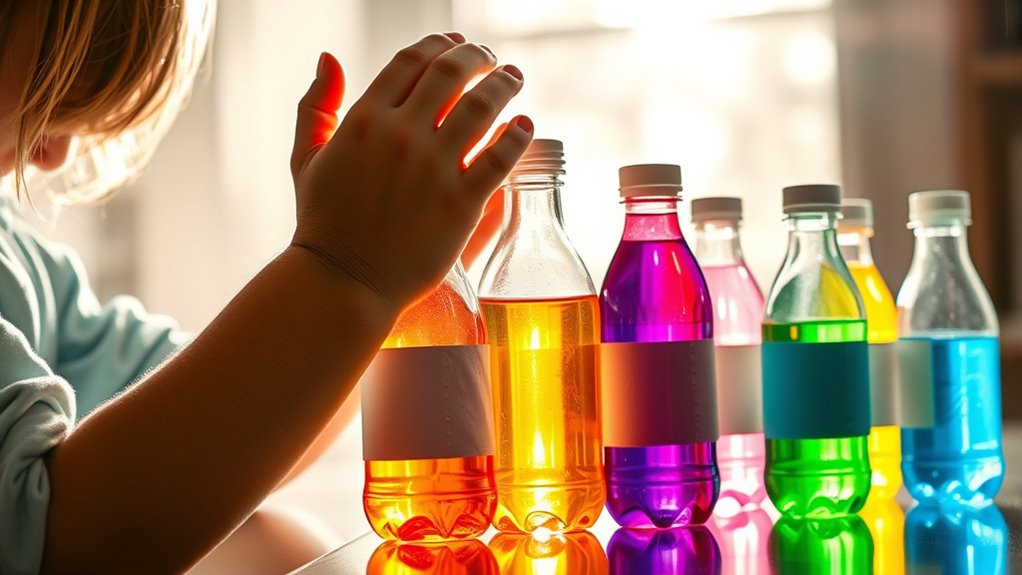
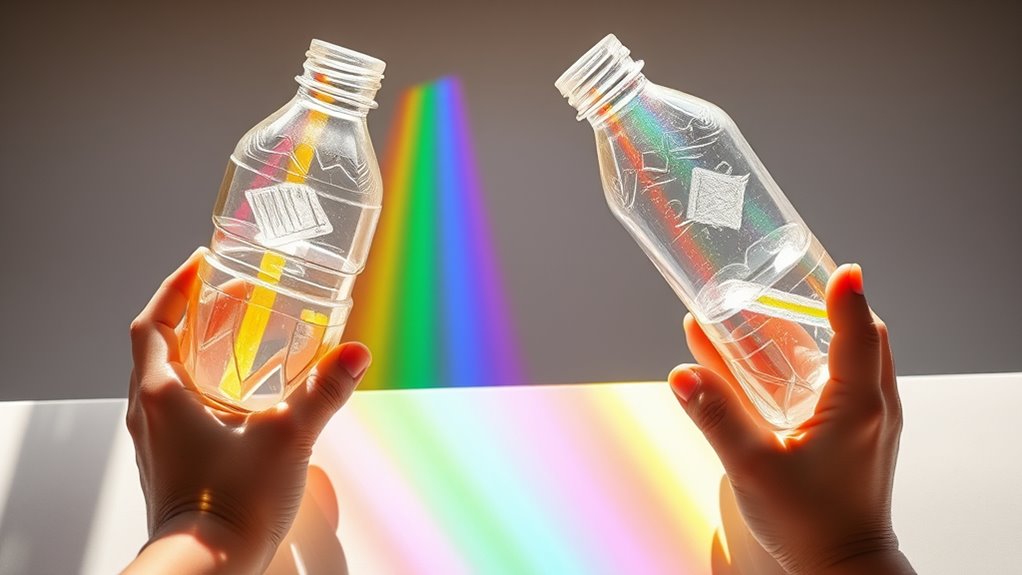
Experiments to Explore Light Refraction and Dispersion
To explore how light bends and splits into colors, you can perform simple yet revealing experiments with your plastic bottle prisms. Shine a flashlight through the plastic and observe how light refracts, creating a spectrum of colors. Try adjusting the angle to see how dispersion causes different wavelengths to spread apart, illustrating light diffusion. You can also experiment with color mixing by combining the spectral colors on a white surface, learning how primary colors blend into new hues. These activities demonstrate how refraction bends light and how dispersion separates it into a rainbow. Understanding light refraction and dispersion helps you grasp the science behind how prisms work, making the concepts of light refraction and dispersion engaging and visual.
Safe Handling and Supervision Tips for Kids
When handling plastic bottle prisms with children, it’s important to supervise their activities closely to guarantee safety. Child supervision ensures they use the prisms responsibly and prevents accidents. Always wear safety gear like goggles to protect their eyes from unexpected shards or reflections. To keep activities safe:
- Keep small parts out of reach to prevent choking hazards.
- Use child-friendly, non-toxic materials to avoid irritation or poisoning.
- Set clear boundaries, explaining safe handling and what to avoid.
- Be aware of data privacy challenges that may arise if digital components or online sharing are involved in the activity.
Creative Ways to Display and Use Your Colorful Prisms
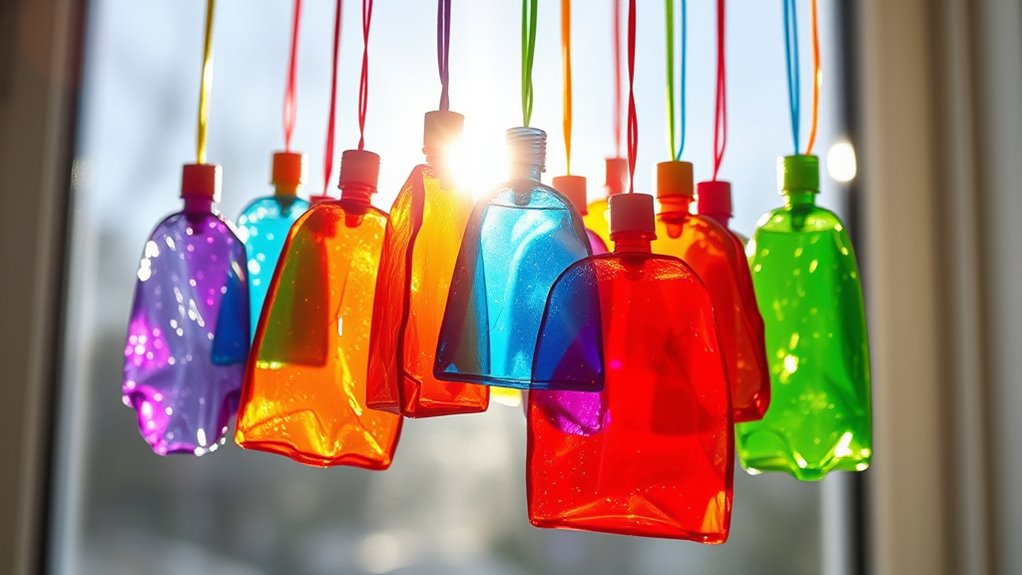
You can transform your colorful plastic bottle prisms into stunning displays by hanging them in windows to create vibrant rainbows or arranging them on shelves as eye-catching decor. For storage ideas, consider using small jars or decorative bowls to keep loose prisms organized while still showcasing their colors. Creative display arrangements include grouping several prisms together in a shadow box or attaching them to strings for mobile-like decorations. You can also hang individual prisms from ceiling hooks to catch the light and cast colorful reflections around the room. These display ideas not only highlight the beauty of your prisms but also make your space more lively and cheerful. Experiment with different arrangements to find what works best for your decor style and available space.
Frequently Asked Questions
What Types of Plastic Bottles Work Best for Making Prisms?
When choosing plastic bottles for making prisms, you should focus on clear, rigid options that follow recycling guidelines. Look for bottles made from PET or PETE (usually marked with a #1). These types are best because they’re transparent and sturdy, making them easier to cut and align. Avoid bottles with labels or colors, as they can distort light. Proper bottle selection guarantees your prism project is both safe and effective.
How Can I Make the Prisms More Durable for Long-Term Use?
Think of your prisms as fragile treasures needing armor. To make them more durable, you can add a coating protective layer, like a knight’s armor, to prevent scratches and cracks. Adjusting thickness by using thicker plastic bottles or reinforcing the edges also helps. This way, your prisms stay vibrant and intact longer, turning your spectrum fun into a long-lasting adventure. Keep experimenting, and your prisms will stand the test of time.
Are There Eco-Friendly Alternatives to Plastic Bottles for This Activity?
You’re wondering if eco-friendly options exist for making prisms. Yes, biodegradable plastics and recycled materials are great alternatives. By choosing biodegradable plastics, you guarantee your prisms break down safely over time, reducing environmental impact. Recycled materials, like repurposed glass or sturdy cardboard, can also work well for creating durable, kid-safe prisms. These options help make your activity more sustainable while still providing fun, colorful spectrum experiences.
Can These Plastic Prisms Be Used Outdoors Safely?
You can definitely use plastic prisms outdoors, but consider weather conditions first. Keep them away from heavy rain or direct sun to prevent damage. When you’re done, clean them with mild soap and water to remove dirt and smudges, ensuring they stay clear and bright. Always store them in a safe, shaded spot when not in use to prolong their lifespan. This way, you’ll enjoy endless spectrum fun outside safely and easily.
What Age Range Is Most Suitable for This Craft Activity?
Around 4 to 8-year-olds are most suitable for this craft activity, as they’re developing fine motor skills and curiosity. You should always supervise children closely to guarantee safety considerations are met, especially with small parts and sharp edges. Statistically, children in this age range are more receptive to learning and exploring safely when parents provide active child supervision, making this activity both fun and educational for young kids.
Conclusion
Now, with your vibrant plastic prisms shining like tiny rainbows, you’ve turned everyday bottles into magical portals of color. Each sparkle and shimmer invites you to explore light’s secret dance, like a curious explorer chasing shimmering stars. Keep your adventures safe and fun, letting your creativity flow freely. Remember, these colorful creations aren’t just decorations—they’re your personal gateway to a world of wonder and discovery, bursting with the magic of light and color.