Understanding exposure fundamentals involves balancing aperture, shutter speed, and ISO to control how much light hits your camera sensor. Aperture adjusts how much light enters through the lens, shutter speed determines how long the sensor is exposed, and ISO controls the sensor’s sensitivity to light. When you master how these three elements work together, you’ll take better photos in any lighting condition. Keep exploring to learn how to fine-tune each setting for perfect shots.
Key Takeaways
- The exposure triangle includes aperture, shutter speed, and ISO, which control the amount of light hitting the sensor.
- Adjusting one element affects the others; balancing all three ensures proper exposure.
- Aperture regulates depth of field and light entry; shutter speed controls motion blur and sharpness.
- ISO sensitivity impacts image brightness and noise levels, especially in low light conditions.
- Light metering guides optimal settings, but manual adjustments or exposure compensation may be necessary for accurate exposure.
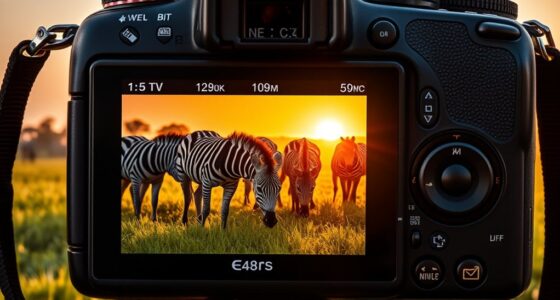
Have you ever wondered how photographers capture perfect images in varying lighting conditions? The secret lies in understanding the exposure triangle and mastering light metering. The exposure triangle consists of three elements: aperture, shutter speed, and ISO. These three settings work together to control how much light hits your camera sensor, directly affecting the brightness and clarity of your photos. Light metering is the process photographers use to measure the light in a scene and determine the *ideal* exposure settings. When you understand how to interpret your camera’s metering modes, you can make smarter decisions about adjusting the aperture, shutter speed, and ISO to get the desired result.
Your camera’s light metering system evaluates the scene’s lighting and provides a suggested exposure. For instance, in bright sunlight, the meter might recommend a smaller aperture or faster shutter speed to prevent overexposure. Conversely, in low light, it might suggest a wider aperture, slower shutter, or higher ISO to brighten the image. By paying attention to the metering readings—whether they’re evaluative, center-weighted, or spot metering—you can fine-tune your settings for perfect exposure. This process requires a clear understanding that the exposure triangle is interconnected; changing one element impacts the others. For example, if you open up the aperture to let in more light, you might need to increase shutter speed or lower ISO to maintain proper exposure.
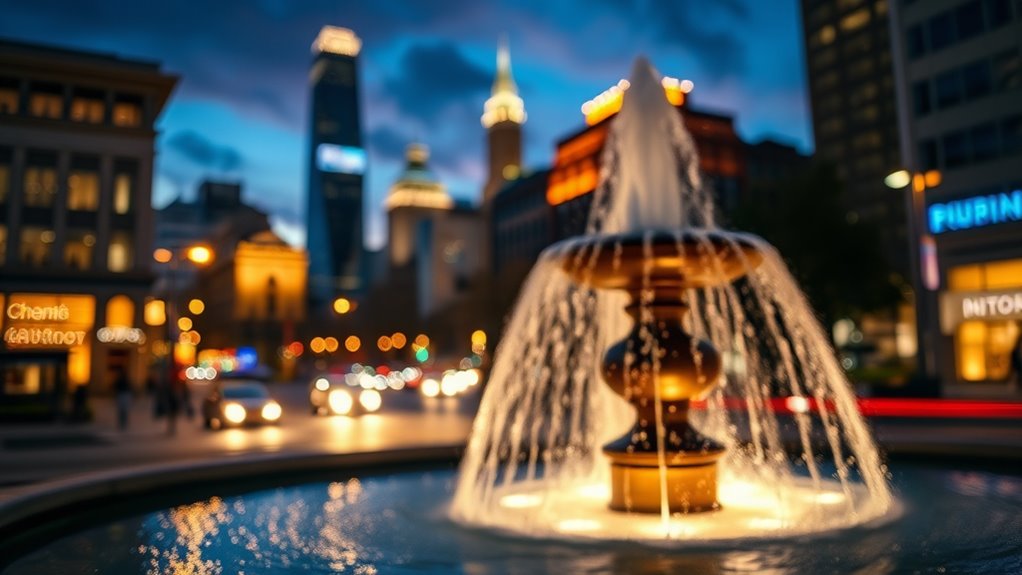
Mastering light metering and the exposure triangle empowers you to adapt quickly to different lighting situations. When shooting indoors or in dim environments, you might need to increase ISO or open up your aperture to avoid underexposure. In bright conditions, using a smaller aperture and faster shutter speeds helps prevent overexposure and retains detail. It’s important to remember that your camera’s metering system isn’t perfect—sometimes, it can be fooled by scenes with high contrast or unusual lighting. In these cases, manual adjustments are essential. You can use your camera’s exposure compensation feature to override the meter’s suggestions or switch to manual mode entirely, giving you full control over your exposure settings.
Understanding these fundamentals also means learning how to read your camera’s exposure indicator, which helps you see whether your current settings are underexposing or overexposing the scene. With practice, you’ll begin to anticipate how changes in aperture, shutter speed, and ISO influence your image brightness, enabling you to make quick adjustments on the fly. This knowledge transforms photography from a guessing game into a precise craft. So, next time you frame a shot, remember that mastering light metering and the exposure triangle is your best tool for capturing beautifully exposed images, no matter the lighting conditions you face. Additionally, understanding how the light metering system evaluates scenes can help you avoid common mistakes and optimize your camera’s performance in diverse environments.

SVPRO 1080P USB Webcam with Telephoto 5-50mm Lens, Full HD Computer Camera 100fps/60fps/30fps for Windows/Mac/Linux/Android
Full HD 1080P: Full HD 1080P: 2MP USB camera 1920×1080 full and high definition with 1/2.7" CMOS 2710…
As an affiliate, we earn on qualifying purchases.
As an affiliate, we earn on qualifying purchases.
Frequently Asked Questions
How Do Aperture, Shutter Speed, and ISO Interact in Different Lighting Conditions?
In different lighting conditions, you adjust aperture, shutter speed, and ISO to get the right exposure. When lighting is low, open your aperture wider, slow down shutter speed, or increase ISO. Bright conditions might need smaller aperture, faster shutter, or lower ISO. Remember, changing these affects lens distortion and white balance, so fine-tune each setting to maintain image quality and color accuracy across various environments.
What Are the Best Settings for Capturing Fast-Moving Subjects?
Imagine catching lightning in a bottle—you need quick settings. To freeze fast-moving subjects, set a fast shutter speed like 1/1000s to prevent motion blur. Use continuous autofocus techniques, such as AI Servo, to keep your subject sharp. Keep ISO high enough to maintain brightness without noise, and open your aperture slightly to let in enough light. With these settings, you’ll capture action crisply, like a snapshot of fleeting energy.
How Can I Achieve a Shallow Depth of Field Creatively?
To achieve a shallow depth of field creatively, use a wide aperture like f/1.4 or f/2.8 to create background blur. Choose a longer focal length lens, such as 85mm or 135mm, to enhance the effect. Get close to your subject and focus precisely to isolate it from the background. This combination will give your photos a dreamy, artistic quality, drawing attention to your main subject.
What Are Common Mistakes Beginners Make With Exposure Settings?
You often make focusing errors, like not locking focus properly, which results in blurry shots. You might also overlook white balance, causing color casts that ruin your photos. To improve, double-check your focus points and use focus locks if needed. Adjust white balance settings to match your lighting, ensuring colors look natural. Avoid rushing; take your time to set your exposure correctly, and your images will turn out sharper and more accurate.
How Does Exposure Compensation Influence Overall Image Brightness?
Did you know that nearly 70% of photos taken in tricky lighting need exposure compensation? It directly influences overall brightness by allowing you to adjust the histogram, making the image lighter or darker. Use exposure compensation to quickly correct underexposed or overexposed shots, especially when combined with exposure bracketing for multiple shots. This helps you capture perfectly balanced images, ensuring your photos truly reflect the scene’s brightness.

K&F CONCEPT Light Stand for Photography, 9.1ft/2.8M Portable Extendable Photo Video Tripod Stand, Heavy Duty Light Stand Lighting Tripod with 1/4" Screw for Strobe Light/Webcams/Cameras/Softbox
【Sturdy and Stable】Made of high-quality metal to make the structure more stable, durable and portable; tripod base with…
As an affiliate, we earn on qualifying purchases.
As an affiliate, we earn on qualifying purchases.
Conclusion
Now that you’ve got a grasp on aperture, shutter speed, and ISO, you’re ready to take control of your camera and craft stunning images. Remember, mastering exposure isn’t about memorizing settings but understanding how they work together. So, aren’t you excited to experiment and discover your unique style? With these fundamentals in your toolkit, every shot becomes an opportunity to tell a story worth sharing. Happy shooting!
Camera Settings Simplified 2026: A Beginner’s Guide to ISO, Aperture, and Shutter Speed
As an affiliate, we earn on qualifying purchases.
As an affiliate, we earn on qualifying purchases.
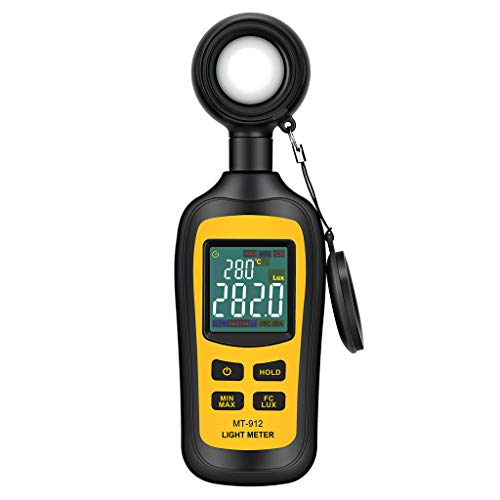
Light Meter Digital Illuminance Meter Handheld Ambient Temperature Measurer, Range up to 200,000 Lux, Luxmeter with 4 Digit Color LCD Screen
Measures luminosity from 0 to 200,000 Lux and ambient temperature
As an affiliate, we earn on qualifying purchases.
As an affiliate, we earn on qualifying purchases.