

To avoid dust and color issues when scanning film, start by thoroughly cleaning your negatives and scanner glass with anti-static tools. Use a high-quality scanner set to the appropriate film type and calibrate it regularly to guarantee accurate colors. Adjust settings like brightness, contrast, and saturation carefully, and use dust removal features or manual retouching for stubborn spots. Mastering these techniques helps you get clean, true-to-life images—more tips on perfecting your scans await.
Key Takeaways
- Always clean negatives and scanner components thoroughly before scanning to minimize dust and debris transfer.
- Use high-quality calibration tools and profiles to ensure accurate color reproduction.
- Store film in proper, dust-free conditions to prevent contamination over time.
- Apply dust removal and scratch correction software features during post-processing.
- Adjust scanner settings carefully for optimal exposure, color balance, and grain reduction.

SXXZYAZJ Anti-Static Film Cleaning Kit for Photographers – Eliminates Static Electricity and Dust
Precision Engineering: Crafted from thickened aluminum alloy metal plates with advanced bending and coating techniques, this product features…
As an affiliate, we earn on qualifying purchases.
As an affiliate, we earn on qualifying purchases.
Why Dust and Debris Ruin Your Film Scans and How to Avoid Them
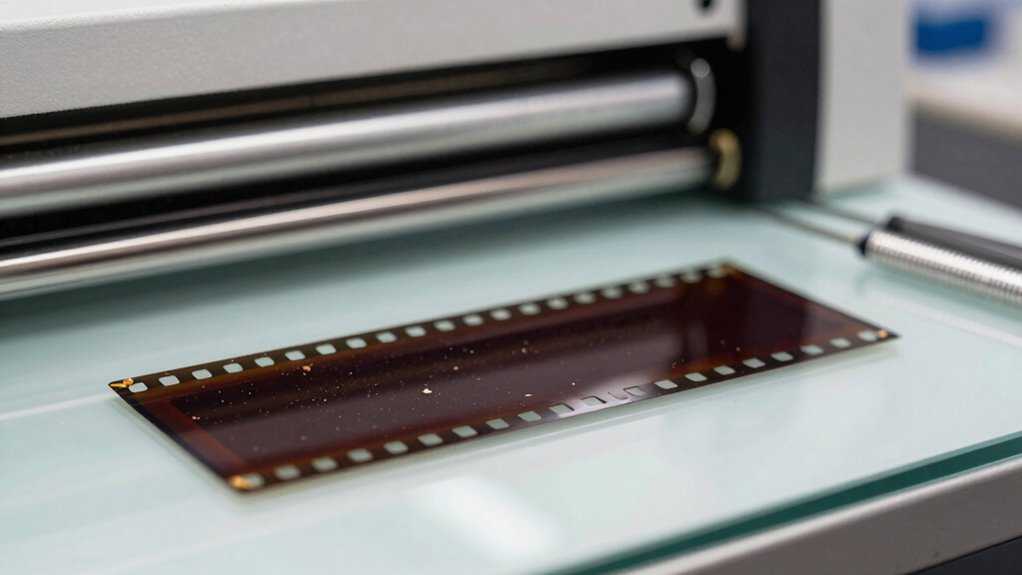
Dust and debris can seriously compromise your film scans, often causing spots, scratches, and other imperfections that detract from your image quality. If you want to preserve your film’s original quality, maintaining proper archival storage is crucial. Dust particles settle on negatives over time, and scanning without cleaning can magnify these flaws, making your digital images look damaged. To achieve better results, clean your film carefully before scanning and store it in a dust-free environment. Proper archival storage minimizes dust accumulation and protects your negatives from environmental factors like humidity and dirt. By keeping your film in ideal condition, you reduce the risk of dust-related imperfections, allowing you to capture the true detail and color of your original images more accurately. Additionally, utilizing best practices in film handling can further enhance the quality of your scans, including ensuring color accuracy by calibrating your scanning equipment. Furthermore, adopting techniques from electric bike maintenance can also teach you about the importance of routine care in preserving your equipment’s functionality. Embracing digital content exploration can lead to innovative ways to enhance your film scanning process.
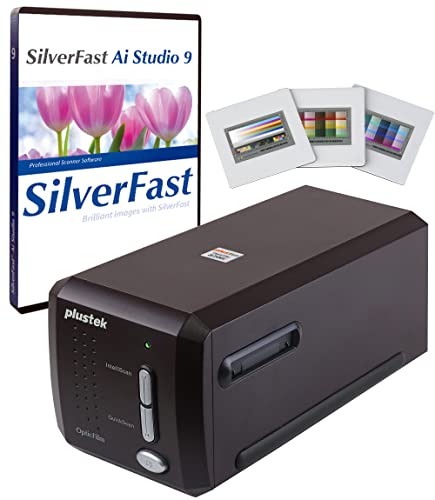
Plustek OpticFilm 8300i Ai Film Scanner – Converts 35mm Film & Slide into Digital, Bundle SilverFast Ai Studio 9 + QuickScan Plus, Include Advanced IT8 Calibration Target (3 Slide)
[NewlyLaunched] OpticFilm 8300i Ai equipped with new generation of chip, which increase by 38% scan speed compared to…
As an affiliate, we earn on qualifying purchases.
As an affiliate, we earn on qualifying purchases.
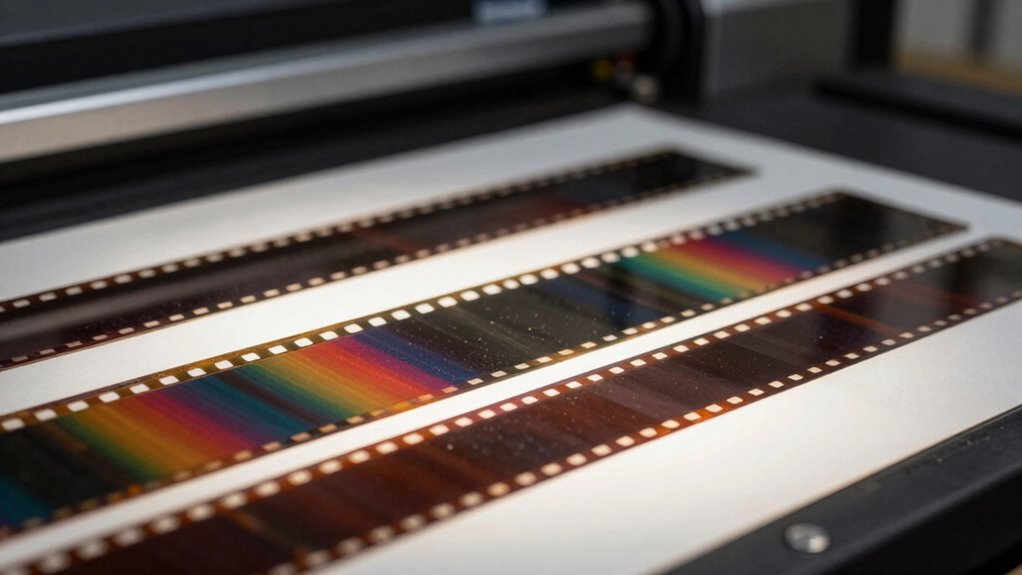
Choosing the Best Film Scanner and Settings for Clean Results

Choosing the Best Film Scanner and Settings for Clean Results
Choosing the right film scanner and adjusting its settings can make a significant difference in achieving clean, high-quality digital images. Start by selecting a scanner optimized for your film type, whether negatives or slides, and guarantee it offers high resolution for sharp detail. Proper scanner maintenance is essential—regularly clean the glass and check for dust buildup to prevent spots on scans. Additionally, investing in high-quality scanning equipment can further enhance the clarity of your results. Also, consider your film storage; well-preserved film yields better results, reducing the need for extensive post-processing. Adjust settings like color correction, resolution, and file format to match your desired output. Using the correct settings minimizes the chances of dust, scratches, and color issues, making your scans cleaner and more accurate straight out of the scanner. Furthermore, ensuring your equipment has a good testing accuracy can significantly enhance the quality of your scans. For instance, the freshness and creamy texture of well-maintained film can lead to superior outcomes in your digital images. Furthermore, utilizing quality car protection during film storage can help avoid environmental damage that affects the film’s integrity. Juicing techniques, such as celery juice for its anti-inflammatory properties, can also be beneficial for maintaining the health of your film scanning environment.

Datacolor Spyder Checkr – Color calibration tool for cameras. Ensure accurate, consistent color with varied cameras/light. Has 48 target colors + grey card for in-camera white balance
𝗦𝗜𝗠𝗣𝗟𝗜𝗙𝗬 𝗪𝗢𝗥𝗞𝗙𝗟𝗢𝗪: Software analyzes color results of your test shot to instantly create an HSL preset to use…
As an affiliate, we earn on qualifying purchases.
As an affiliate, we earn on qualifying purchases.
Top Techniques to Remove Dust and Scratches During Scanning

Top Techniques to Remove Dust and Scratches During Scanning
To effectively remove dust and scratches during scanning, you need to adopt a combination of careful handling and software techniques. Start by gently cleaning your film with an anti-static brush or compressed air to minimize dust. Utilizing techniques for early detection awareness can also help you identify potential issues with your film quality. Additionally, understanding proper car maintenance can prevent damage to your film equipment and enhance your scanning process. Use high-quality scanning software with dust removal and scratch correction features for digital restoration. These tools help preserve film quality and ensure cleaner digital copies. Additionally, applying manual retouching in editing software can eliminate stubborn spots. Here’s a quick guide:
| Technique | Tool/Method | Benefit |
|---|---|---|
| Mechanical cleaning | Anti-static brush | Reduces dust before scanning |
| Software dust removal | Built-in filters | Automates dust correction |
| Scratch correction | Digital retouching tools | Fixes scratches |
| Careful handling | Proper film storage | Prevents future damage |
These techniques support film preservation and smoother digital restoration. Remember, maintaining filtration/suction basics during the scanning process can significantly enhance the quality of your digital images.

Plustek OpticFilm 8200i SE , 35mm Film & Slide Scanner. 7200 dpi / 48-bit Output. Integrated Infrared Dust/Scratch Removal. Bundle Silverfast SE Plus 9 , Support Mac and PC.
Built-in infrared channel can detect dust and scratches on the surface of the original negatives and slides. It…
As an affiliate, we earn on qualifying purchases.
As an affiliate, we earn on qualifying purchases.
How to Calibrate Your Scanner for Accurate Colors

Sure! Here’s your modified article subheading content with the requested changes:
—
Ever wondered why some scanned images look dull or off-color? The key is proper calibration. Start by selecting the right color profile for your scanner; this guarantees your device interprets colors correctly. Use calibration targets—specialized test charts designed for color accuracy—to create a baseline. Scan the target and compare the scan to the known standards. Adjust your scanner settings until the colors match the reference. Many scanning software programs allow you to embed these color profiles directly into your images, maintaining consistent color reproduction across different devices. Regular calibration keeps your scans true to the original film, ensuring that the process enhances independence and dignity for those creating digital memories. By maintaining accurate color profiles and using calibration targets, you assure your digital images reflect the vibrant, nuanced colors of your original film. Moreover, understanding song placement can improve the aesthetic flow of your visual projects. Additionally, understanding crisping techniques can enhance your overall image quality during the scanning process. Implementing regular calibration can significantly improve your scanning outcomes, much like Net+ Certification benefits enhance tech career prospects. To truly appreciate the nuances of color in your scans, remember that AI advancements are constantly evolving to improve accuracy in digital imaging.
—
Feel free to ask if you need further modifications!
Post-Processing Tips to Perfect Your Digital Film Images
Sure! Here’s the revised content with the requested addition:
—
Once you’ve calibrated your scanner and achieved accurate color reproduction, the next step is to refine your digital images through post-processing. Focus on reducing film grain without losing detail by applying noise reduction techniques carefully. Use color correction to enhance or restore colors, ensuring your scans match the original film’s tone. Additionally, employing effective automation techniques can streamline your workflow and improve efficiency. Understanding firewood preparation can enhance your overall project management skills. In modern consumer life, being aware of ethical choices can also influence your purchasing decisions when it comes to photography equipment. Adjust contrast and brightness to bring out details in shadows and highlights. Consider the following tips:
| Tip | Technique | Effect |
|---|---|---|
| Reduce film grain | Use noise reduction filters selectively | Smoother image, less distraction |
| Color correction | Adjust color balance and saturation | Accurate, vibrant colors |
| Brightness/Contrast | Fine-tune sliders for clarity | Dynamic, balanced image |
Additionally, understanding slang terms can help you communicate effectively in photography forums and discussions.
—
Let me know if you need any further adjustments!
Frequently Asked Questions
What Types of Film Are Best Suited for High-Quality Scanning?
You should choose negatives or slides for high-quality scanning, as they’re best for film preservation and color correction. Negatives offer more detail and dynamic range, making them ideal for restoring old footage. Slides provide vibrant colors and sharp images, perfect for color accuracy. Ensuring your film is clean and well-preserved helps avoid dust and color issues, giving you the best results in digital formats.
How Often Should I Clean My Scanner to Maintain Optimal Performance?
Think of your scanner as a garden that needs regular tending. You should clean it every 10-20 rolls or weekly, whichever comes first, to keep dust and debris at bay. Use gentle cleaning techniques, like a microfiber cloth and compressed air, to prevent scratches and maintain sharp, true colors. Regular maintenance guarantees your scanner blossoms with clarity, preserving the beauty of each frame and extending its lifespan.
Can Different Lighting Conditions Affect My Film Scans?
Different lighting conditions can profoundly affect your film scans by impacting lighting consistency and scan exposure. When lighting varies, it can cause uneven brightness or color shifts, making your scans look inconsistent. To avoid this, always scan in a stable, controlled environment with consistent lighting. This helps guarantee your scans have accurate exposure and color fidelity, resulting in professional-looking results every time.
What Are the Signs That My Scanner Needs Calibration?
Did you know that 85% of color discrepancies in scans stem from calibration issues? Signs your scanner needs calibration include inconsistent color accuracy, color shifts, or faint images. You should calibrate regularly—ideally after every few scans—to maintain peak quality. If your scans look off, it’s time to check calibration frequency and perform a quick calibration to ensure your colors stay true and your images sharp.
Are There Specific Software Tools Recommended for Advanced Dust Removal?
For advanced dust removal, you should consider software like SilverFast’s iSRD, which excels in digital restoration and works well with various scanners. Vuescan also offers powerful dust and scratch removal features, ensuring compatibility across different devices. These tools automate dust cleanup, saving you time and improving image quality. Always check software compatibility with your scanner model before investing, and consider trial versions to evaluate their dust removal effectiveness.
Conclusion
To get flawless scans, stay vigilant against dust and scratches—think of it as guarding your precious collection like a medieval knight. Choose the right scanner and settings, and don’t forget to calibrate for true colors. Use post-processing wisely to perfect your images. Remember, even in the age of flying cars, a clean, well-maintained scanner and patience will guarantee your vintage film captures remain vibrant and dust-free—timeless treasures worth the effort.