Time-lapse plant imaging lets you observe growth and responses over time by capturing photos at set intervals and compiling them into videos. You’ll need durable, easy-to-setup cameras with good stability, proper lighting, and precise settings for clear footage. Monitoring plant changes like leaf expansion and root growth helps analyze how environmental factors impact development. If you keep exploring, you’ll discover techniques to optimize your setup and deepen your understanding of plant behavior.
Key Takeaways
- Use stable, high-quality cameras with programmable interval settings to capture consistent plant growth images over time.
- Properly configure camera focus, exposure, and lighting to ensure clear, noise-free time-lapse footage.
- Employ equipment like tripods and adjustable stands for stable positioning and optimal framing of plant features.
- Analyze growth patterns by tracking changes in leaves, stems, and roots, utilizing software tools for detailed insights.
- Customize capture intervals based on plant growth rates to effectively document developmental stages like germination and flowering.

VIVOSUN GrowCam C4, 2K QHD WiFi Smart Camera for Grow Tent & VGrow Smart Grow Box, Supports 2.4GHz WiFi (Not 5GHz/6GHz), Timelapse, Night Vision, SD Card Storage, 2-Way Audio, App Control
2K Crystal Clear: The 2K 4MP QHD ultra-clear lens captures vivid details, letting you observe your plants up…
As an affiliate, we earn on qualifying purchases.
As an affiliate, we earn on qualifying purchases.
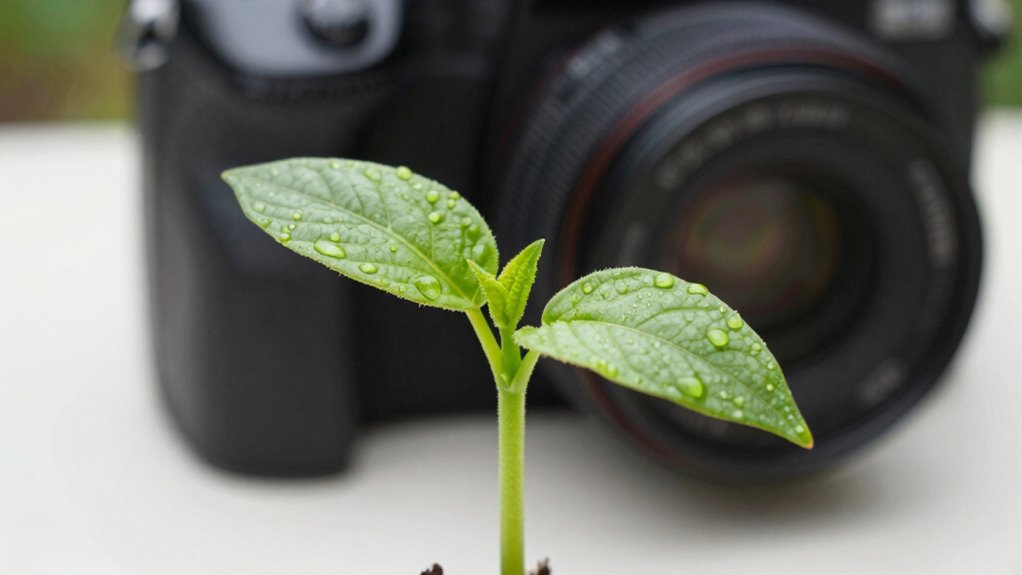
What Is Time-Lapse Plant Imaging and How Does It Work?
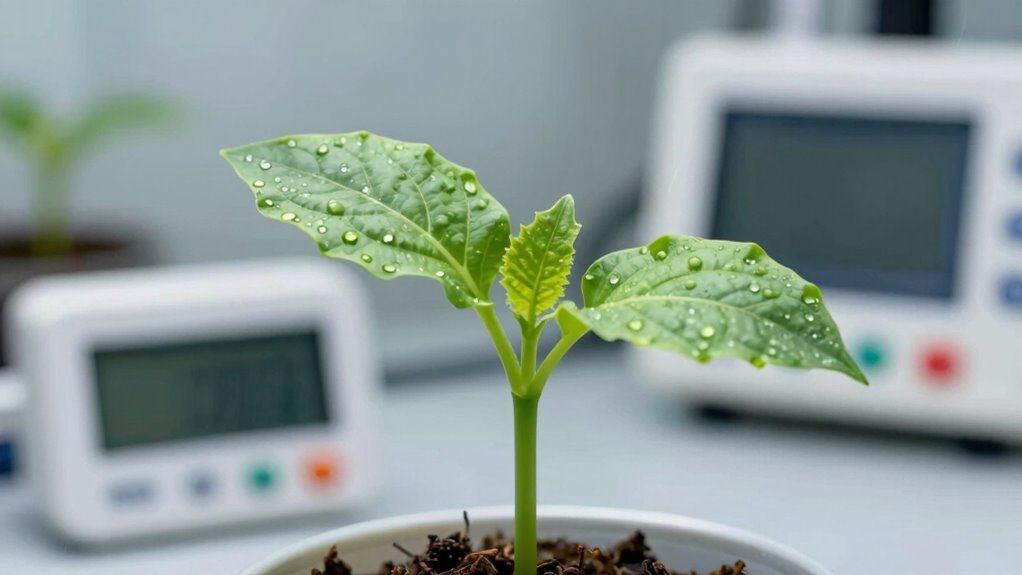
Have you ever wondered how scientists capture the slow, subtle changes in plants over time? Time-lapse plant imaging makes this possible by taking photos at set intervals and compiling them into a short video. This technique reveals processes like plant phototropism, where plants bend toward light, and root development underground. You set up a camera with a stable mount and program it to take images over days or weeks. The camera’s interval setting determines how frequently pictures are taken, ensuring you don’t miss critical growth stages. When combined into a video, these images vividly show how plants respond to their environment, highlighting growth patterns and behaviors that happen too slowly for the naked eye. This method provides a clear window into plant development over time, offering a way to explore digital concepts in a unique and engaging manner.

Dsoon Time Lapse Camera, 4K FHD Timelapse Camera Outdoor, Waterproof Level IP66, for Record Outdoor Construction, Weather, Plant, 6 Month Battery Life, 32 GB TF Card Included
【High-Definition 4K Imaging】 Dsoon (TL3000)Timelapse Camera features an advanced chip and fill light technology, ensuring crystal-clear image capture…
As an affiliate, we earn on qualifying purchases.
As an affiliate, we earn on qualifying purchases.
How to Choose the Best Camera for Time-Lapse Plant Monitoring
Choosing the right camera is essential for capturing clear, detailed time-lapse images of your plants. Look for a camera with good durability so it can withstand outdoor conditions or long-term use without damage. A sturdy build guarantees it won’t break or malfunction easily. Battery life is equally important—you want a camera that can operate for days or weeks without needing frequent recharging or battery replacements. Consider models with extended battery life or options for external power sources to keep your monitoring continuous. Additionally, choose a camera that’s easy to set up and reliable, so your plant growth isn’t interrupted. Balancing durability and battery performance helps you get consistent, high-quality images, making your time-lapse project successful and hassle-free. Moreover, cameras with high refresh rates can ensure smooth transitions in your time-lapse sequences. To enhance your monitoring, look for features that allow automated image capture at set intervals for optimal tracking of growth. Investing in top car protection accessories can also help you create a safe and stable environment for your camera setup.

Amazon Basics 50-inch Lightweight Portable Camera Tripod Stand with Quick-Release Plate, Adjustable Height, Aluminum, for Travel Photography, Champagne
Camera mount tripod stand with zippered storage bag
As an affiliate, we earn on qualifying purchases.
As an affiliate, we earn on qualifying purchases.
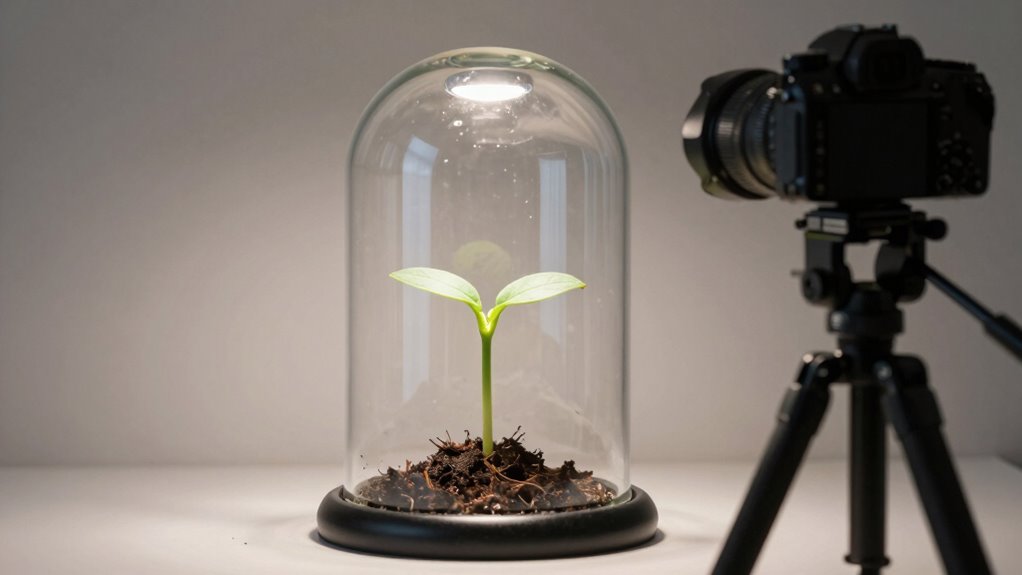
Setting Up Your System in Small or Limited Spaces
When space is tight, choosing compact equipment can make setup easier and more efficient. You’ll want to optimize the available area by selecting small cameras, stands, and mounting options that fit your space perfectly. With some strategic planning, you can create an effective time-lapse system even in limited environments.
Compact Equipment Options
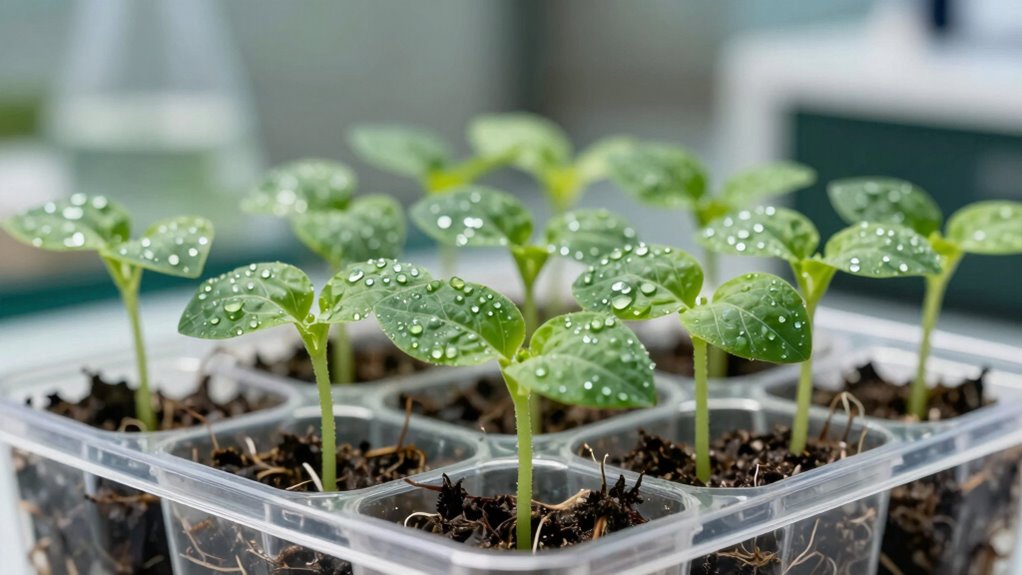
Looking to set up a time-lapse plant imaging system in a small or confined space? Compact equipment options make this possible without sacrificing detail or quality. Use miniature cameras designed for botanical photography, which fit easily on shelves or desks. Consider portable, battery-powered systems that save space and allow flexibility in placement. Integrate lightweight, adjustable stands to optimize camera angles for capturing plant physiology. Additionally, choose compact, high-resolution cameras with Wi-Fi connectivity for remote monitoring. These tools help you track subtle growth changes and physiological responses without cluttering your workspace. With the right small-scale equipment, you can effectively observe and document plant development, even in tight spaces, ensuring high-quality, detailed images for your botanical research or hobby.
Optimizing Limited Space
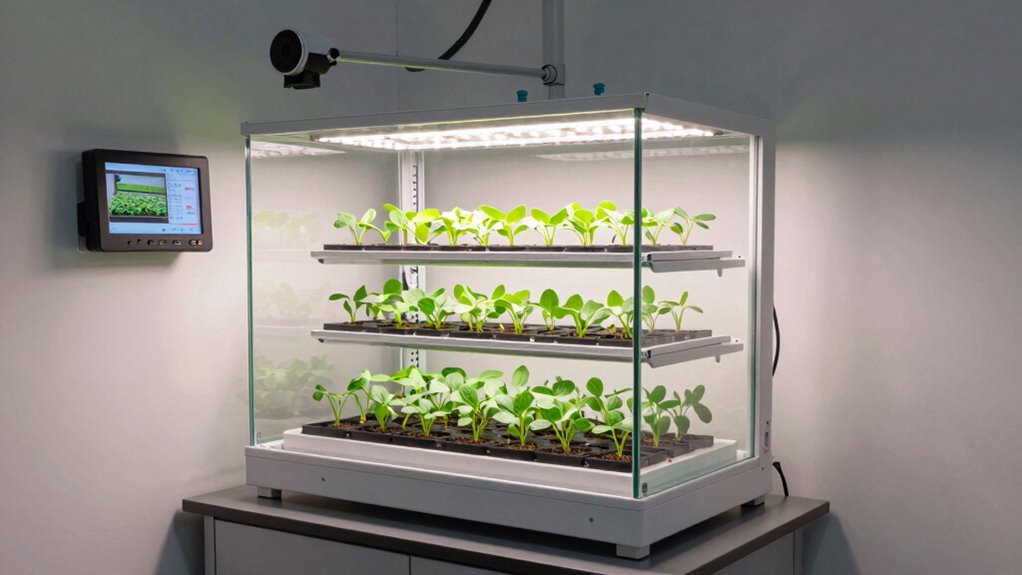
Maximizing limited space requires a strategic approach to setting up your plant imaging system. Carefully choose compact equipment that fits snugly without sacrificing image quality. Use vertical shelving to maximize height, keeping plants accessible for monitoring soil nutrition and early signs of plant disease. Organize cables and accessories to prevent clutter and maintain focus on growth patterns. Here’s a simple layout:
| Space Optimization | Benefits |
|---|---|
| Vertical racks | Saves floor space, easy access |
| Compact lighting | Ensures consistent illumination |
| Multipurpose stations | Combines imaging, analysis, and watering |
This setup keeps your environment efficient and focused, allowing you to track subtle changes in plant health, detect early plant disease, and monitor soil nutrition effectively—even in tight spaces.

Fractal Modelling: Growth and Form in Biology
Used Book in Good Condition
As an affiliate, we earn on qualifying purchases.
As an affiliate, we earn on qualifying purchases.
Tips for Capturing Clear and Detailed Plant Growth Footage
Capturing clear and detailed footage of plant growth requires paying close attention to your camera setup and environment. To do this effectively, consider how plant physiology influences growth patterns, and adjust your setup accordingly. Environmental factors like lighting, humidity, and stability impact image quality and consistency. Keep these tips in mind:
- Use consistent lighting to avoid shadows and fluctuations that obscure growth details.
- Stabilize your camera to prevent motion blur, especially when capturing long-term sequences.
- Position your camera to focus on the most informative parts of the plant, considering its natural growth direction and structure.
What Camera Settings Are Best for Plant Time-Lapse?
Choosing the right camera settings is essential for producing sharp, consistent plant time-lapses. You should focus on camera stabilization to prevent motion blur and guarantee smooth footage. Use a tripod or stabilizer, and lock focus to avoid shifts during capture. Lighting calibration is also critical; set your camera’s exposure and white balance to match the environment for accurate color and brightness. Adjust ISO to the lowest setting to minimize noise. Additionally, consider using lightweight foundations to improve the overall quality of your filming environment. Twin flame unions often require patience and stability, similar to achieving the perfect time-lapse setup. Properly managing your firewood resources can ensure an efficient and effective filming process. Consider the following settings:
| Setting | Recommended Adjustment | Purpose |
|---|---|---|
| Shutter Speed | 1/60 sec or slower | Prevent motion blur, capture natural movement |
| Aperture | f/8 to f/11 | Maximize depth of field for sharpness |
| ISO | 100–400 | Reduce noise, enhance clarity |
Incorporating performance parts can significantly enhance the quality of your time-lapse projects. Creating a well-designed workspace can also foster healthier posture and improve your overall productivity while working on these projects.
Troubleshooting Common Setup and Capture Issues
Even with well-planned camera settings, setup and capture issues can still arise during your plant time-lapse project. You might notice inconsistent lighting, blurry images, or gaps in your footage. To troubleshoot, check these common issues:
Even with careful planning, lighting, focus, and stability issues can still affect your plant time-lapse footage.
- Make certain your soil moisture levels are consistent to avoid plant stress that affects growth visuals.
- Regularly inspect for pests, as pest management is vital to prevent damage that skews your observations.
- Confirm your camera is stable and focused properly, avoiding movement or blurriness. Additionally, consider using natural filtration systems to maintain a healthy environment for your plants.
How to Analyze Your Plant Growth and Responses From Footage
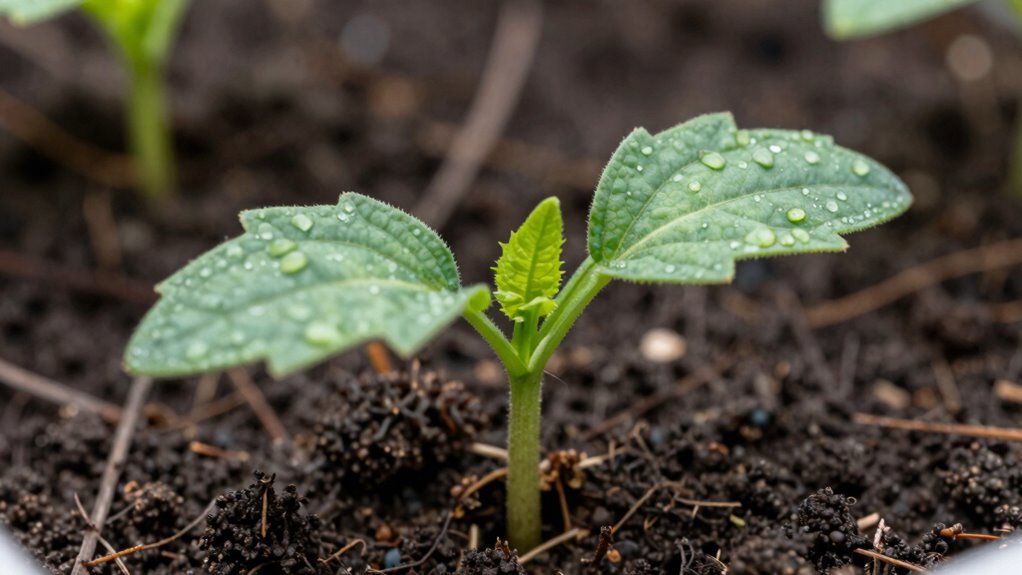
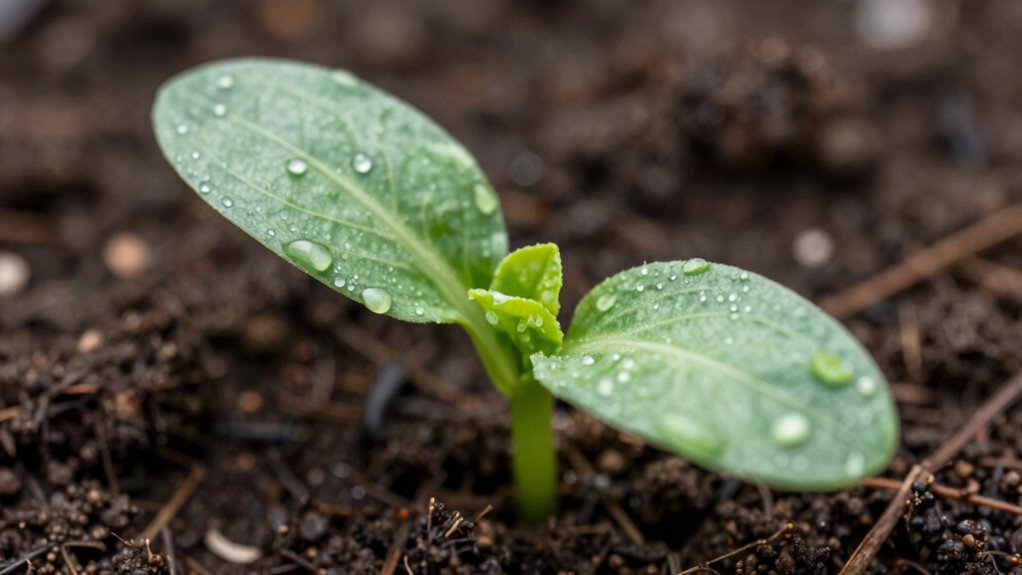
Once you have your plant time-lapse footage, the next step is to analyze it effectively to understand growth patterns and plant responses. Focus on observing changes in plant physiology, such as leaf expansion, stem elongation, and root development. Use growth measurement techniques by tracking specific points or areas over time to quantify growth rates. Software tools can help you analyze movement, color changes, and overall health indicators. Pay attention to how environmental factors influence responses, like light or water availability. By carefully reviewing these details, you can identify patterns, stress responses, and developmental stages. This analysis provides valuable insights into your plant’s biology, helping you make informed decisions for experiments, cultivation, or research.
Ways to Enhance and Speed Up Your Time-Lapse Videos

To make your time-lapse videos more dynamic, start by optimizing your camera settings for clarity and smoothness. Using interval timers can help you capture footage more efficiently, while editing techniques like speed adjustments and shifts can enhance the final result. These methods work together to create faster, more engaging plant growth sequences.
Optimize Camera Settings
Optimizing your camera settings is essential for creating smooth and visually appealing time-lapse videos. Proper adjustments help capture subtle changes in plant growth, reflecting factors like plant genetics and soil health. To enhance your footage, consider:
- Adjusting shutter speed to balance motion blur and sharpness, especially when plants sway gently.
- Setting the right ISO to avoid graininess while maintaining clarity in varying light conditions.
- Choosing a stable tripod and locking focus to prevent shifts during recording, ensuring consistent framing.
Use Interval Timers
Have you considered how interval timers can dramatically improve your time-lapse footage? By using interval timers, you control exactly when your camera captures images, which is essential for tracking plant growth in plant biology studies. They help you set consistent intervals, ensuring smooth, professional-looking videos without gaps or overlaps. This precision enhances your understanding of growth patterns, revealing subtle changes over time. From a camera mechanics perspective, interval timers reduce the need for manual intervention, minimizing shake or misalignments. They also allow you to customize capture frequency based on the plant’s growth rate, saving storage space and battery life. Overall, interval timers give you greater control, accuracy, and efficiency—making your time-lapse projects more reliable and insightful.
Enhance With Editing Techniques
Once you’ve captured a consistent sequence of images with interval timers, the next step is to enhance your footage through editing techniques that can make your time-lapse more engaging. Focus on emphasizing plant physiology and the capabilities of imaging technology. You can:
- Adjust speed settings to highlight key growth phases, making changes easier to observe.
- Use color correction to enhance contrast and reveal subtle details in plant development.
- Add annotations or overlays to explain physiological processes or highlight specific growth patterns.
These techniques help you communicate complex plant physiology concepts clearly, while also making your footage visually compelling. Well-edited videos can showcase how imaging technology captures the dynamic nature of plant growth, transforming raw images into insightful visual stories.
Applying Time-Lapse Imaging to Different Plant Experiments
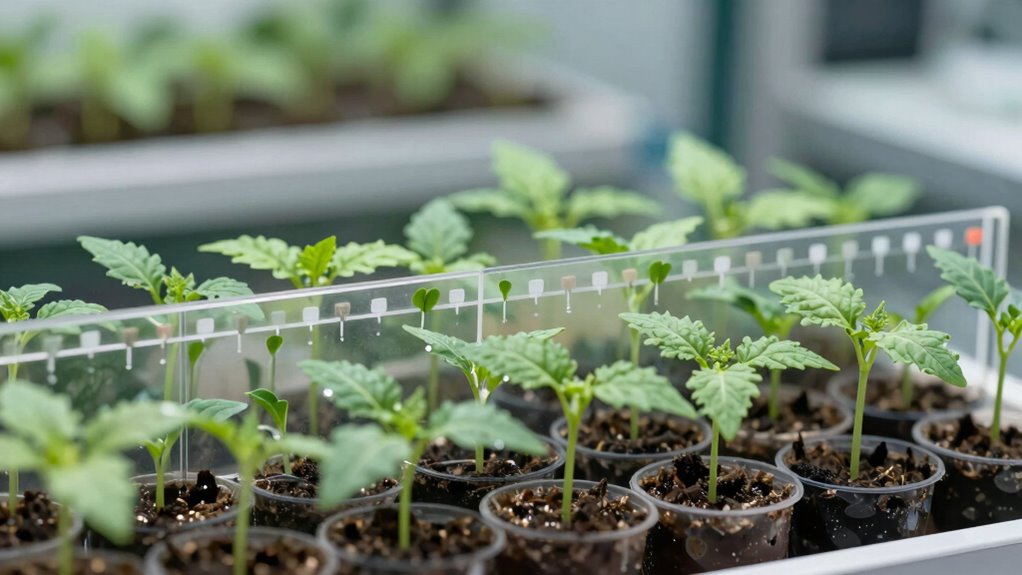
Applying time-lapse imaging to different plant experiments allows you to observe growth and developmental processes in real-time with remarkable detail. You can monitor how plant lighting conditions influence growth rates, adjusting light intensity or spectrum to optimize results. Smart design principles can enhance indoor gardening by creating environments that promote healthy growth. Soil moisture levels also play a vital role; by capturing images over time, you see how watering frequency impacts root development and overall health. Proper tool use is essential for ensuring that your gardening techniques are both effective and safe. This technique enables precise comparisons between experimental variables, such as different lighting setups or watering schedules. By documenting these factors visually, you gain insights into plant responses and stress points, helping you refine cultivation techniques. Time-lapse imaging becomes a powerful tool for understanding complex interactions between environmental conditions and plant growth, making your experiments more controlled and informative. Additionally, this method aligns with the principles of real-world applications in plant science, allowing you to connect your findings to broader agricultural practices. Understanding the historical context of women’s golf achievements can also inspire innovative approaches in your gardening methods, reflecting the resilience and progress seen in the sport.
Frequently Asked Questions
What Are the Best Lighting Conditions for Plant Time-Lapse Photography?
You should use consistent, diffuse lighting for plant time-lapse photography. Artificial lighting like LED grow lights provides steady, controllable illumination, ensuring your plant growth stays well-lit without flickering. Alternatively, natural sunlight works well if you shoot near a window with steady light and avoid direct sun, which can cause harsh shadows. Keep the lighting even throughout your shots to capture clear, detailed growth progress.
How Often Should I Capture Images for Optimal Growth Tracking?
For ideal growth tracking, you should capture images every 30 minutes to 2 hours with your plant camera. For example, a researcher monitoring seed germination found that capturing images every hour provided detailed growth analysis without missing key stages. This frequency balances data richness and manageable file sizes, allowing you to observe subtle changes and accurately analyze growth patterns over time. Adjust based on how fast your plant develops.
Can Time-Lapse Imaging Be Used for Root Growth Observation?
Yes, you can use time-lapse imaging to observe root development effectively. By capturing images regularly, you can monitor how roots grow and respond to different soil conditions. This method also aids in soil analysis, helping you identify how soil quality influences root growth over time. Consistent imaging allows you to track subtle changes, providing valuable insights into plant health and soil interactions without disturbing the roots.
What Software Options Are Available for Editing Plant Time-Lapse Videos?
Think of editing your plant time-lapse videos as sculpting a masterpiece. You can use software like Adobe Premiere Pro, DaVinci Resolve, or iMovie to fine-tune your footage. These tools let you adjust camera settings, enhance colors, and trim scenes. They support various plant species, helping you highlight growth patterns beautifully. With these options, you’re in control, transforming raw footage into a mesmerizing story of nature’s resilience.
How Can I Automate the Image Capturing Process?
You can automate your image capturing by setting up automatic camera triggers or remote image capture systems. Use programmable intervalometers or smart cameras with built-in timers to take photos at consistent intervals. Connecting your camera to a remote control app or automation software allows you to schedule captures without manual intervention. This setup guarantees steady, reliable time-lapse sequences, making tracking plant growth effortless and precise.
Conclusion
As you set up your time-lapse plant imaging system, you’ll notice how each tiny detail, from a leaf’s curl to a bud’s bloom, unfolds over time. It’s like catching nature’s quiet miracles—a reminder that growth happens gradually, yet beautifully. With the right tools and patience, you’ll witness plant responses that once only existed in theory, now vividly captured—turning your space into a living laboratory of surprises.