
To convert Arduino light sensor data into real units like lux, start by understanding your sensor’s raw output, usually between 0 and 1023. You’ll need to calibrate it with known light sources to create an accurate mapping. Regular filtering and averaging improve stability. By applying calibration factors from the sensor datasheet and proper testing, you can transform raw data into meaningful light measurements. Keep reading to discover how to tune your sensor for precise results.
Key Takeaways
- Calibrate the sensor using known light sources to establish a baseline for raw readings.
- Use sensor datasheets to determine conversion formulas from raw values to lux or other units.
- Filter and average raw data to reduce noise and improve measurement accuracy.
- Position sensors consistently and away from interference for reliable readings.
- Regularly verify and recalibrate to maintain measurement accuracy over time.

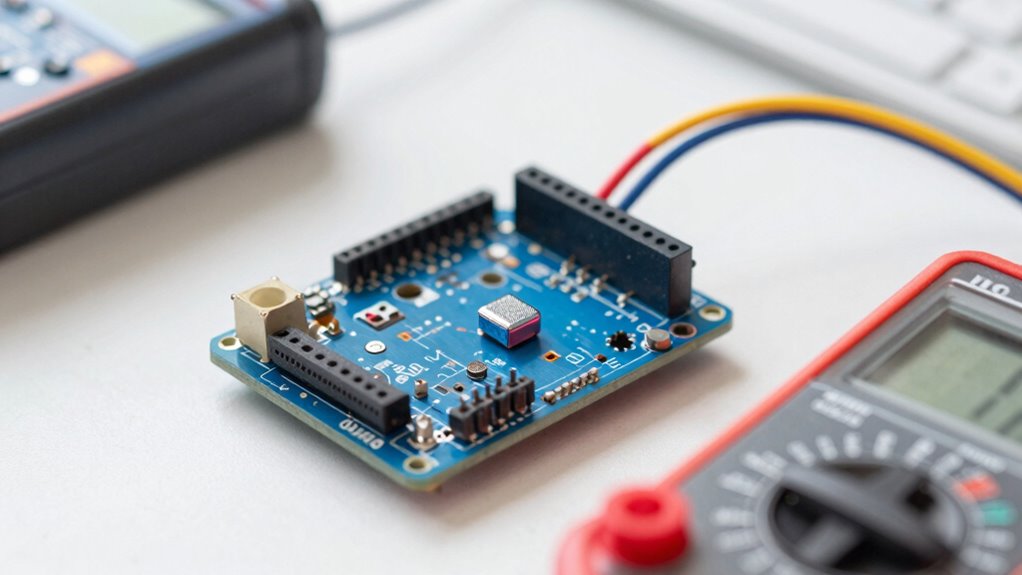
HiLetgo 2PCS TSL2561 Luminosity Sensor Infrared Light Brightness Sensor Luminance Sensor
TSL2561 Luminosity Sensor
As an affiliate, we earn on qualifying purchases.
As an affiliate, we earn on qualifying purchases.
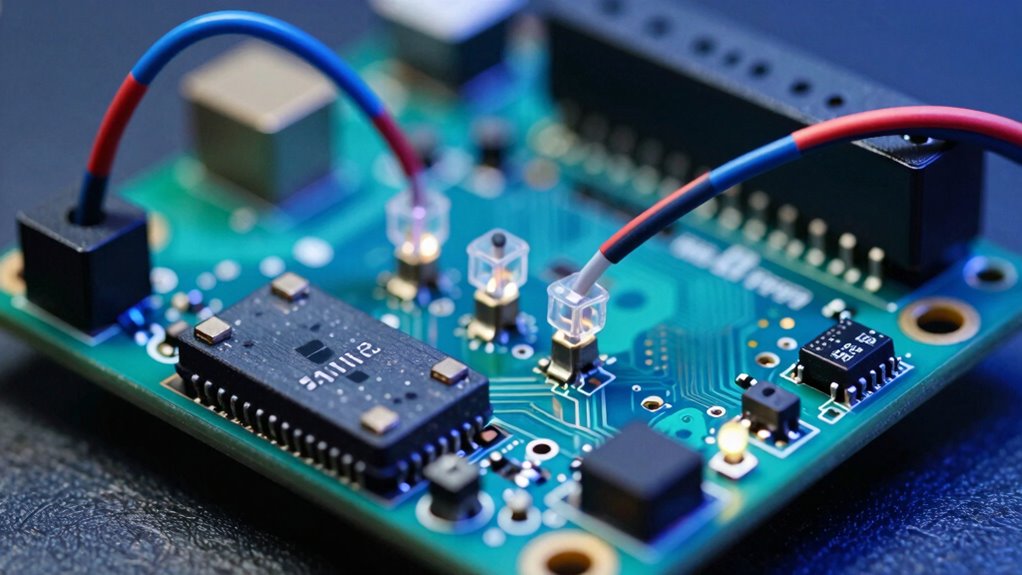
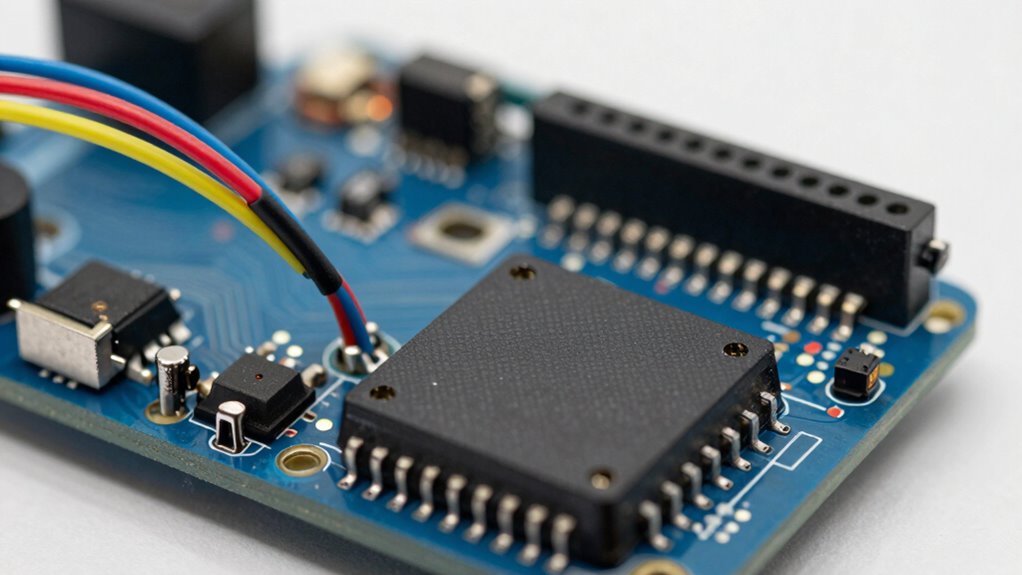
How Do Arduino Light Sensors Work and What Do Raw Readings Mean?
Light sensors in Arduino projects detect the presence and intensity of light by converting light energy into electrical signals. When light strikes the sensor, it produces a voltage proportional to the light’s brightness, giving you raw readings. These readings are often in analog values, typically ranging from 0 to 1023, where higher numbers indicate brighter light. However, these raw values can be affected by sensor noise—small fluctuations caused by electrical interference or sensor imperfections. This noise can make readings appear inconsistent, especially in stable light conditions. Understanding what raw readings mean helps you interpret the data accurately. Keep in mind that variations in sensor noise can impact your project’s performance, so sometimes you’ll need to filter or average these raw signals for more reliable light intensity measurements. Additionally, exploring content formats can enhance your understanding of how data representation influences interpretation.

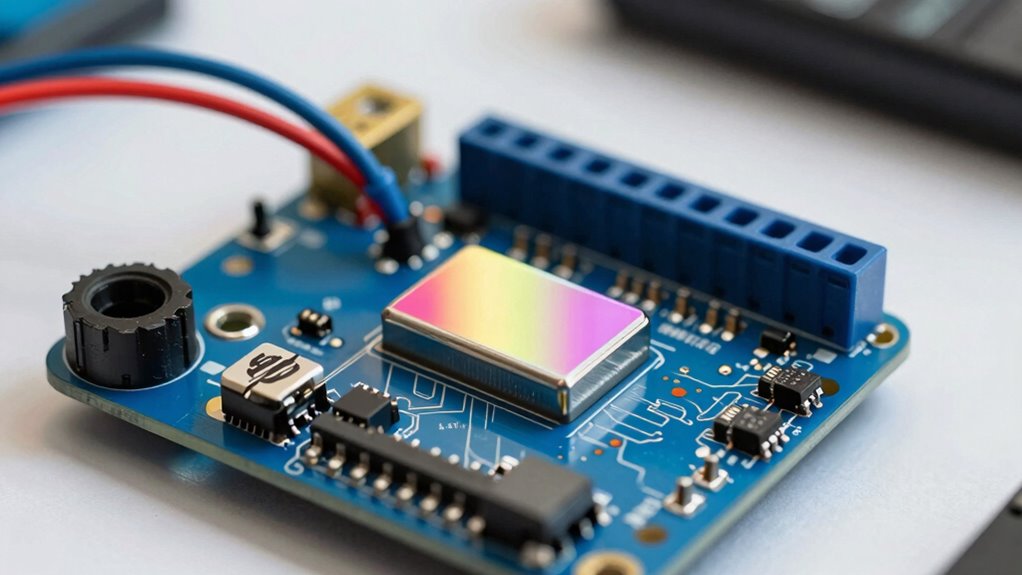
5PCS 3.3V-5V Photodiode Module LM393 Light Sensor Switch Module for Arduino Raspberry Pi Photosensitive Diode Detection Switch
The brightness of surrounding environment and the light intensity can be detected (compare with the photoresistor, directivity is…
As an affiliate, we earn on qualifying purchases.
As an affiliate, we earn on qualifying purchases.
Choosing the Right Arduino Light Sensor for Accurate Light Measurement
Selecting the right Arduino light sensor is essential for obtaining accurate and reliable measurements, especially since different sensors are designed for varying environments and applications. Consider the light spectrum you need to measure—visible, IR, or UV—as each sensor type excels in specific ranges. Proper sensor placement is equally important; position your sensor where it can accurately capture the light without obstructions or interference. Additionally, understanding the importance of filtration efficiency can help you choose sensors that minimize noise and enhance measurement precision. To fully appreciate your measurements, it’s beneficial to understand the gelato culture that emphasizes quality and authenticity, mirroring the need for precision in sensor measurement. Moreover, ensuring that your workspace is designed for productivity can help you focus on achieving the best results, much like how color coordination enhances the aesthetic appeal of a space. Incorporating the right sensor can significantly improve your system’s overall performance, leading to more effective light management.
| Light Spectrum | Best Sensor Type | Sensor Placement Tip |
|---|---|---|
| Visible light | Photodiodes, TSL2561 | Near the light source, unobstructed |
| Infrared (IR) | IR photodiodes, GPI Sensors | Facing the light source directly |
| UV light | UV sensors, VOSensors | Away from shadows or reflective surfaces |

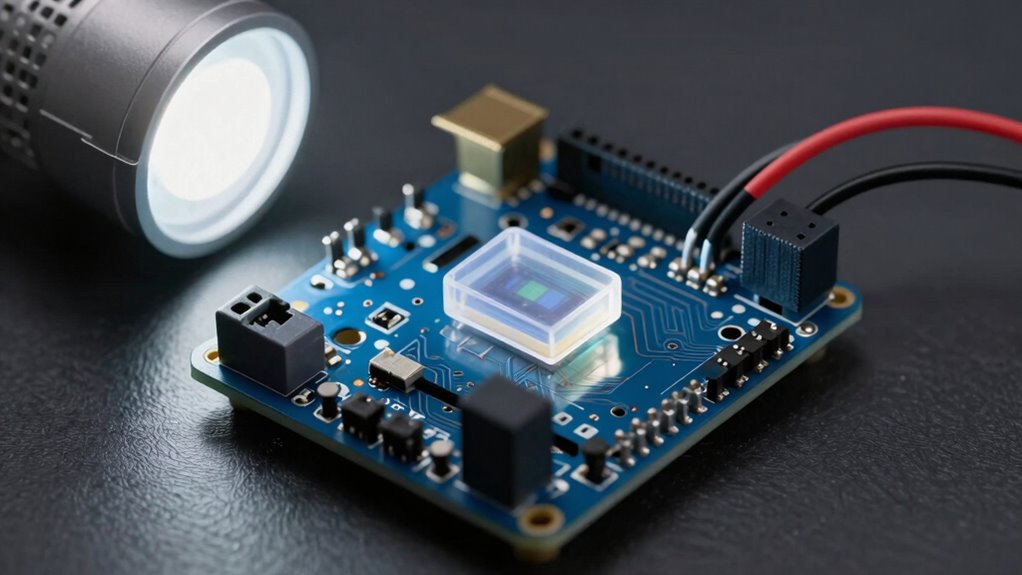
EC Buying 2PCS 3.3V-5V UV Inspection Sensor Module Detection 200-370nm Light UV Intensity Sensor Detection Ultraviolet Light Board for Arduino
Designed specifically for situations where measuring UV Index (UVI) requires high reliability and accuracy
As an affiliate, we earn on qualifying purchases.
As an affiliate, we earn on qualifying purchases.
Understanding the Limitations of Raw Sensor Data
While choosing the right sensor type is important, understanding the limitations of the raw data it produces is equally essential for accurate measurements. Raw sensor data can be affected by factors like sensor durability, which influences its long-term accuracy, and environmental conditions that cause fluctuations. You should also consider data storage issues; raw readings often require filtering or processing to be meaningful, but storing large amounts of unprocessed data can be impractical. Additionally, raw data may include noise or inconsistencies that skew results. Recognizing these limitations helps you interpret sensor outputs correctly, avoiding false readings. By understanding the nature of raw data, you can better plan for calibration and correction, ensuring your measurements remain reliable over time. Implementing solar system design strategies can significantly enhance the accuracy of your readings. Smart home technology can also play a crucial role in automating the data collection process, making it easier to maintain reliable measurements. Early detection of issues, similar to identifying Frühwarnzeichen für Brustkrebs, can significantly enhance the accuracy of your readings. Incorporating template compatibility strategies can also improve your overall data management process. Moreover, applying cleaning and organization methods to your data processing workflow can streamline analysis and improve the reliability of your results.

HiLetgo 37 Sensor Assortment Kit for Arduino & Raspberry Pi – 37 in 1 Robot Project Starter Kit
37 Sensors Assortment Kit in One Starter Kit
As an affiliate, we earn on qualifying purchases.
As an affiliate, we earn on qualifying purchases.
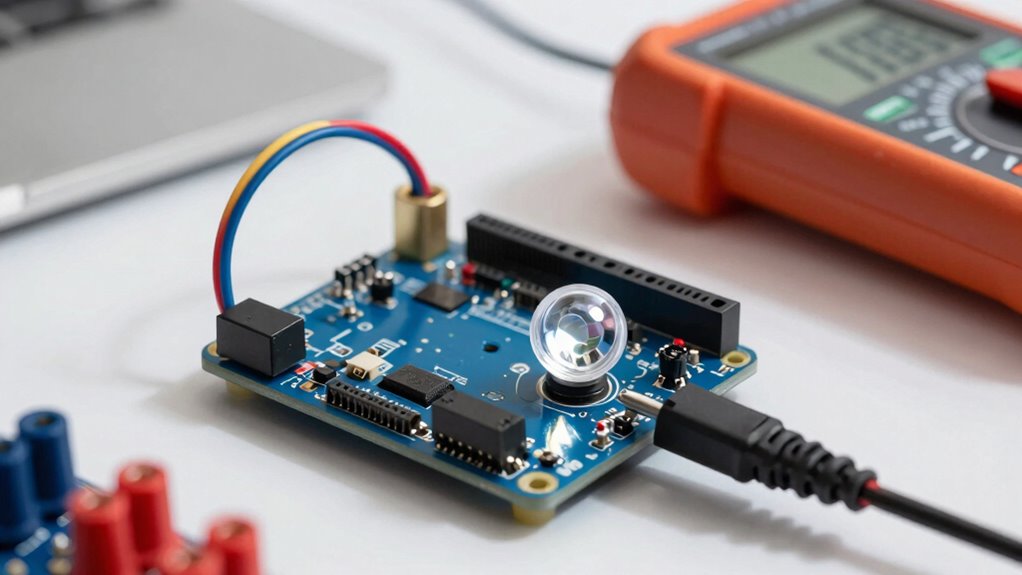
How to Calibrate Your Arduino Light Sensor for Precise Measurements
To calibrate your Arduino light sensor accurately, start by setting up a consistent calibration environment with controlled light conditions. Use known light sources to gather reference readings, then record and compare your sensor’s data. Adjust your code or sensor placement until your measurements match the expected values for precise results. Additionally, ensuring color accuracy in your setup can further enhance the reliability of your light readings.
Establish Calibration Environment
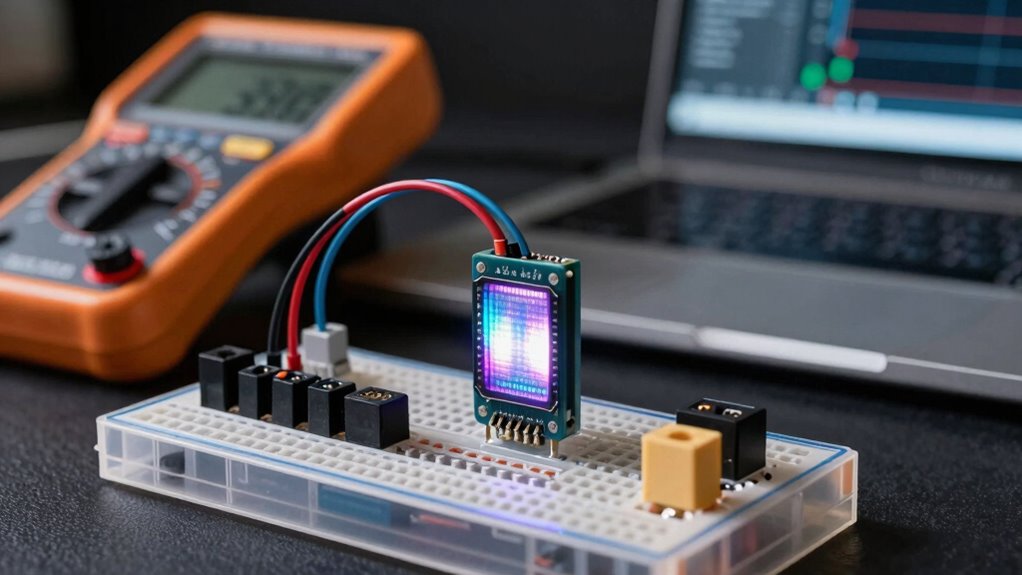
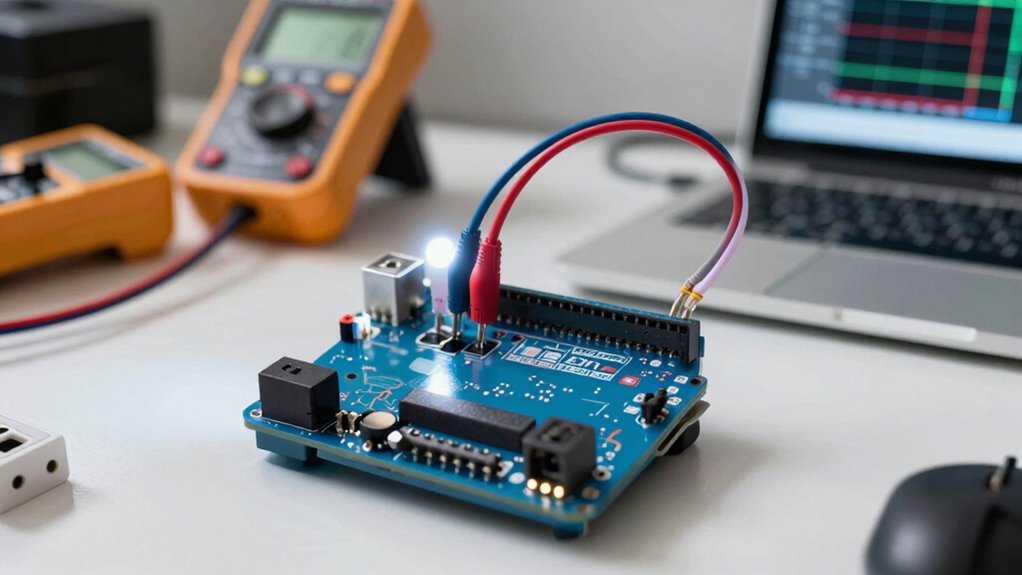
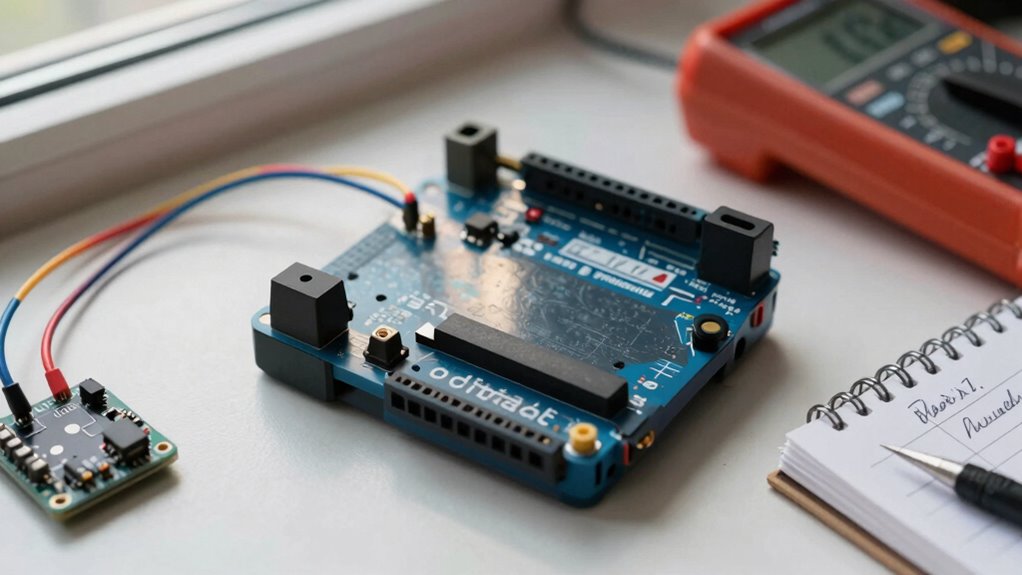
Before calibrating your Arduino light sensor, you need to establish a controlled environment that provides consistent and measurable light conditions. Start by carefully choosing your sensor placement to avoid shadows or uneven lighting, which can skew readings. Make certain the environment minimizes ambient interference, such as other electronic devices or fluctuating light sources that could affect measurements. Use a stable, uniform light source and avoid areas with drafts or moving objects that might alter light levels. Keep the sensor in the same position throughout calibration to maintain consistency. By controlling these factors, you create a reliable baseline, making your calibration more accurate. This setup ensures your sensor’s raw readings can be effectively translated into precise, real-world light units later.
Use Known Light Sources
Using known light sources is essential for accurately calibrating your Arduino light sensor. Begin by placing your sensor at a consistent, stable position, ensuring the sensor’s placement remains unchanged throughout calibration. Use a light source with a well-defined light intensity, such as a calibrated lamp or a light meter, to provide a reliable reference. Position the sensor so it directly faces the light source, avoiding shadows or reflections that could affect readings. Record the raw sensor value when exposed to this known light intensity. Repeating this process with different light sources helps you create a precise mapping between raw readings and actual light levels. Proper sensor placement and consistent light sources are key to achieving accurate, repeatable calibration results.
Record and Adjust Readings
Once you’ve set up your light source and taken initial readings, the next step is to record your sensor’s raw values carefully. Pay close attention to light sensor placement to guarantee consistent results, avoiding shadows or reflections that could skew data. Keep ambient light interference in mind, as changes in surrounding light can affect your measurements. To improve accuracy, take multiple readings at each light level and note the environment’s conditions. Additionally, be aware that poor indoor air quality can influence the effectiveness of light sensors, potentially affecting their performance. This process can help you reclaim focus amidst distractions, ensuring your measurements are as precise as possible. Engaging in regular techniques to enhance recovery can also help maintain your focus during measurement sessions. Furthermore, understanding media literacy is essential in evaluating the reliability of the information you gather. Adjust your sensor’s position if needed to minimize external influences. Once you’ve gathered enough data, analyze the variations and calibrate your sensor accordingly. This process helps you create a reliable mapping from raw values to real-world units, leading to more precise, repeatable measurements in your projects. Additionally, consider incorporating digital displays for enhanced user experience and better data visualization.
How to Convert Raw Sensor Data to Lux (Step-by-Step)
To accurately convert your raw sensor data to lux, you first need to calibrate your sensor properly. Once calibrated, you can apply the appropriate conversion formula to get meaningful light measurements. Incorporating landscaping techniques can further enhance your outdoor lighting setup, creating a harmonious blend with nature. Additionally, using proper straining methods can help ensure that the paint being applied does not interfere with your lighting projects. I’ll guide you through each step to make certain your readings are precise and reliable. Additionally, understanding ice cream terminology can enhance your overall grasp of measurement units, similar to how precise definitions are essential in different contexts. Effective personal finance planning involves goal setting to ensure you are prepared for future expenses and investments. Moreover, choosing plants like best daisy varieties can complement your outdoor lighting by adding vibrant colors and attracting pollinators.
Calibrate Your Sensor
Calibrating your sensor is vital for accurately converting raw data into meaningful light measurements. Proper sensor placement guarantees consistent readings, so position it away from direct light sources or shadows and keep it steady during calibration. Once placed, log data over a set period to observe how the sensor responds to different lighting conditions. Record the raw sensor values at various known light levels, such as under a lamp or natural sunlight. This process helps identify any discrepancies and provides a baseline for calibration. Accurate sensor placement and diligent data logging are essential steps that set the foundation for precise conversion into lux. Additionally, understanding crisping techniques can enhance your overall project by providing insights into effective light management. After this, you’ll be ready to apply the appropriate conversion formulas to get reliable light measurements.
Apply Conversion Formula
After you’ve calibrated your sensor and recorded raw data, the next step is to convert those raw values into meaningful light levels measured in lux. To do this, use a conversion formula based on the sensor’s datasheet, which typically relates the raw reading to lux through a calibration factor. Confirm your sensor is properly placed in a representative environment, avoiding poor sensor placement that could skew readings. Be mindful of ambient interference, like shadows or nearby light sources, which can affect accuracy. Once you have the calibration factor, multiply the raw sensor value by this factor to get the lux reading. Regularly verify your setup to account for environmental changes, maintaining accurate and consistent measurements.
Validate Your Calibration Using Known Light Sources
Once you’ve adjusted your light sensor, verifying its accuracy by testing it against known light sources is vital. Proper sensor placement guarantees consistent readings, so position your sensor where it will face the light source directly. To validate your calibration, compare your sensor’s readings with the actual light intensity of reliable sources. Use a lux meter or a known light source, like a daylight lamp, for reference. Here’s a quick comparison:
| Light Source | Measured Light Intensity | Expected Light Intensity |
|---|---|---|
| Direct sunlight | 100,000 lux | 100,000 lux |
| Indoor lamp (60W) | 500 lux | 500 lux |
| Overcast sky | 10,000 lux | 10,000 lux |
This process confirms your sensor’s calibration accuracy and guarantees reliable measurements. Additionally, understanding the importance of sensor calibration can significantly enhance your project’s accuracy.
Troubleshooting Common Calibration Issues
Even with careful calibration and validation, you might encounter issues that affect your light sensor’s accuracy. One common problem is improper sensor placement; placing it too close to reflective surfaces or direct light sources can skew readings. Confirm your sensor is positioned in a consistent, stable environment, away from sudden light changes. Ambient interference is another factor to watch out for—external light sources like lamps or sunlight can cause fluctuating readings. Shield the sensor from unwanted light and keep it in a controlled environment during calibration. If readings remain inconsistent, double-check your sensor’s placement and eliminate nearby sources of noise. Proper positioning and minimizing ambient interference are key to achieving accurate, reliable measurements. Additionally, attention to detail in the calibration process can significantly enhance the accuracy of your readings.
Improve Accuracy With Filtering and Averaging Techniques
To improve the accuracy of your light sensor readings, applying filtering and averaging techniques can make a notable difference. Sensor sensitivity varies, and data noise can distort your measurements, leading to unreliable results. Filtering helps smooth out rapid fluctuations caused by electrical interference or environmental changes, enhancing the stability of your readings. Averaging multiple samples reduces data noise, providing a more consistent value. For example, taking several readings in quick succession and calculating their average minimizes random fluctuations. Implementing simple moving averages or more advanced digital filters can considerably boost your sensor’s reliability. These techniques ensure your light measurements better reflect actual ambient conditions, making your data more precise and useful for your project.
Using Light Measurements in Real-World Arduino Projects
Light measurements from Arduino sensors can be incredibly useful when integrated into real-world projects, enabling automated responses based on ambient conditions. For example, you can monitor light pollution levels around your home or city, helping you decide when to turn outdoor lights on or off to reduce energy waste and light pollution. You can also implement solar tracking systems that adjust solar panels’ angles throughout the day, maximizing energy absorption by measuring sunlight intensity. These projects benefit from accurate light readings, which guarantee responsiveness and efficiency. By turning raw sensor data into actionable insights, you create smarter, eco-friendlier systems that adapt to changing light conditions and improve overall sustainability.
Tips to Maintain Accurate Light Readings Over Time
Maintaining accurate light readings over time is essential to guarantee your Arduino projects respond correctly to changing conditions. To achieve this, focus on proper sensor placement; position your sensor where it’s least affected by shadows, reflections, or nearby objects that could distort readings. Regularly check for dust, dirt, or debris that can interfere with sensor sensitivity. Confirm power stability is equally important—use a reliable power source and add filtering if necessary to prevent voltage fluctuations that can cause inconsistent data. Keep your sensor in a consistent environment to reduce variability. Periodic calibration helps maintain accuracy, especially if ambient lighting conditions shift. By paying attention to placement and power stability, you can ensure your light sensor delivers precise, reliable readings over time.
Frequently Asked Questions
Can Arduino Light Sensors Detect Different Light Wavelengths?
Yes, Arduino light sensors can detect different light wavelengths if they have spectral sensitivity suitable for those wavelengths. However, most standard sensors like photoresistors or photodiodes are sensitive mainly to visible light. To differentiate specific wavelengths, you need sensor calibration and specialized sensors like a spectrometer or filters. Proper calibration guarantees accurate readings across various light wavelengths, helping you interpret the sensor data correctly for your project.
How Does Temperature Affect Light Sensor Accuracy?
A stitch in time saves nine, and this applies to sensor accuracy too. Temperature can cause your light sensor readings to drift, so you should use calibration techniques to adjust for these variations. Proper sensor placement also minimizes temperature effects, ensuring consistent readings. Regular calibration and strategic placement help maintain accuracy, especially in changing environments, so your sensor performs reliably regardless of temperature fluctuations.
What Is the Typical Lifespan of an Arduino Light Sensor?
You can expect an Arduino light sensor to last around 2 to 5 years, depending on usage and environmental conditions. Regular sensor calibration helps maintain accuracy, especially as components age. Keep in mind that power consumption impacts lifespan; lower power use generally extends sensor life. Properly protecting the sensor from dust, moisture, and extreme temperatures also contributes to its durability, ensuring reliable light measurements over time.
Are There Wireless Options for Transmitting Light Sensor Data?
Ever thought about wireless transmission options for your light sensor data? You can definitely choose from various wireless modules like Wi-Fi, Bluetooth, or LoRa to transmit data seamlessly. These options simplify remote monitoring and reduce wiring clutter. Remember, sensor calibration remains essential to guarantee accurate readings, whether you’re using wired or wireless setups. So, yes, wireless options are practical and widely available for transmitting light sensor data effectively.
How Can I Integrate Multiple Sensors for Comprehensive Light Measurement?
You can integrate multiple sensors by connecting them to your Arduino and calibrating each sensor for accurate readings. Use sensor calibration techniques to guarantee consistency across devices. Implement data logging to record the measurements over time, making it easier to analyze thorough light data. Consider using multiplexers or wireless modules like Wi-Fi or Bluetooth to manage multiple sensors efficiently, enabling real-time data collection and seamless integration.
Conclusion
Just like tuning a finely crafted instrument, calibrating your Arduino light sensor guarantees it hits the right notes in your projects. When you take the time to understand raw readings, choose the right sensor, and apply proper calibration, your measurements become as reliable as a lighthouse guiding ships safely ashore. Remember, consistent maintenance and filtering keep your data steady, turning simple light readings into a powerful tool—much like a well-tuned orchestra, your sensors can deliver harmony in your creations.