To make a homemade diffuser for softer flash photography, start by choosing semi-transparent materials like tissue paper, white cloth, or even a plastic sandwich bag. Attach the material in front of your flash using tape or rubber bands, ensuring it covers the light completely. You can also reshape household objects, like cutting a hole in a plastic cup, to disperse the light better. Experimenting with different materials and setups can give you even smoother, more natural lighting—keep exploring to discover more tips and tricks.
Key Takeaways
- Use semi-transparent materials like tissue paper or white cloth to cover your flash for diffusing harsh light.
- Secure diffuser materials with tape or rubber bands directly in front of the flash for stability.
- Shape household objects such as plastic cups or shower caps to direct and soften the flash beam.
- Layer multiple diffusers or combine with reflective surfaces to achieve a more even, natural light.
- Experiment with distance and materials to customize the softness and spread of your homemade diffuser.
If you want softer, more natural-looking light in your flash photography, creating a homemade diffuser is an easy and cost-effective solution. When you use a diffuser, it scatters the harsh light from your flash, producing light diffusion that mimics natural illumination. This results in more flattering portraits, fewer unappealing shadows, and a professional look without needing expensive equipment. The beauty of making your own diffuser lies in its simplicity and the opportunity for creative solutions tailored to your specific needs. Instead of relying solely on store-bought options, you can experiment with everyday household items to achieve the desired softening effect.
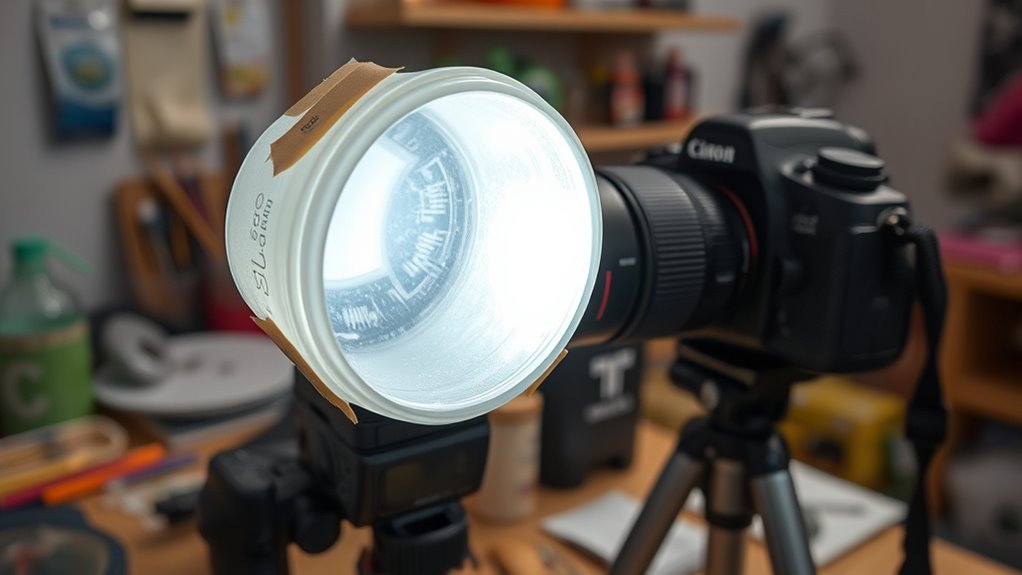
One of the simplest ways to create a diffuser is by using a semi-transparent material such as tissue paper, a plastic sandwich bag, or even a piece of white cloth. All you need is to attach this material in front of your flash, ensuring it covers the light source entirely. The goal is to spread out the light evenly, reducing its intensity and harshness. For even better light diffusion, you can experiment with layering different materials or combining them with reflective surfaces to bounce light in a controlled manner. For example, placing a piece of white cardboard behind your diffuser material can reflect some of the light forward, further softening the output and filling in shadows.
Create DIY diffusers using tissue paper, white cloth, or plastic sandwich bags to soften your flash lighting.
Another creative solution involves using household objects like a white plastic cup, a translucent shower cap, or a plastic food container with a cutout. These items can be shaped and positioned to act as diffusers, dispersing the light in more controlled ways. For instance, cutting a small hole in a plastic cup and placing it over the flash creates a makeshift diffuser that softens the beam. You can also tape a piece of parchment paper or thin white fabric over the opening to increase light diffusion. The key is to experiment with different materials and shapes to find what works best for your setup.
In addition, understanding the benefits of light diffusion can help you appreciate how DIY diffusers improve your photographs by creating a more even and natural light distribution. With a little ingenuity, you can craft a diffuser that fits your style and photography needs, all while saving money. These DIY solutions are flexible, allowing you to adjust the size, shape, and material to control how much light diffusion occurs. By exploring creative solutions, you can customize the softness of your flash light, achieving professional-quality results without expensive accessories. This approach not only enhances your images but also offers an enjoyable, hands-on way to improve your photographic skills.
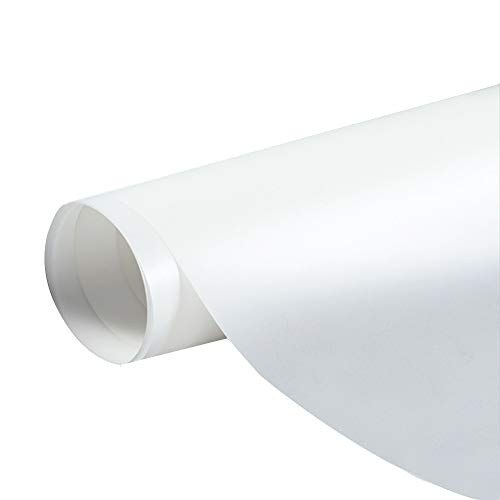
Diffusion Film Filter Sheet 6 Packs Kit 15.7×19.6inches/ 40x50cm Lighting Gel Diffuser Roll Photography Video for Led Flash Strobe Light
Diffusion Gel Filters: Designed to alter the shadow characteristics or the beam shape of light.Itcan be used by…
As an affiliate, we earn on qualifying purchases.
As an affiliate, we earn on qualifying purchases.
Frequently Asked Questions
Can DIY Diffusers Improve Indoor Portrait Lighting?
Using a DIY diffuser can definitely improve your indoor portrait lighting. By experimenting with diffuser design, you can soften harsh shadows and create more flattering light. This simple lighting technique helps spread light evenly and reduces glare. When you craft your own diffuser, you gain control over the light’s quality, making your portraits look more professional. It’s an affordable way to enhance your lighting techniques without investing in expensive equipment.
What Materials Are Safest for Homemade Flash Diffusers?
Imagine your diffuser as a delicate bridge, so choosing the right materials is essential. You want materials that are safe, like translucent plastic or fabric, offering a gentle, even glow without hazards. These materials are not only safe for your skin and camera but also guarantee DIY durability, standing up to repeated use. Stick to lightweight, heat-resistant options to keep your DIY project safe and effective, like a sturdy yet gentle bridge.
How Do I Prevent Color Cast With Homemade Diffusers?
To prevent color cast with your homemade diffuser, focus on maintaining consistent color temperature and light consistency. Use neutral, white materials like parchment paper or white plastic that don’t alter the color of your flash. Test your setup with a white object first, and adjust if you notice any color shifts. Regularly check your diffuser’s material for discoloration or dirt, which can affect light quality and introduce unwanted color cast.
Are Homemade Diffusers Effective With All Camera Flash Units?
Imagine your flash as a powerful sunbeam, enthusiastic to light your scene. Homemade diffusers act like gentle clouds, softening that harsh light. While they can be effective across many camera flash units, their ability to control flash color and diffuser durability varies. Some diffusers might struggle with intense flashes, risking damage or color shifts. But with a sturdy build and proper design, you can achieve beautifully even lighting, no matter the flash.
How Often Should I Replace or Clean My DIY Diffuser?
You should establish a cleaning schedule for your DIY diffuser to keep it in good condition. Inspect it regularly for dust, dirt, or damage, and clean it with a damp cloth as needed. Replacement frequency depends on wear and tear—typically, replace it every few months if it shows signs of deterioration. Doing so ensures consistent light diffusion and prolongs its effectiveness, helping you maintain ideal flash photography results.

Tissue Paper for Photos and Invitations (5×7)
White Tissue Paper
As an affiliate, we earn on qualifying purchases.
As an affiliate, we earn on qualifying purchases.
Conclusion
Creating your own diffuser is a simple way to improve your flash photos. Imagine you’re shooting portraits and want softer light; just attach your homemade diffuser, and you’ll notice the difference instantly. For example, a hobbyist used a paper lantern as a diffuser and captured stunning, natural-looking portraits without harsh shadows. With a little creativity, you can easily customize your setup and enjoy beautifully lit photos every time. Give it a try and see the magic happen!

2 Packs Light Diffuser Cover 22 Inches/ 55 cm Beauty Dish Diffuser Sock Soft White Standard Cloth Diffusers for Flash Speedlight, Strobe Light, Monolight Reflector, Fits Portrait, Fashion Photography
Package Contents: Each pack contains 2 soft light lampshades, which can be replaced at any time, eliminating the…
As an affiliate, we earn on qualifying purchases.
As an affiliate, we earn on qualifying purchases.
plastic sandwich bag photography diffuser
As an affiliate, we earn on qualifying purchases.
As an affiliate, we earn on qualifying purchases.