
To build a UV index meter with Arduino, start by selecting a compatible UV sensor like the Veml6070 or GUVA-S12SD. Connect it properly to your Arduino, then calibrate the sensor using a known UV source to guarantee accurate readings. Program the Arduino to read the sensor data, apply calibration factors to convert raw values into UV index, and display the results on an LCD or transmit via wireless modules. If you keep exploring, you’ll discover how to optimize and enhance your device further.
Key Takeaways
- Connect a UV sensor (like VEML6070) to Arduino and initialize it in code.
- Calibrate the sensor using a known UV source for accurate readings.
- Convert raw sensor data into UV index values with calibration factors.
- Implement data smoothing techniques for stable, reliable UV measurements.
- Display the UV index on an LCD or transmit wirelessly for real-time monitoring.
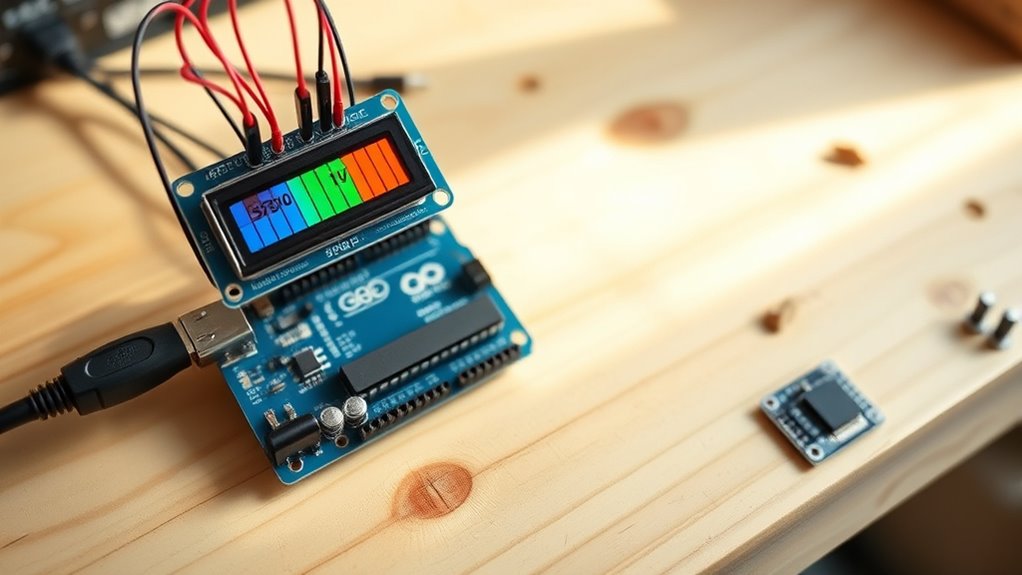
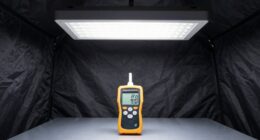
If you’re interested in monitoring UV exposure, building a UV index meter with Arduino is a practical and rewarding project. This project allows you to measure UV radiation levels accurately and understand the impact of sunlight on health. To guarantee your device provides reliable readings, you’ll need to focus on UV sensor calibration. Proper calibration involves comparing your sensor’s output with a known UV source or a reference device. This step is essential because UV sensors can drift over time, and without calibration, your readings might be inaccurate. Start by exposing your sensor to a consistent UV source in controlled conditions, and record the sensor’s output. Adjust your calibration factors in your Arduino code to match the reference measurements, ensuring your device reports correct UV indices. Regular maintenance and calibration checks can help sustain accurate measurements over time, especially considering sensor drift and environmental influences.
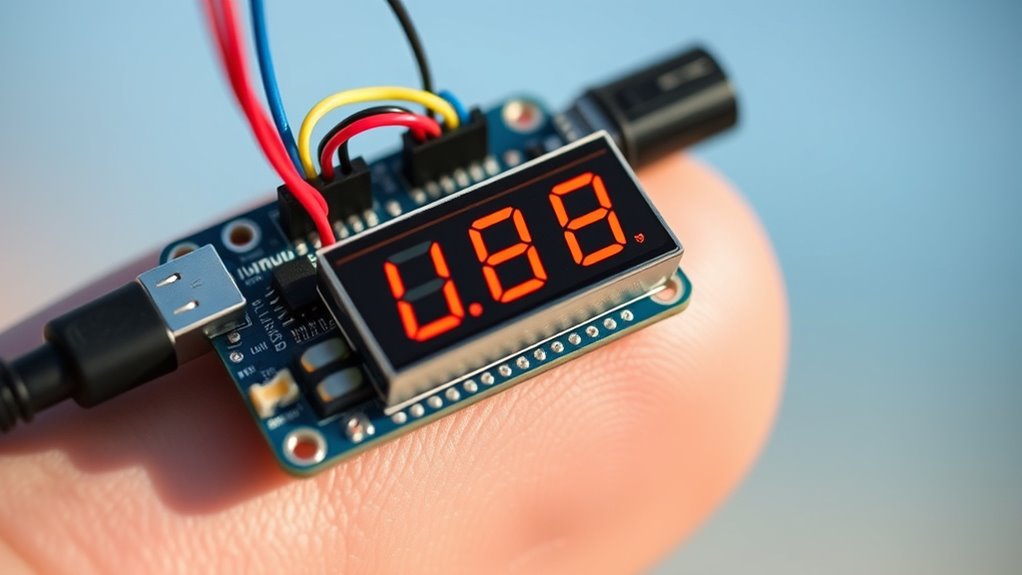
Arduino programming plays a critical role in this project. You’ll write code to read data from the UV sensor, process it, and display the UV index. The Arduino IDE offers a straightforward environment where you can set up serial communication to monitor sensor outputs in real-time. First, you’ll connect your UV sensor to the Arduino, ensuring correct wiring—usually, power, ground, and an analog or digital output pin. Then, in your Arduino sketch, you’ll initialize the sensor and read its values inside the `loop()` function. To convert raw sensor data into meaningful UV index values, you’ll implement a calibration factor based on your earlier calibration process. This step transforms the sensor’s voltage or digital output into a UV index, typically ranging from 0 to 11+. Moreover, effective Arduino programming involves handling sensor noise and guaranteeing stability in your readings. You might include averaging functions or filters to smooth out fluctuations. Once you’ve processed the data, you can display the UV index on an LCD screen or send it wirelessly via Bluetooth or Wi-Fi modules. This feedback loop helps you visualize UV exposure in real-time, making your device a practical tool for outdoor activities or health monitoring. Additionally, by incorporating user-friendly features like adjustable calibration settings or alarms for high UV levels, you enhance your project’s usability.
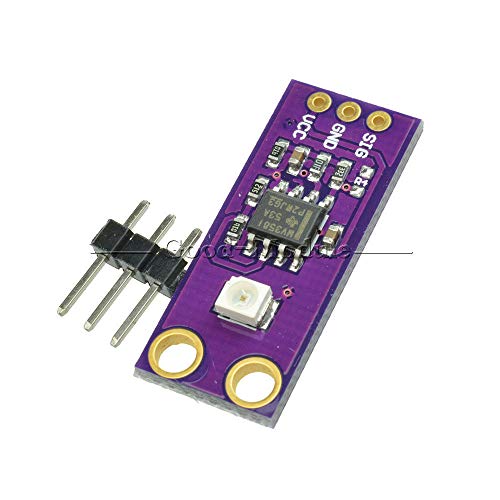
Electronic Components VEML6075 VEML6070 GUVA-S12SD Ultraviolet Ray I2C 5V UV Sensor Module for Arduino – (Option:GUVA-S12SD)
option:GUVA-S12SD
As an affiliate, we earn on qualifying purchases.
As an affiliate, we earn on qualifying purchases.
Frequently Asked Questions
What Is the Ideal Calibration Process for Accurate UV Measurements?
To guarantee measurement accuracy, you should perform sensor calibration regularly. Start by exposing your UV sensor to a known UV source or standard calibration lamp, then compare its readings to the expected UV index. Adjust your sensor’s calibration factors in the code accordingly. This process helps maintain accurate UV measurements, ensuring your UV index meter provides reliable data under different conditions. Regular calibration is key to consistent sensor performance.
Can This UV Index Meter Be Integrated With Other Environmental Sensors?
Yes, you can integrate this UV index meter with other environmental sensors to enhance data collection. You’ll want to focus on sensor integration by connecting compatible modules via I2C or SPI interfaces. Use data logging to record and analyze combined data from multiple sensors, enabling you to monitor UV levels, temperature, humidity, or air quality simultaneously. This integration provides an all-encompassing view of environmental conditions, improving your system’s accuracy and usefulness.
How Long Does the UV Sensor Typically Last Before Needing Replacement?
The UV sensor typically lasts around 1 to 2 years before requiring replacement, depending on usage and environmental conditions. You should monitor its sensor lifespan regularly, especially if exposed to harsh weather or direct sunlight constantly. Replacement frequency varies, but it’s wise to check for signs of degradation, like decreased accuracy, and replace the sensor promptly to ensure your UV index readings stay reliable.
Is There a Mobile App to Monitor UV Levels Remotely?
Yes, you can find mobile apps that monitor UV levels remotely. These apps often connect via Bluetooth or Wi-Fi to your UV sensor setup, providing real-time data. To guarantee accurate readings, you should regularly calibrate your UV sensor and consider its lifespan, as sensors typically need replacement after a few years or when they show decreased accuracy. Using a dedicated app makes tracking UV exposure convenient and helps you stay protected.
What Are the Safety Precautions When Handling UV Sensors?
When handling UV sensors, you should prioritize UV sensor safety by avoiding direct exposure to UV radiation, which can harm your skin and eyes. Always wear protective gloves and goggles, and handle sensors in a well-ventilated area. Follow handling precautions such as avoiding excessive bending or dropping the sensor to prevent damage. Keep the sensor clean and store it properly to guarantee accurate readings and maintain safety during use.

3Pcs GUVA-S12SD UV Sensor Module, High Sensitivity Sunlight Intensity Detection
【Highly Sensitive UV Sensor Module for Accurate Monitoring】 This UV sensor module features the high-sensitivity GUVA-S12SD photodiode, designed…
As an affiliate, we earn on qualifying purchases.
As an affiliate, we earn on qualifying purchases.
Conclusion
Now you’ve built your UV index meter, like planting a seed that grows into awareness. With each measurement, you’re guiding yourself through the sun’s dance, understanding its power and protecting your skin. This project is your compass, pointing you safely through the rays. As you continue to experiment, you’ll find yourself more in tune with nature’s rhythm. Keep exploring, and let your Arduino-powered meter be your lighthouse in the bright, ever-changing world of UV exposure.
![Arduino Starter Kit R4 [K000007_R4] – Learn Electronics and Coding with The UNO R4 WiFi Board, 13 Guided Projects in a Printed Book + Growing Resources Online, Official Certification Voucher](https://m.media-amazon.com/images/I/51mjbAi4hGL._SL500_.jpg)
Arduino Starter Kit R4 [K000007_R4] – Learn Electronics and Coding with The UNO R4 WiFi Board, 13 Guided Projects in a Printed Book + Growing Resources Online, Official Certification Voucher
LEARN ELECTRONICS AND CODING FROM SCRATCH: Start your maker journey or enhance classroom learning with the Arduino Starter…
As an affiliate, we earn on qualifying purchases.
As an affiliate, we earn on qualifying purchases.

Hosyond 3pcs I2C IIC 1602 LCD Display Module 16×02 LCD Screen Module for Arduino Raspberry Pi
1602 LCD screen can display 2 lines x 16 characters, with i2c serial interface, blue display.
As an affiliate, we earn on qualifying purchases.
As an affiliate, we earn on qualifying purchases.