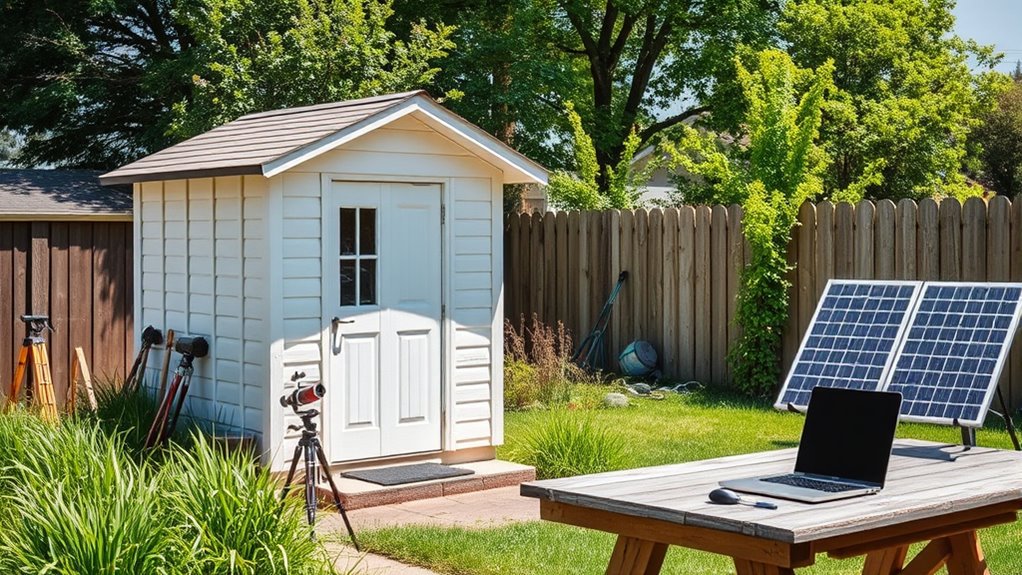
To set up a budget-friendly backyard solar observatory, choose a flat, open space free of obstructions like tall trees or buildings, and guarantee good weather conditions. Use affordable but certified solar filters for safe viewing, and craft a stable, lightweight mount from inexpensive materials like aluminum or treated wood. Add DIY accessories for stability and safety, and keep everything well-maintained. Explore more tips to maximize your solar observations while keeping costs low.
Key Takeaways
- Choose a flat, open site with minimal obstructions and stable weather conditions for clear, consistent solar observations.
- Use affordable, ISO-certified solar filters or DIY solar viewing films for safe, budget-friendly solar viewing.
- Construct a sturdy, lightweight mount with weather-resistant materials like aluminum or treated wood for stability and portability.
- Regularly maintain your equipment, clean optics, and store gear properly to ensure longevity and optimal performance.
- Plan your setup in your backyard to maximize sunlight access, reduce glare, and simplify equipment management on a budget.

Celestron – EclipSmart Safe Solar Eclipse Telescope and Camera Filter – Meets ISO 12312-2:2015(E) Standards – Works with Your Telescope, Spotting Scope, or DSLR Camera – Observe + Photograph Eclipses
SOLAR SAFE TELESCOPE FILTER: Filter conforms to the ISO 12312-2:2015(E) international safety standard for filters directly viewing the…
As an affiliate, we earn on qualifying purchases.
As an affiliate, we earn on qualifying purchases.
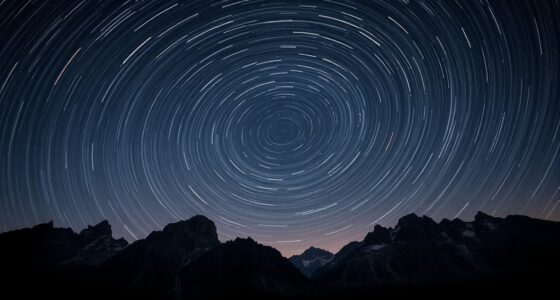
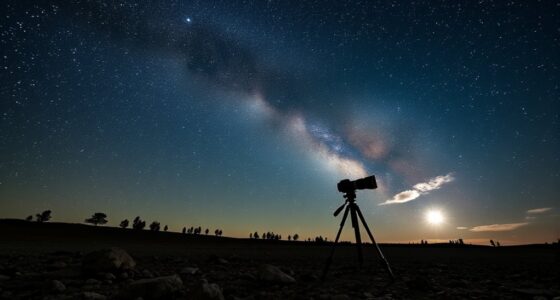
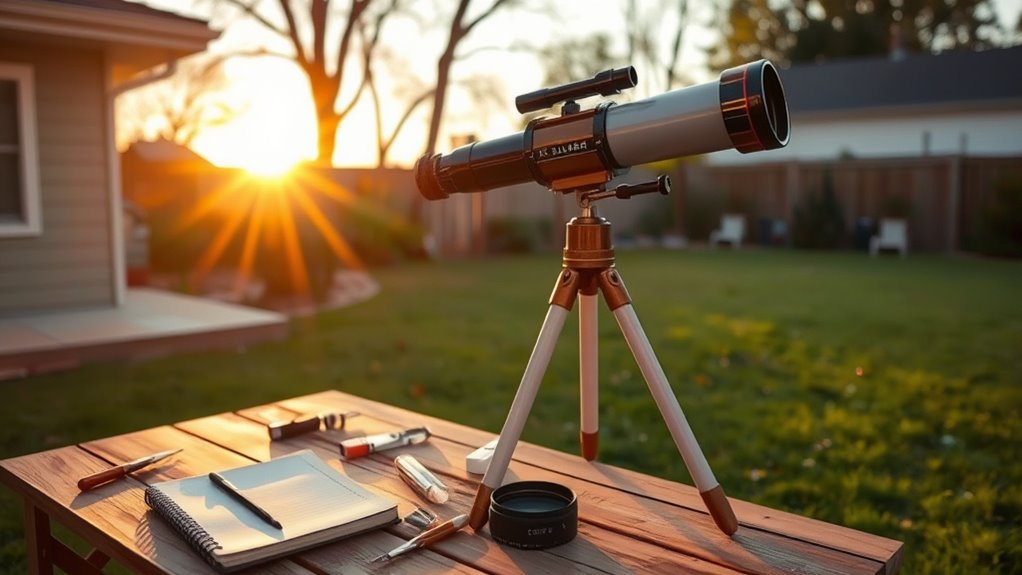
Choosing the Right Location for Your Solar Observatory
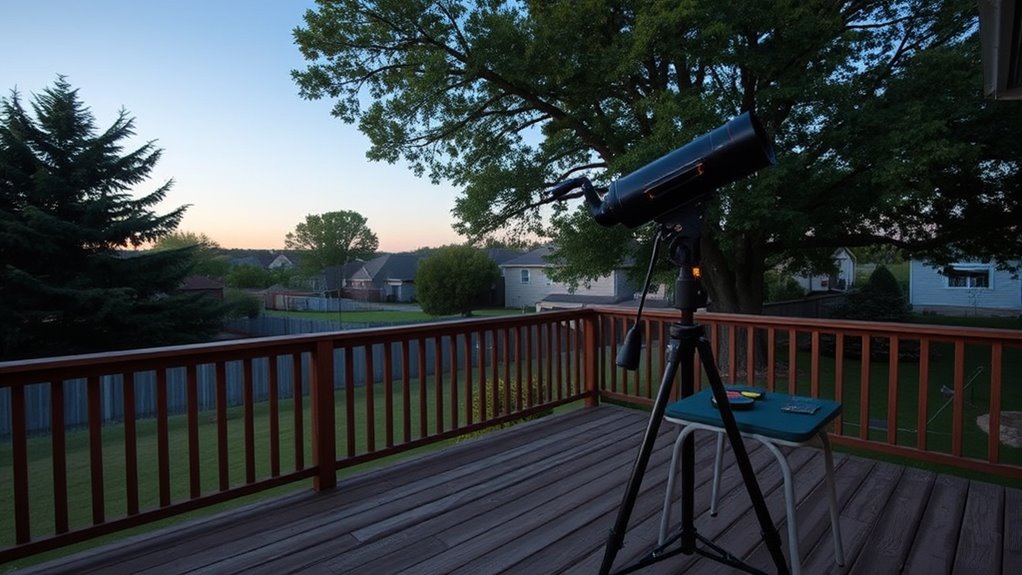
Choosing the right location is vital for getting clear and consistent views of the sun. When selecting your spot, consider landscape considerations like avoiding tall trees, buildings, or uneven terrain that could block sunlight or cause vibrations. A flat, open area ensures steady observations and easy setup. Local weather also plays an important role; look for spots with minimal cloud cover, low humidity, and stable atmospheric conditions. Clear skies maximize your viewing opportunities, while humid or storm-prone areas can limit your observations. Think about accessibility and safety, too—choose a location that’s convenient and safe to access regularly. By carefully evaluating landscape considerations and local weather patterns, you set yourself up for consistent, high-quality solar observations right from your backyard. Additionally, understanding the AI-driven safety measures used in modern observational equipment can help you protect your setup and optimize performance.
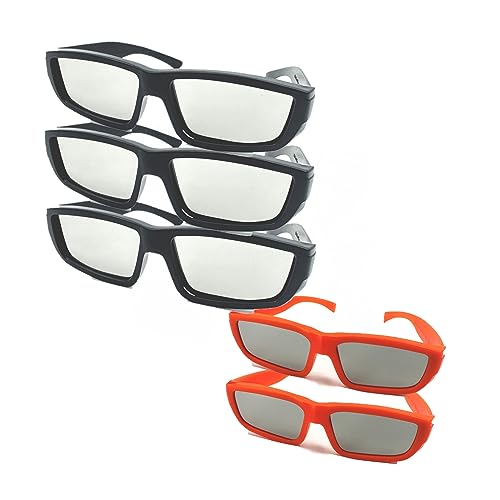
Bookishbunny 5 Pairs Solar Eclipse Viewers Plastic Glasses Sun Viewing ISO Certified, 3 Pairs Adult and 2 Pairs Kid
5 pairs of Bookishbunny solar eclipse viewers (Plastic glasses); 3 pairs adult and 2 pairs kid glasses;
As an affiliate, we earn on qualifying purchases.
As an affiliate, we earn on qualifying purchases.
Selecting Affordable and Safe Solar Viewing Equipment
Finding affordable and safe solar viewing equipment is essential for enjoying your backyard observatory without risking eye damage or overspending. To ensure safety, always choose reputable solar filter options designed specifically for solar viewing. These filters block harmful rays and prevent accidents. When selecting equipment, consider:
- Solar filters for binoculars or telescopes
- Solar viewing glasses with ISO certification
- Solar projection methods for safe indirect viewing
- DIY filters made from certified solar film
Always follow safety precautions, like inspecting filters for damage and never looking directly at the sun without proper protection. Avoid makeshift solutions that lack certification. Investing in reliable, budget-friendly solar filter options keeps your solar observations safe and enjoyable without breaking the bank. Additionally, understanding the different types of solar filters available can help you select the most effective and economical solution for your needs.

Celestron – Heavy Duy Alt-Azimuth Tripod – Sturdy Extendable Aluminum Tripod – Use for Spotting Scope, Binocular, Camera, and Small Telescope – Slow Motion Handles for Smooth Small Adjustments
IDEAL SUPPORT FOR YOUR OPTICS: Use your spotting scope, binocular, camera, or small telescope for extended viewing sessions…
As an affiliate, we earn on qualifying purchases.
As an affiliate, we earn on qualifying purchases.
Building a Stable and Portable Mounting System
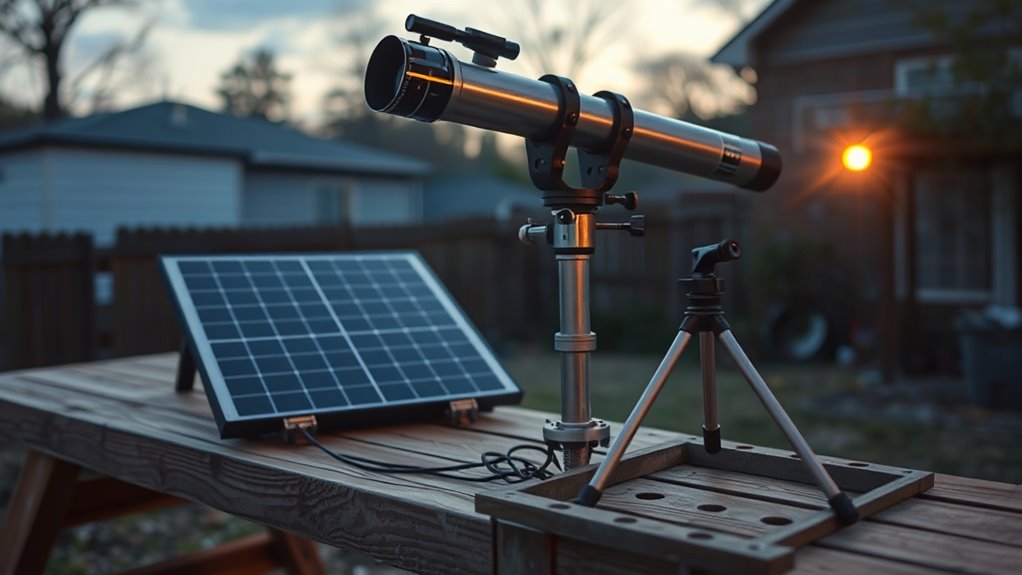
To build a reliable mounting system, you need to choose durable materials that can withstand weather and regular use. Make sure it moves smoothly so you can easily track the sun or stars without frustration. Finally, focus on creating a setup that’s portable enough to relocate easily without sacrificing stability. For added convenience, consider integrating wireless connectivity options like Bluetooth or Wi-Fi to control your observatory remotely.
Selecting Durable Materials
Selecting durable materials is essential for building a stable and portable mounting system that can withstand outdoor conditions. To guarantee longevity, choose materials resistant to rust, corrosion, and weather damage. For your solar panel, opt for a sturdy frame made of aluminum or treated wood, and apply a weatherproof coating to prevent moisture damage. Using galvanized steel or stainless steel hardware helps maintain strength over time. Additionally, select weatherproof sealants for joints and connections to keep out water and dust. Consider lightweight yet durable materials so your system remains portable without sacrificing stability. Prioritize quality over cost to avoid frequent repairs or replacements. When planning for outdoor use, selecting weather-resistant materials is crucial to ensure your solar observatory endures the elements and performs reliably for years to come.
Ensuring Smooth Movement
Building a stable and portable mounting system requires designing smooth movement mechanisms that allow your solar panel to follow the sun without jerks or resistance. To guarantee smooth operation, choose lightweight yet sturdy materials that minimize friction and wobbling. Incorporate simple pivot points and well-lubricated joints for seamless motion. Use gear drives or manual crank systems for quick adjustments, making it easy to realign your panel as the sun shifts. Secure your mounting on a stable base to prevent unwanted movement caused by wind or uneven terrain. Regularly check and maintain moving parts to keep the system operating smoothly. A well-designed mount will provide reliable, efficient solar tracking without complicated setups, helping you maximize energy collection while remaining budget-friendly. Additionally, considering electric horsepower of your system can help optimize the motorized components for better performance.
Achieving Portable Stability
Achieving portable stability involves designing a mounting system that balances lightweight construction with a solid foundation. You need a setup that’s easy to move but remains steady during observations. Use durable, weatherproof casing to protect your equipment from the elements, ensuring longevity and reliability. To enhance portability and stability, consider these tips:
- Use lightweight yet sturdy materials like aluminum or treated wood
- Secure the solar panel with adjustable, lockable mounts for easy positioning
- Incorporate a tripod or portable stand with leveling feet for uneven terrain
- Attach a weatherproof casing to safeguard electronics and sensors
- Regularly check the bike components like the mounting hardware to ensure everything stays secure during transport and use.
This approach keeps your solar panel secure and protected, making your backyard observatory both portable and stable regardless of weather conditions.

Observing the Sun: A Pocket Field Guide (Astronomer's Pocket Field Guide)
As an affiliate, we earn on qualifying purchases.
As an affiliate, we earn on qualifying purchases.
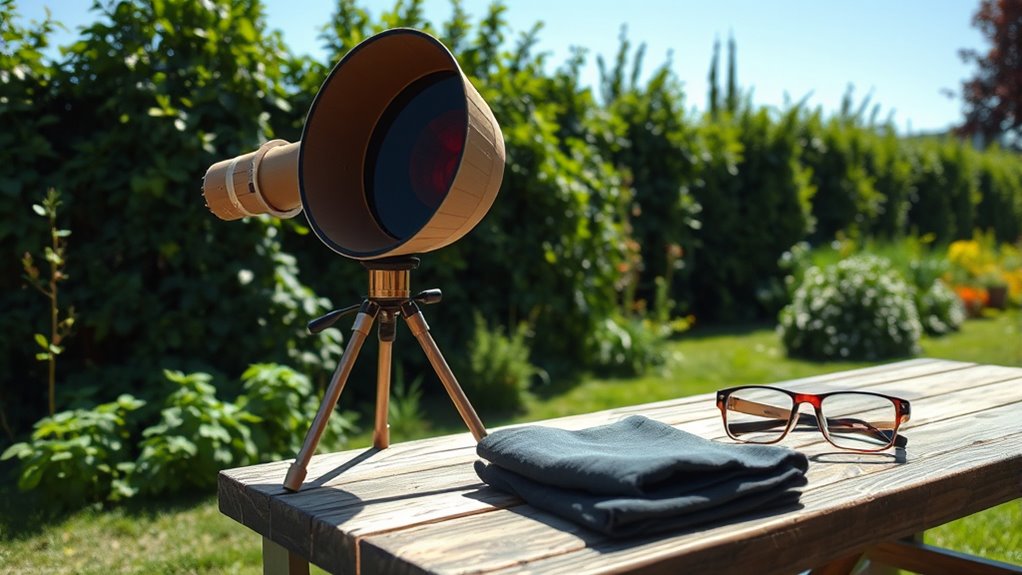
Making a DIY Solar Filter for Safe Observations

Creating a DIY solar filter is an affordable way to safely observe the sun from your backyard. To start, you’ll need materials like solar viewing film or mylar, which are inexpensive and effective. Solar filter construction involves cutting the film to fit securely over a cardboard or plastic frame that attaches firmly to your telescope or binoculars. Be sure to follow safety precautions by inspecting the filter for damage and ensuring it fits snugly without gaps. Never look directly at the sun without proper protection, as even brief exposure can cause serious eye damage. Always verify that your DIY filter is free of scratches, pinholes, or tears before use. This simple project offers a safe, budget-friendly way to enjoy solar observations. Additionally, understanding Fokos can provide insights into safe and effective ways to enhance your solar viewing experience.
Setting Up Essential Accessories and Safety Gear
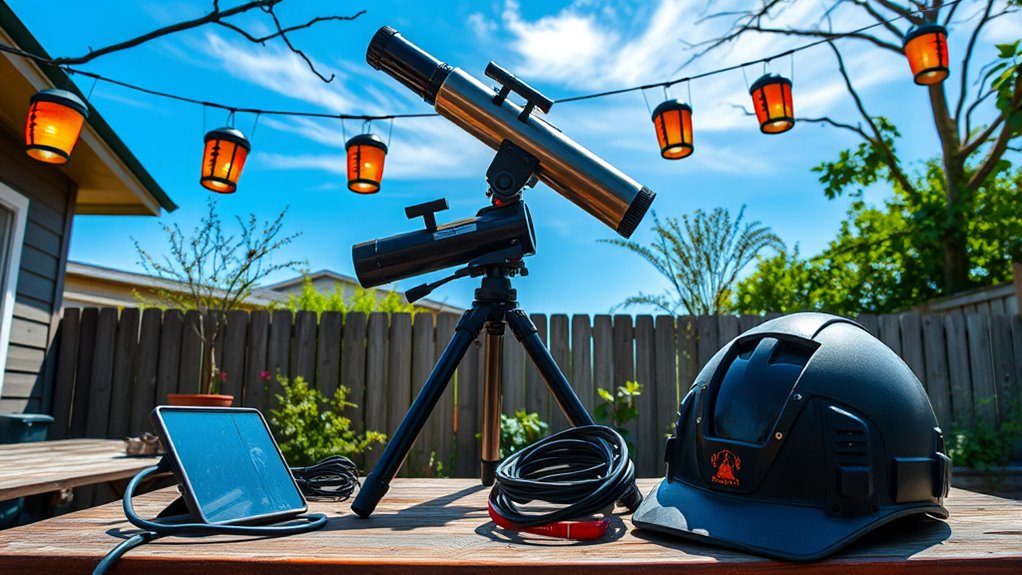
Once you’ve assembled your DIY solar filter, it’s important to set up the right accessories and safety gear to guarantee a secure and enjoyable viewing experience. Prioritize solar safety by always wearing proper eye protection and ensuring your solar filter stays in place. Organize your accessories to stay efficient and avoid clutter during observation. Consider these essentials:
- Solar viewing glasses for direct observation
- A sturdy tripod or mount for stability
- A remote shutter release to prevent vibrations
- An organized storage container for small accessories
Proper accessory organization helps you quickly find what you need and maintains safety standards. Remember, solar safety should always come first to protect your eyes and equipment. Incorporating proper storage solutions can also help you keep track of your gear and prevent accidental damage. Setting up these accessories thoughtfully ensures a smooth, worry-free solar observing session.
Maintaining and Troubleshooting Your Solar Setup
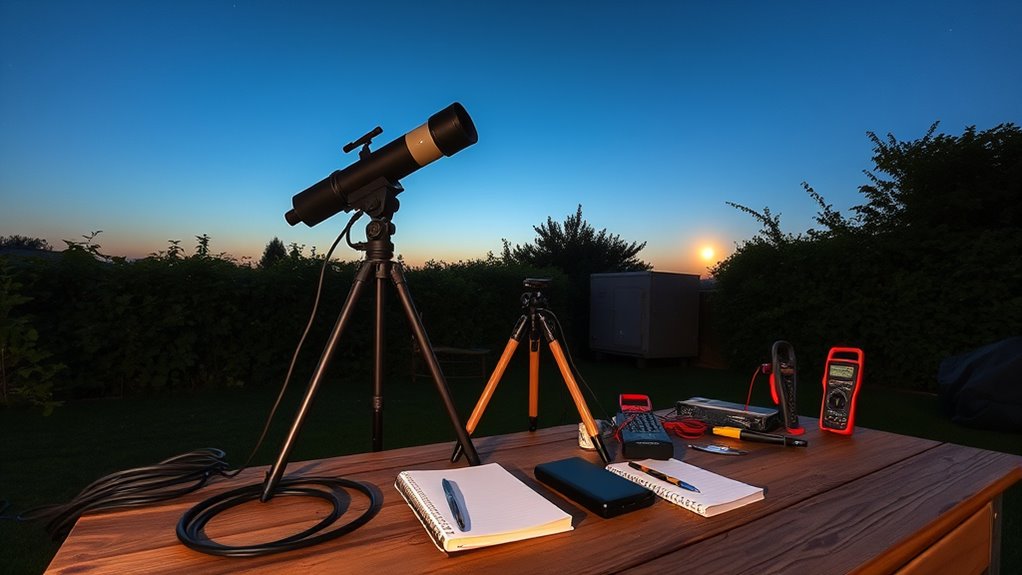
How can you guarantee your solar setup remains in top shape and ready for observation? Regular maintenance is key. Start by checking your equipment calibration to ensure accurate solar images and data. If you notice blurry images or inconsistent readings, recalibrate your telescope and camera. Keep your optics clean and free of dust or smudges that can distort views. For solar flare monitoring, stay alert for sudden changes in solar activity—these can sometimes indicate equipment issues. Troubleshoot common problems like loose connections, faulty power supplies, or software glitches promptly. Maintaining your gear not only extends its lifespan but also ensures reliable observations. Regularly inspecting your projector’s bulb can prevent unexpected outages, especially since bulbs have a limited lifespan. Proper maintenance helps you identify potential issues early and keeps your setup functioning optimally. With consistent care, you’ll be able to monitor solar activity confidently and safely from your backyard.
Enhancing Your Solar Observations With Budget-Friendly Tips
You can improve your solar observations without spending much by choosing affordable equipment that still performs well. Optimizing your viewing conditions, like adjusting your setup for better stability and lighting, makes a big difference. Additionally, DIY accessories can enhance your experience and save money, so consider making your own tools and modifications. Incorporating automation technologies can further streamline your setup and improve observation efficiency.
Use Affordable Equipment
Achieving quality solar observations doesn’t require expensive equipment; you can make impressive results with budget-friendly tools. Focus on selecting affordable telescopes, binoculars, or DIY solar viewers. You don’t need high-end gear; simple models can still provide clear views of sunspots and prominences. To optimize your setup, consider these tips:
- Use a basic solar filter for your telescope or binoculars
- Repurpose old cameras or webcams for solar imaging
- Incorporate a small, inexpensive mount for stability
- Plan your solar panel setup and backyard landscaping to reduce glare and shadows
These steps help you get the most out of your budget, ensuring safety and clarity while observing the sun. Remember, smart choices and proper planning make all the difference in your backyard solar observatory.
Optimize Viewing Conditions
Maximizing the quality of your solar observations depends heavily on optimizing viewing conditions. Start by carefully positioning your solar panel to avoid shading during peak sunlight hours, which also helps prevent unnecessary glare. Proper solar panel positioning ensures your setup stays efficient and reduces distractions from reflections. Shade management is equally important; choose a location with minimal shade from trees, buildings, or other structures. If shade is unavoidable, use natural or temporary shading solutions to control glare and prevent fluctuating light conditions. Clear, unobstructed views make your solar observations more accurate and enjoyable. By paying attention to these budget-friendly tips, you’ll create a stable, well-lit environment that enhances your solar viewing experience without extra costs.
DIY Accessories Effectively
Creating DIY accessories can substantially enhance your solar observations without breaking the bank. You can craft simple tools to improve image quality and data collection. For example, use a solar panel to power a weather monitoring station, keeping track of conditions that affect viewing. Build a custom solar filter from inexpensive materials to protect your equipment and improve contrast. Create a sturdy mount or tripod using recycled parts to stabilize your telescope. Finally, add a DIY sun funnel to direct sunlight precisely, reducing glare and reflections. These accessories are cost-effective and easy to assemble, giving you better control over your observations. By integrating weather monitoring tools and energy solutions like a solar panel, you optimize your setup for consistent, high-quality solar viewing.
Frequently Asked Questions
How Can I Prevent Theft or Vandalism of My Solar Observatory?
To prevent theft or vandalism of your solar observatory, focus on security tips and theft deterrents. You can install motion-activated lights, surveillance cameras, or even simple signs warning of security measures. Make sure your observatory is in a well-lit, visible area and consider using sturdy locks or fencing. Regularly check your equipment and stay vigilant, as these steps help protect your setup without breaking the bank.
What Are the Best Times of Day for Solar Observation?
Imagine you’re a time traveler! The best times for solar observation are during the morning and late afternoon when solar activity is clearer and atmospheric interference is lower. Avoid midday hours when the sun is highest and heat distortion peaks. Precise observation timing helps you catch solar phenomena like sunspots or flares. Always use proper filters and safety gear, regardless of the time, to protect your eyes during solar viewing.
How Do I Protect My Equipment From Weather Damage?
To guard your equipment from weather damage, start with essential weatherproofing tips. Use waterproof covers or tarps to shield your gear during rain or snow, and consider installing a small, ventilated shelter to prevent moisture buildup. Regularly check and secure equipment covering to make certain it stays in place. Additionally, use weather-resistant materials for mounts and supports, and bring equipment indoors during storms to keep it safe and functioning properly.
Can I Upgrade My Setup Over Time Without Significant Costs?
Upgrading your setup is like adding pieces to a puzzle—easy and rewarding. With a modular design, you can upgrade pathways gradually, focusing on essential components first. This approach lets you improve your observatory over time without significant costs, as you can upgrade individual parts instead of replacing everything. It’s a smart way to enhance your setup while managing your budget and keeping your system flexible for future needs.
Are There Local Regulations or Permits Needed for Backyard Observatories?
You should verify local regulations before setting up your backyard observatory. Zoning laws may restrict structures or installations, so confirm with your city or county offices. If you’re part of a homeowner association, review their rules about outdoor structures or equipment. These regulations can vary widely, so obtaining the necessary permits or approvals ensures you stay compliant and avoid potential issues later on.
Conclusion
With a little planning and creativity, you can enjoy stunning solar views without breaking the bank. Safety and simplicity go hand in hand, ensuring your observations are both enjoyable and secure. While your budget might be small, your curiosity and passion don’t have to be. By combining affordable gear with DIY ingenuity, you’ll capture breathtaking solar moments—proof that remarkable astronomy experiences don’t require a hefty price tag, only a spark of resourcefulness and a love for the skies.