To capture stunning Milky Way photos, shoot during a new moon in dark, clear skies far from city lights. Use manual focus on a bright star, set your ISO between 1600–3200, and keep shutter speed around 15–30 seconds using the 500 Rule. A wide-angle lens with a fast aperture helps maximize detail. With patience and the right techniques, you’ll reveal the galaxy’s beauty—keep going to uncover more expert tips.
Key Takeaways
- Shoot during a new moon in rural or dark-sky locations for minimal light pollution.
- Use manual focus on a bright star and wide-angle lens with an aperture of f/2.8 or wider.
- Set ISO between 1600–3200 and shutter speed around 15–30 seconds, applying the 500 Rule to avoid star trails.
- Plan for clear, cloudless nights with minimal atmospheric haze for maximum Milky Way visibility.
- Compose to include the galaxy’s core and spiral arms, adjusting settings and focus for detailed, sharp images.
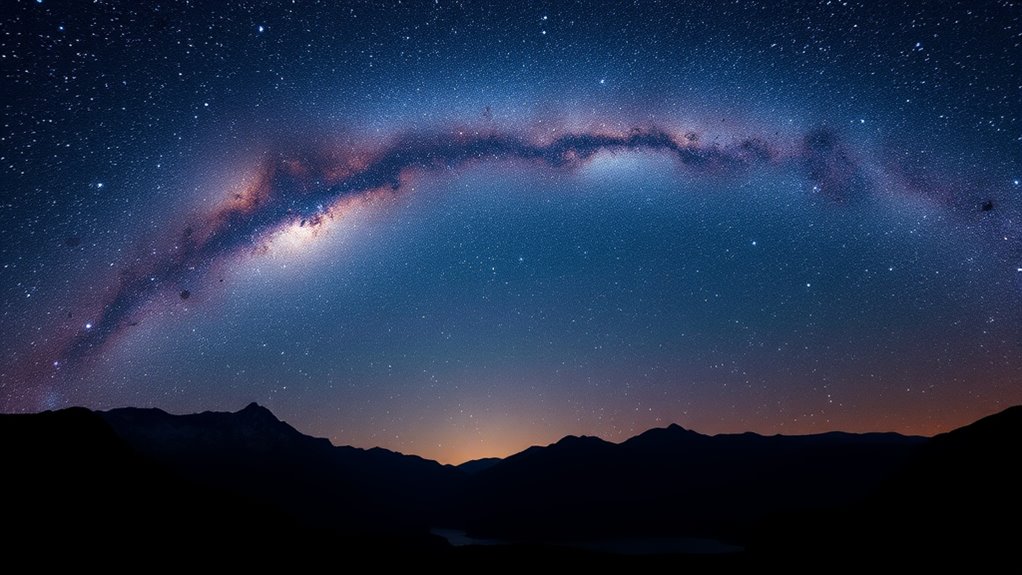
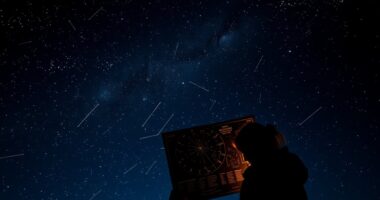
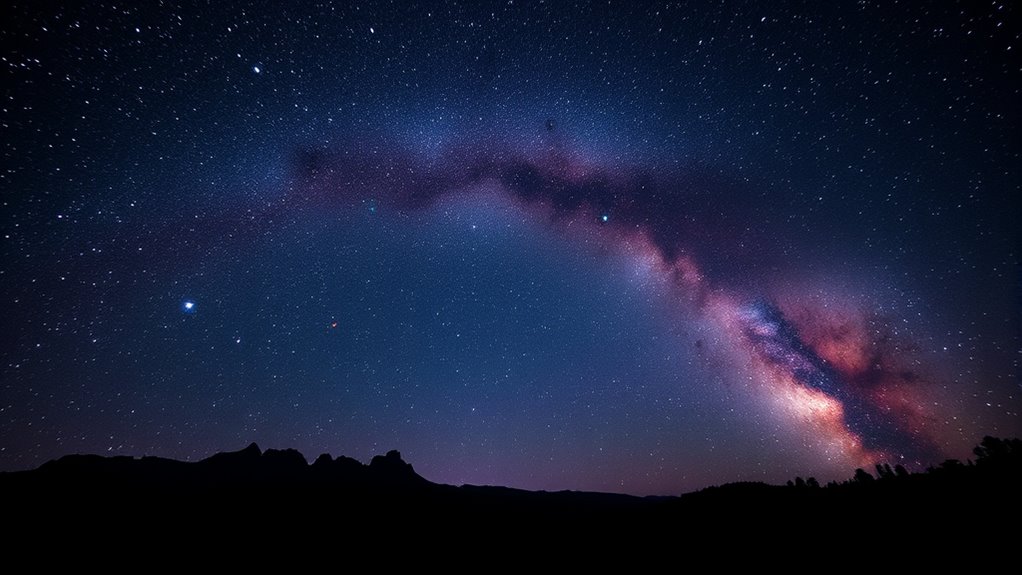
Capturing the Milky Way is an awe-inspiring experience that requires both preparation and the right techniques. One of the biggest challenges you’ll face is light pollution, which can wash out the galaxy’s faint details and make your photos appear dull or cluttered. To get the clearest shot, you need to find a location far from city lights—think rural areas or designated dark-sky parks. The darker the sky, the more vibrant and detailed your Milky Way images will be. Once you’ve chosen your spot, it’s essential to plan your shoot during the right time. The best window is during a new moon, when the moon’s glow isn’t washing out the stars. Also, look for nights with clear, cloudless skies and minimal atmospheric haze. This ensures maximum visibility of the galaxy’s structure.
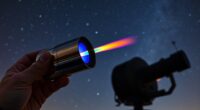
When it comes to camera settings, preparation is key. You want to set your camera to manual mode so you can control exposure, aperture, and ISO. Use a wide-angle lens with a fast aperture—preferably f/2.8 or wider—so you can gather as much light as possible. Set your ISO to around 1600 or 3200; higher ISO increases sensitivity but can introduce noise, so find a balance based on your camera’s capabilities. Keep your shutter speed between 15 and 30 seconds; too long, and star trails will blur your image, too short, and you won’t capture enough light. To prevent star trails, use the “500 Rule”: divide 500 by your lens’s focal length to determine the maximum exposure time in seconds. For example, if you’re shooting with a 24mm lens, 500 ÷ 24 ≈ 20 seconds. Always use a sturdy tripod to keep the camera steady during long exposures, and consider using a remote shutter release or timer to avoid camera shake when pressing the shutter button.
Focusing is critical in night sky photography. Switch your lens to manual focus, then use live view to zoom in on a bright star or distant light. Adjust focus until the star appears as sharp as possible. Once focused correctly, avoid touching the camera; even slight movements can ruin your shot. Take multiple shots at different settings if needed, and review your images to ensure you’ve captured the Milky Way’s intricate details. Additionally, understanding your imaging‑scale can help you compose your shot more effectively and capture the galaxy’s stunning features with precision. With patience and practice, you’ll learn how to tweak your camera settings for ideal results, revealing the galaxy’s stunning core and spiral arms in all their glory.
Frequently Asked Questions
How Can I Prevent Star Trails in My Milky Way Photos?
To prevent star trails in your Milky Way photos, you should focus on camera stabilization by using a sturdy tripod and a remote shutter release or timer. Keep your exposure time within the 20-30 second range, depending on your lens focal length, to avoid star trail formation. Additionally, use a wide-angle lens and set your camera to a high ISO for brighter images without increasing exposure time, ensuring sharp, trail-free shots.
What’s the Best Lens Focal Length for Capturing the Milky Way?
Did you know that 14mm is considered the ideal focal length for capturing the Milky Way? When choosing your lens, select a wide focal length like 14mm or 24mm to maximize your field of view. Pair it with a lens aperture of f/2.8 or wider to gather more light. This combination helps you capture stunning, detailed shots of the galaxy with minimal distortion.
How Do Weather Conditions Affect Milky Way Photography?
Weather conditions greatly impact your milky way photography. Clear, dry skies with low humidity levels are ideal because they reduce haze and distortions, ensuring sharp images. Moon phases also matter—aim for new moon nights to avoid excessive light pollution. Cloud cover can obscure your shot, so check weather forecasts and plan around clear, moonless nights for the best results.
What Camera Settings Are Ideal for Low-Light Milky Way Shots?
Did you know that capturing the Milky Way requires your camera sensor sensitivity to be set high? For ideal shots, set your ISO between 1600 and 3200, depending on your camera’s noise performance. Use a wide aperture, like f/2.8 or lower, to let in more light. Keep your shutter speed around 20-30 seconds to prevent star trails, ensuring sharp, stunning Milky Way images.
How Can I Enhance the Colors of the Milky Way in Post-Processing?
To enhance the colors of the Milky Way in post-processing, start with color correction to balance the tones and reduce unwanted color casts. Then, use saturation enhancement carefully to make the stars and nebulae pop without overdoing it. Adjust individual color channels if needed to emphasize certain hues, like blues and pinks. This approach gives your photo a vivid, natural look that highlights the galaxy’s stunning colors.
Conclusion
Now that you know the best times and techniques for capturing the Milky Way, aren’t you enthusiastic to get started? With patience, practice, and the right gear, you can create stunning night sky images that amaze everyone. Remember, every shot brings you closer to mastering this celestial art. So, why wait? Grab your camera, find a dark spot, and start exploring the breathtaking beauty of our galaxy tonight!