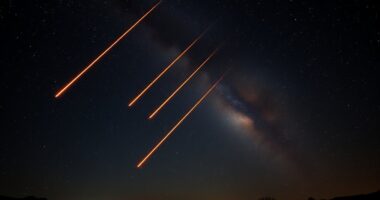

To photograph the Milky Way, plan your shoots during late spring to early fall (May to September) in the Northern Hemisphere, aiming for pre-dawn hours to catch its high position in summer. In the Southern Hemisphere, the prime months are February through October, especially May to August, with the core higher in the sky during late autumn and winter nights. Consider moon phases and weather; continuing will reveal detailed tips for perfect shots.
Key Takeaways
- Northern Hemisphere: optimal in late spring to early fall (May-September), especially before dawn in summer.
- Southern Hemisphere: best from February to October, with peak visibility May to August during late autumn and winter.
- Both hemispheres benefit from planning around new or crescent moon phases to minimize light pollution.
- Clear, dark, and dry nights favor detailed and vibrant astrophotography of the galaxy.
- Consider galactic positioning and local light pollution to choose the best months and times for capturing the Milky Way.
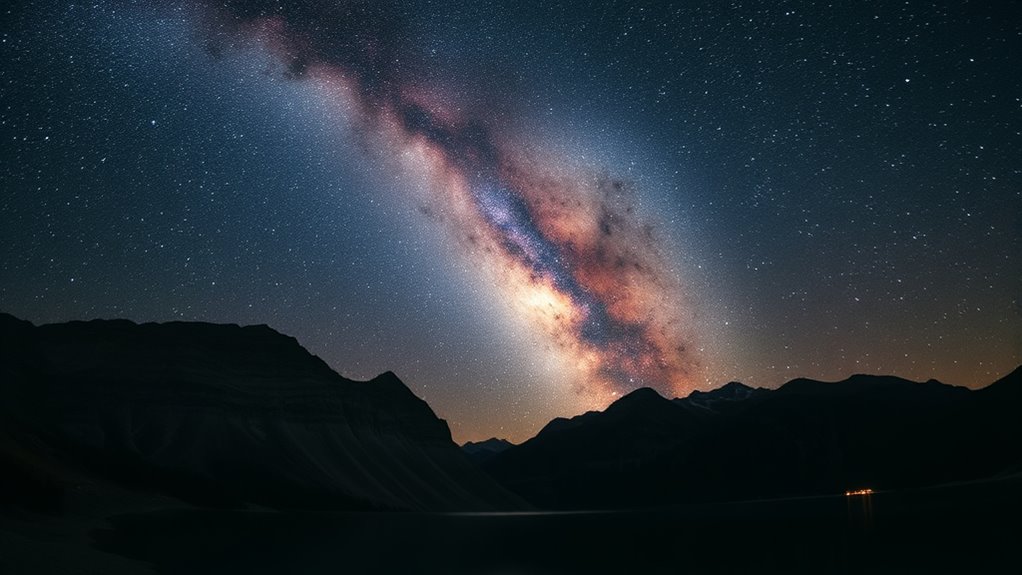
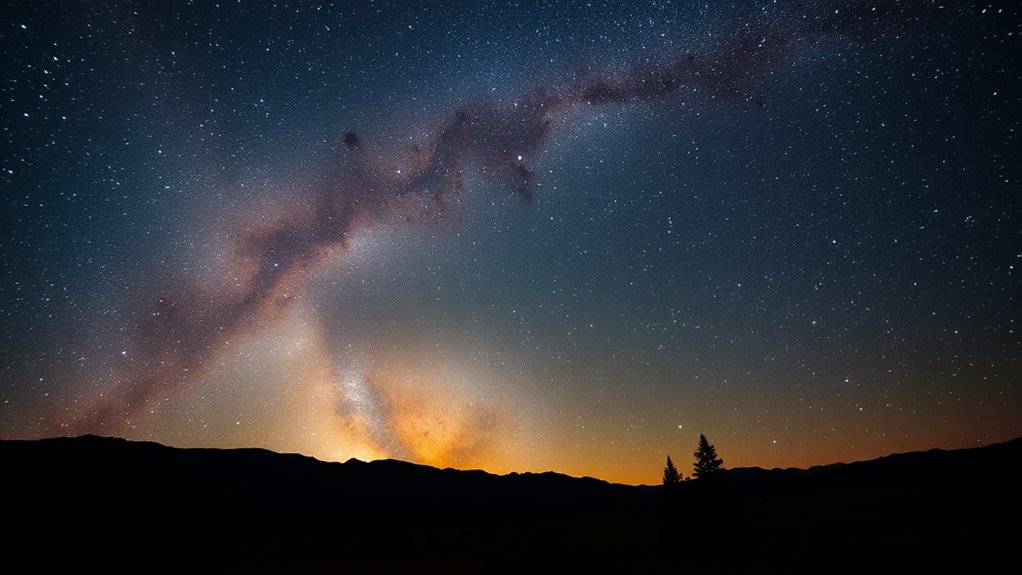
Capturing stunning images of the Milky Way requires planning and timing. To do this effectively, you need to understand the galactic positioning, which determines when the galaxy will be visible in the night sky. The Milky Way’s position shifts throughout the year, so knowing when it’s high overhead or near the horizon is essential. In the Northern Hemisphere, the best time typically falls between late spring and early fall, from around May to September. During these months, the core of the galaxy rises above the horizon in the pre-dawn hours, offering prime opportunities for astrophotography. Conversely, in the Southern Hemisphere, the galactic core becomes more prominent from February to October, with peak visibility often between May and August. You’ll find that during these months, the core appears higher in the sky, making it easier to capture detailed and vibrant images.
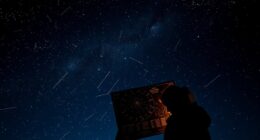
Another key factor to consider is the moon phase. A new moon or a period when the moon is a thin crescent means darker skies with less light pollution, which enhances the visibility of the Milky Way’s intricate details. During full moons, the moon’s brightness washes out much of the galaxy’s faint light, making it difficult to photograph the Milky Way with clarity. As a result, planning your shoot around the new moon phase is essential. You can check lunar calendars to pinpoint the exact dates, ensuring you schedule your photography sessions during these ideal dark sky periods. Additionally, weather conditions play a role—clear, dry nights are ideal, as clouds and humidity can obscure your view of the galaxy. Understanding light pollution levels in your area can also significantly improve your chances of a successful shot.
Timing your outings around galactic positioning and moon phases maximizes your chances of capturing stunning images. In the Northern Hemisphere, target the hours before dawn during the summer months when the core is high, and the sky is darkest. In the Southern Hemisphere, late autumn and winter nights often present the clearest views, especially when the moon is minimal. Remember, the right combination of galactic positioning, moon phase, and weather conditions will make all the difference. With proper planning, you’ll be able to photograph the Milky Way in its full splendor, revealing the galaxy’s vibrant core and sprawling arms in breathtaking detail.
Frequently Asked Questions
How Does Moon Phase Affect Milky Way Photography?
The moon phase profoundly affects your Milky Way photography by influencing the amount of light pollution in the night sky. During a new moon, the sky is darker, allowing you to capture more detail and avoid unwanted moonlight washing out the stars. Conversely, a full moon brightens the sky, making it harder to see the Milky Way and increasing light pollution. Plan your shoot around the moon phase for ideal results.
What Gear Is Ideal for Capturing the Milky Way?
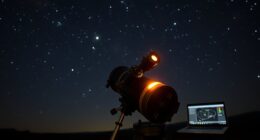
When capturing the Milky Way, your camera gear and lens selection are vital. Use a DSLR or mirrorless camera with good low-light performance, paired with a wide-angle lens—ideally between 14mm and 24mm—f/2.8 or faster for better light gathering. A sturdy tripod is essential for stability. This gear helps you capture sharp, bright images of the night sky, revealing the galaxy’s stunning details.
Can the Milky Way Be Photographed During the Day?
Thinking of catching the Milky Way during daytime shooting? It’s like trying to find a firefly in broad daylight—you won’t see it because of solar interference. The bright sun washes out the galaxy’s faint light, making it impossible to photograph the Milky Way during the day. To capture it, you need darkness, typically late at night or during new moon phases, when the sky is free from solar interference.
How Do Weather Conditions Influence Milky Way Visibility?
Weather conditions greatly influence your chances of seeing the Milky Way. Clear skies with good atmospheric clarity are essential because clouds or fog block your view. Additionally, light pollution from urban areas doesn’t just wash out the stars, but also reduce the contrast needed to capture the galaxy’s details. For ideal photography, choose nights with minimal atmospheric disturbances and away from city lights, ensuring a stunning, unobstructed view of the Milky Way.
What Are Common Mistakes to Avoid in Milky Way Photography?
Imagine your camera, trembling with camera shake, blurs the stunning starry sky you’re trying to capture. To avoid this, use a sturdy tripod and a remote shutter. Don’t forget, light pollution can wash out the Milky Way’s glow—choose a dark sky location. Avoid overexposing or underexposing your shots, and always double-check focus. These mistakes can ruin your shot, so be mindful and prepared.
Conclusion
No matter which hemisphere you’re in, the best time to photograph the Milky Way is during the dark, moonless nights when the sky is clearest. Plan your shoots when the Milky Way is high, when the sky is darkest, and when the weather is best. Chase the darkness, embrace the silence, and seize the moment. Because the perfect shot comes when you’re prepared, when conditions align, and when your passion guides your lens.