To build a DIY hologram projector from acrylic sheets, select clear, high-quality acrylic suitable for precise cuts. Cut the sheets into trapezoids or rectangles with a fine-tooth saw or laser cutter, ensuring clean, accurate edges. Assemble these pieces into a pyramid with 45-degree angles to reflect light properly from your device, creating the floating 3D illusion. Proper material choice and craftsmanship are key—continue exploring to discover tips for perfecting your hologram setup.
Key Takeaways
- Select clear, high-quality acrylic sheets of appropriate thickness for light diffusion and ease of cutting.
- Use precise cutting methods like laser cutters or fine-tooth saws to shape acrylic into trapezoids or rectangles.
- Assemble the acrylic pieces into a stable, 45-degree angled pyramid using clear adhesive for optimal light reflection.
- Ensure surfaces are clean and polished to maximize transparency and hologram clarity.
- Position the pyramid over a smartphone or tablet displaying hologram videos to create the 3D illusion.
Ever wondered how to create stunning hologram effects at home? Building a DIY hologram projector is easier than you might think, especially when you understand the basics of a good hologram setup and acrylic cutting techniques. With just a few simple materials and some careful craftsmanship, you can produce captivating 3D illusions right on your desk or shelves. The key is to design a structure that refracts light in just the right way, and that starts with choosing the right acrylic sheets.
Your first step is to select clear, high-quality acrylic sheets because their transparency and light diffusion qualities make them ideal for hologram effects. Once you have your acrylic, you’ll need to cut the sheets into specific shapes—usually trapezoids or smaller rectangular pieces—based on your hologram setup plan. This is where acrylic cutting techniques come into play. Using a fine-tooth saw or a laser cutter, you can achieve precise edges without cracking the material. If you’re using a manual saw, make slow, steady cuts to prevent splintering. For laser cutting, ensure your settings are appropriate for acrylic to get clean, accurate pieces. Precision in cutting is essential because even small imperfections can distort the hologram image or reduce its clarity.
Choose high-quality acrylic sheets and cut precisely for perfect hologram effects.
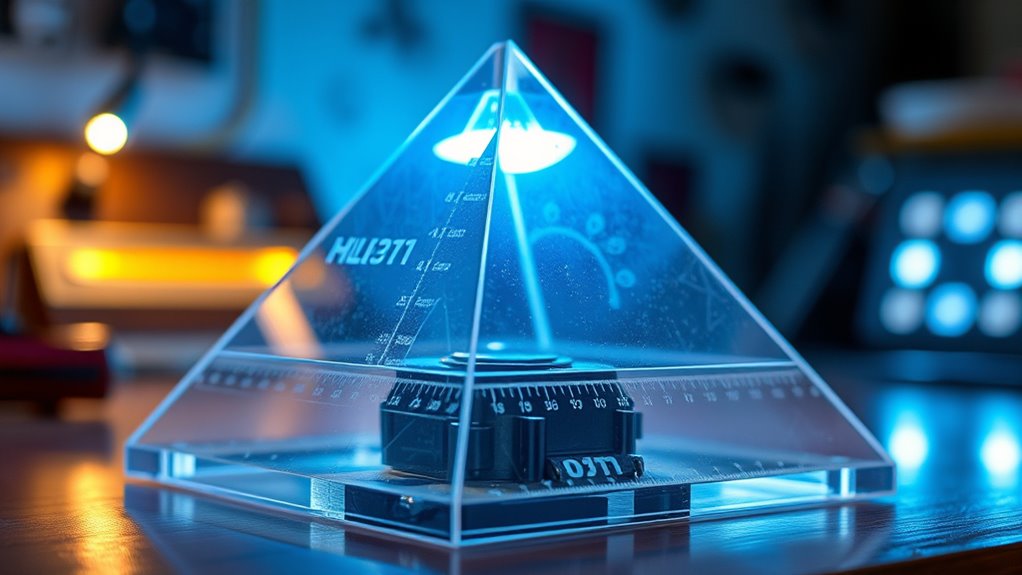
After cutting, you’ll need to assemble the acrylic pieces into a pyramid or similar structure, depending on your design. The angles are essential; most hologram setup guides recommend a 45-degree angle for the sides of the pyramid to ensure proper light reflection and refraction. Use clear adhesive or UV glue, applying it sparingly to avoid smudges or bubbles that could interfere with the hologram illusion. Once assembled, position your structure on a flat surface, ideally on top of a smartphone or tablet screen displaying the hologram video. The setup is simple but effective—your acrylic pyramid will serve as a prism that redirects the light from your device into a floating 3D image. To ensure optimal results, consider acrylic surface preparation techniques, such as cleaning and polishing, to maximize clarity.
Experimenting with different acrylic thicknesses and cutting techniques can help you optimize the hologram effect. Thicker acrylic can produce more vivid images, but it’s also heavier and more challenging to cut. Thinner sheets are easier to work with but may sacrifice some brightness. As you refine your acrylic cutting techniques, you’ll improve the symmetry and quality of your projector, making your homemade hologram setup more impressive each time. With patience and precision, you can craft a stunning hologram projector that transforms your digital images into mesmerizing 3D illusions—all from the comfort of your home.
Frequently Asked Questions
What Types of Acrylic Sheets Are Best for Hologram Projectors?
You should choose clear, cast acrylic sheets for your hologram projector because they offer high optical clarity and minimal distortion. Material selection is vital; opt for sheets with a smooth, flat surface and uniform thickness to guarantee the best projection quality. Acrylic sheet types like cast acrylic are more durable and have fewer imperfections compared to extruded options, making them ideal for creating sharp, vibrant holograms.
How Can I Improve the Clarity of the Holographic Image?
To improve the clarity of your holographic image, start by making lighting adjustments—use softer, more diffuse lighting to reduce glare and reflections. Additionally, consider lens enhancements like adding a clear, high-quality lens or adjusting the angle for sharper focus. These tweaks help refine the image, making it crisper and more vivid. Experiment with different lighting setups and lens positions until you achieve the clearest, most vibrant hologram possible.
What Safety Precautions Should I Take During Construction?
You should wear protective gear like safety goggles and gloves to shield your eyes and skin from acrylic dust and sharp edges. Make certain your workspace is well-ventilated and free of clutter to prevent accidents. Always handle cutting tools carefully, and follow safety instructions for each tool. Keep a first aid kit nearby, and take breaks to stay alert. Prioritizing workspace safety helps you build your hologram projector safely and effectively.
Can This Projector Be Used With Any Smartphone or Device?
Your DIY hologram projector works best with smartphones that have a clear display and compatible screen size. Check your device compatibility and smartphone requirements before starting your project. Most smartphones with a standard screen size and good resolution will work, but avoid older or smaller devices. Make sure your device’s screen brightness is high enough for visibility. Test your device with the projector to ensure ideal hologram quality.
How Do I Troubleshoot Common Issues With My Hologram Projector?
Think of your hologram projector as a delicate dance partner—you need perfect harmony. If it glitches, start by checking the laser alignment; a crooked laser can dim your hologram’s glow. Also, verify the power supply is steady and secure, like a reliable rhythm section. Tighten loose connections and reset the device if needed. With these steps, your hologram should shine bright, bringing your digital dreams to life.
Conclusion
Just like a master craftsman shaping glass into a perfect mirror, you’ve now crafted your own hologram projector from simple acrylic sheets. This device is your window into a universe of possibilities, turning flat images into floating marvels that seem to defy reality. Remember, you’re the artist and the magician—each projection a reflection of your creativity. With patience and precision, you’ve unbarred a portal where imagination and technology dance in harmony, transforming ordinary into extraordinary.