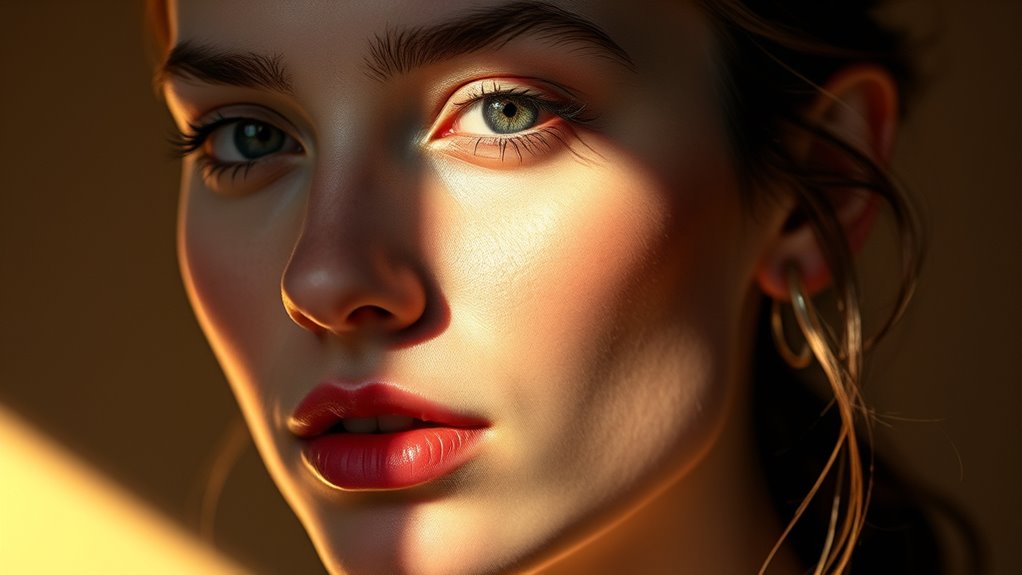

Post-processing light with dodging and burning lets you selectively brighten or darken specific areas of your photo, adding depth and dimension. By subtly adjusting tones, you can emphasize details like eyes or cheekbones while receding distracting elements for a natural look. Using soft brushes and gentle edits, you’ll balance highlights and shadows to create a polished, professional result. Keep practicing these techniques, and you’ll discover how to transform ordinary images into stunning visuals.
Key Takeaways
- Dodging brightens specific areas to emphasize features, while burning darkens to create depth and contrast.
- Use soft brushes with low opacity for subtle, gradual tonal adjustments that mimic natural light play.
- Focus on enhancing textures and details, especially in eyes, cheekbones, and background elements.
- Balance overall tonal range by carefully fine-tuning midtones, highlights, and shadows for a natural look.
- Compare edits to the original image regularly to avoid overprocessing and maintain authenticity.
Have you ever wondered how professional photos achieve that perfect glow? It’s often a result of expert post-processing, specifically through techniques like dodging and burning. These methods allow you to control light and shadow, giving your images depth and dimension. When used skillfully, they can make certain areas pop while subtly receding others, enhancing the overall visual impact. The key is understanding how highlighting techniques and tonal adjustments work together to create a balanced, polished look.
Mastering dodging and burning creates depth, glow, and professional polish in your photos.
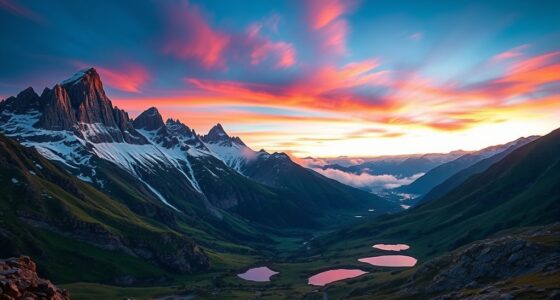
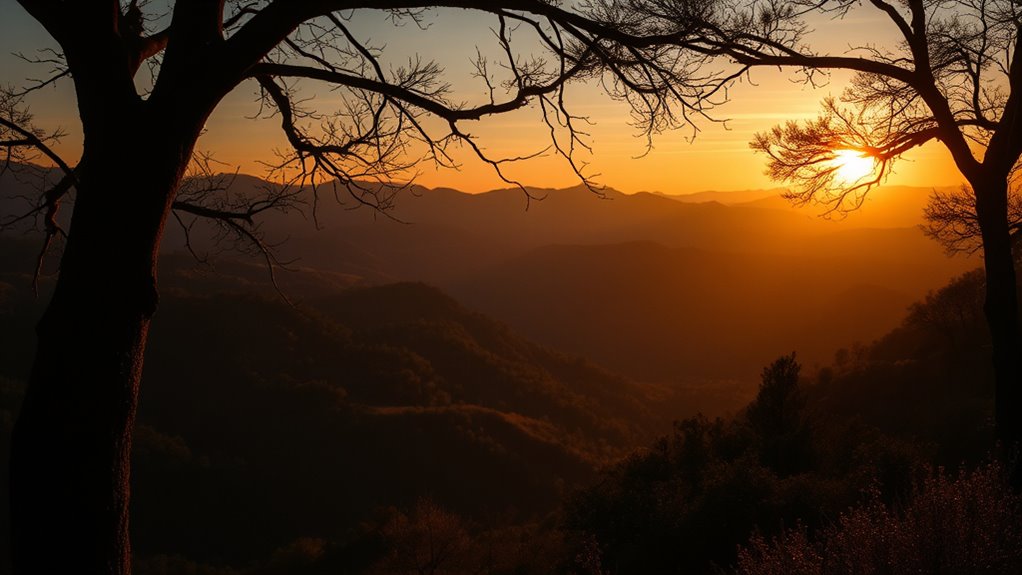
Dodging and burning aren’t just about brightening or darkening specific spots; they’re about carefully sculpting your image to emphasize the subject and guide the viewer’s eye. Highlighting techniques involve selectively increasing brightness to bring attention to important features, like the eyes, cheekbones, or highlights in the hair. Conversely, burning involves darkening areas that might be distracting or overly bright, such as background elements or unflattering shadows. These adjustments help you craft a harmonious tonal range that mimics the subtle interplay of light in a well-lit scene.
When applying tonal adjustments, you want to think of your image as a canvas with a full spectrum of shades. Instead of simply making everything brighter or darker, you carefully manipulate midtones, highlights, and shadows to achieve a natural yet refined look. This process isn’t about drastic changes; it’s about fine-tuning the image so that it looks both vibrant and realistic. By selectively dodging and burning, you can enhance textures, add depth, and create a sense of three-dimensionality.
Practicing these techniques means paying close attention to the subtle shifts in tone and light. Use a soft brush with low opacity for gradual adjustments, and always compare your work to the original to avoid overdoing it. The goal is to enhance the photo’s natural beauty rather than create an overly processed effect. Additionally, understanding light and shadow interactions can help optimize your editing skills for more professional results. When you master highlighting techniques and tonal adjustments through dodging and burning, your images will look more professional, polished, and compelling.
Ultimately, this careful manipulation of light is what separates good photos from great ones. It’s a delicate balance—knowing where to add brightness and where to deepen shadows—that transforms an ordinary shot into a stunning visual story. So next time you’re editing, remember that the magic lies in subtlety. With practice, dodging and burning will become essential tools in your post-processing arsenal, helping you achieve that flawless, glowing finish every time.

GIMP 2025 Photo Editor USB – Compatible with Windows – Full Image Editing Software – Open Source Alternative to Photoshop – Includes PDF Guide
Professional image editing software for Windows and macOS, preloaded on a convenient USB drive with no internet required…
As an affiliate, we earn on qualifying purchases.
As an affiliate, we earn on qualifying purchases.
Frequently Asked Questions
How Do I Choose Between Dodging and Burning Techniques?
You choose between dodging and burning based on your lighting adjustments and tonal modifications goals. Use dodging to lighten specific areas, highlighting details and creating emphasis. Opt for burning to darken parts, adding depth and contrast. Consider the mood you want to convey—brightening for a lively feel, or darkening for drama. Assess your image’s tonal balance, and apply these techniques selectively to enhance the overall composition effectively.
What Tools Are Best for Precise Dodging and Burning?
You’ll want to use brush tools on adjustment layers for precise dodging and burning. These tools let you control exposure and opacity, giving you detailed adjustments without affecting the whole image. You can finely tune highlights and shadows by painting on separate layers, making your edits both flexible and non-destructive. This method guarantees your work stays sharp and natural, even in complex areas.
Can Dodging and Burning Be Used in Black and White Images?
Yes, dodging and burning work perfectly for black and white images. You can use these techniques to make tonal adjustments, enhancing contrast and depth. By selectively lightening or darkening areas, you draw attention and create mood. These tools give you precise control over your black and white photo’s highlights and shadows, helping you craft a more dynamic and visually compelling image.
How Do I Avoid Overdoing Dodging or Burning?
Think of dodging and burning as fine-tuning a delicate painting—you want subtle adjustments to preserve the natural look. To prevent overdoing it, use a soft brush with low opacity and build up gradually. Frequently compare your edits to the original image, and step back to review your work. This approach ensures your enhancements highlight details without becoming obvious, maintaining a harmonious, authentic feel.
Are There Any Shortcuts for Faster Post-Processing?
Yes, you can improve workflow efficiency with speed shortcuts in post-processing. Use keyboard shortcuts for common tools and actions, like toggling dodge and burn layers or switching brush modes. Customize your workspace to access frequently used panels quickly. Automate repetitive tasks with actions or presets, and consider using batch processing for similar images. These tips help you work faster, giving you more time to focus on perfecting your dodging and burning.

Brush Set Camel 3/Pkg-Mop
Good Quality material
As an affiliate, we earn on qualifying purchases.
As an affiliate, we earn on qualifying purchases.
Conclusion
Now that you understand dodging and burning, imagine the perfect shot just waiting to be revealed. With each subtle adjustment, you’re revealing hidden details and guiding your viewer’s eye. But beware—every choice has its limits, and pushing too far can undo all your effort. Are you ready to experiment and discover where these techniques can take your images? The true magic begins when you step beyond the basics—what will you create next?
Smartphone Photo Editing : Transform iPhone & Android Photos into Pro-Shots with Lightroom & Snapseed: The Complete Beginner's Guide to Presets, … Essential Guides for Every Photographer)
As an affiliate, we earn on qualifying purchases.
As an affiliate, we earn on qualifying purchases.
lightroom plugins for tonal adjustments
As an affiliate, we earn on qualifying purchases.
As an affiliate, we earn on qualifying purchases.