Lighting ratios are the key to creating professional, studio-quality portraits. They control the contrast and mood by adjusting the brightness difference between your key and fill lights. Higher ratios produce dramatic shadows and intense emotion, while lower ratios offer soft, even lighting for a gentle look. Measuring and setting these ratios accurately transforms your images, making them stand out. Keep exploring to uncover how mastering these techniques can elevate your portrait skills to the next level.
Key Takeaways
- Lighting ratios control contrast, mood, and depth, enabling studio-quality portraits with deliberate shadow and highlight placement.
- Use a light meter to measure and calculate precise ratios, ensuring consistent and professional results.
- Common ratios like 1:1, 2:1, and 4:1 create specific visual effects, from natural to dramatic.
- Adjust ratios by balancing key, fill, and background lights, and utilize diffusion and modifiers for soft or controlled contrast.
- Mastering ratios allows for creative control over emotional tone, facial features, and overall portrait impact.

Sekonic L-308X-U Flashmate Light Meter, Compact Digital Incident & Reflected Exposure Meter with Photo, Cine & HD Cine Modes, LCD Auto Backlight, Illuminance Measurement, Pocket-Sized Design
Exposures accurate down to a tenth-of-a-stop for both ambient and electronic flash light readings in full-stop mode.
As an affiliate, we earn on qualifying purchases.
As an affiliate, we earn on qualifying purchases.
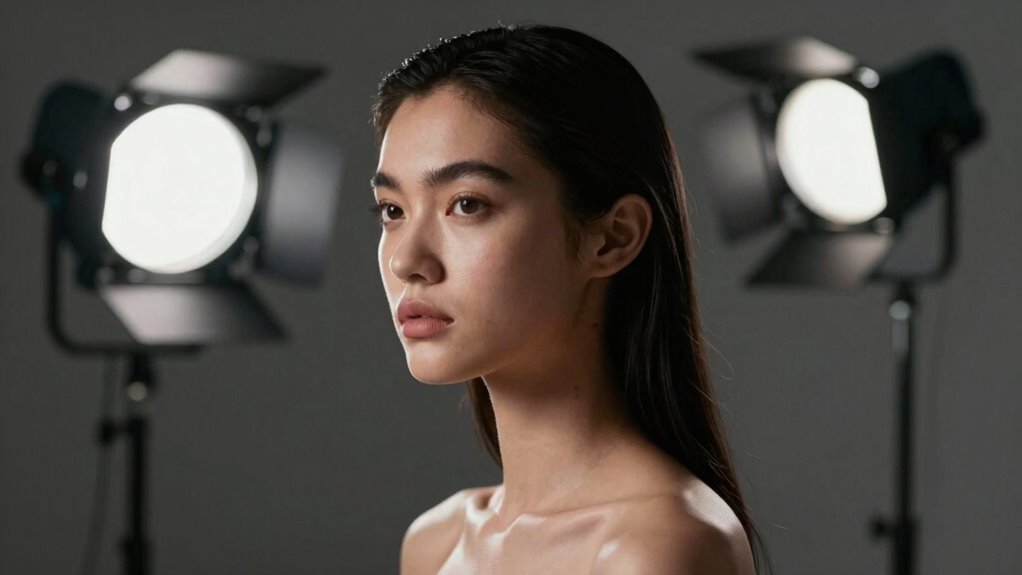
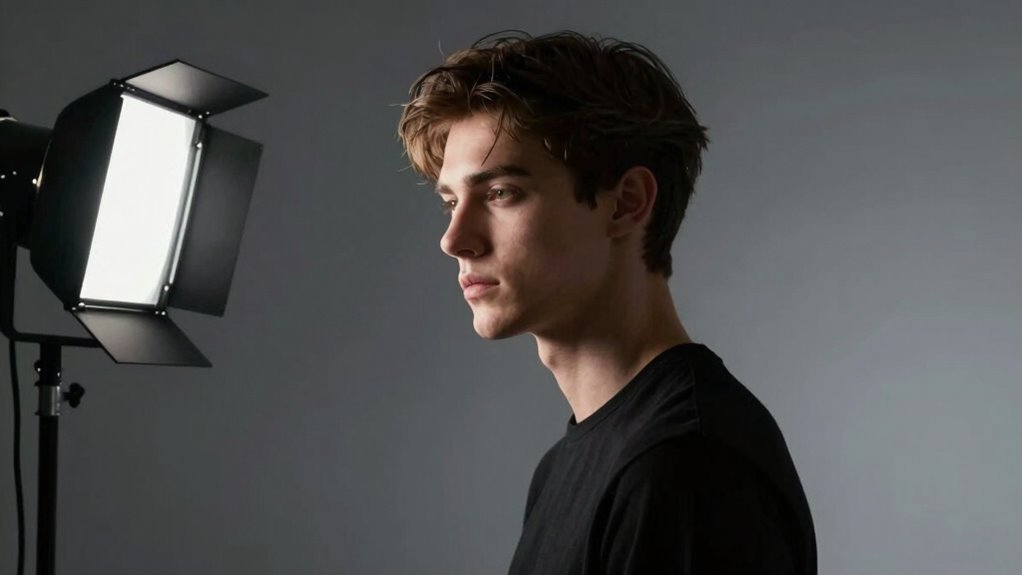
Why Lighting Ratios Are Key to Stunning Portraits

Lighting ratios are essential because they directly influence the mood and depth of your portraits. By understanding how different ratios affect contrast, you can evoke specific emotions and highlight features effectively. Color theory also plays a role; contrasting lighting can enhance skin tones or create dramatic effects. Additionally, the gelato culture in Italy is renowned for its artistry, much like the craft of portrait photography. Proper equipment maintenance guarantees your lights and modifiers perform consistently, allowing you to achieve predictable results with your chosen ratio. Regularly check your gear to prevent flickering or uneven light, which can undermine your creative intent. Mastery of lighting ratios helps you make intentional decisions about shadow and highlight placement, giving your portraits a professional, polished look. When you control these elements, you craft images that are not only visually striking but also emotionally impactful. Additionally, exploring new content formats can inspire innovative lighting techniques that elevate your portrait photography.

Torjim Softbox Photography Lighting Kit, 16'' x 16'' Professional Softbox Lighting Kit with 85W 3000-7500K LED Bulbs, Studio Lights for Photography/Video Recording/Live Streaming/Portraits Shooting
【Illuminate Your Creativity】 Torjim softbox lighting kit is made of high-quality PET fabric and a foldable nylon cover,…
As an affiliate, we earn on qualifying purchases.
As an affiliate, we earn on qualifying purchases.
Understanding What Lighting Ratios Do in Photography

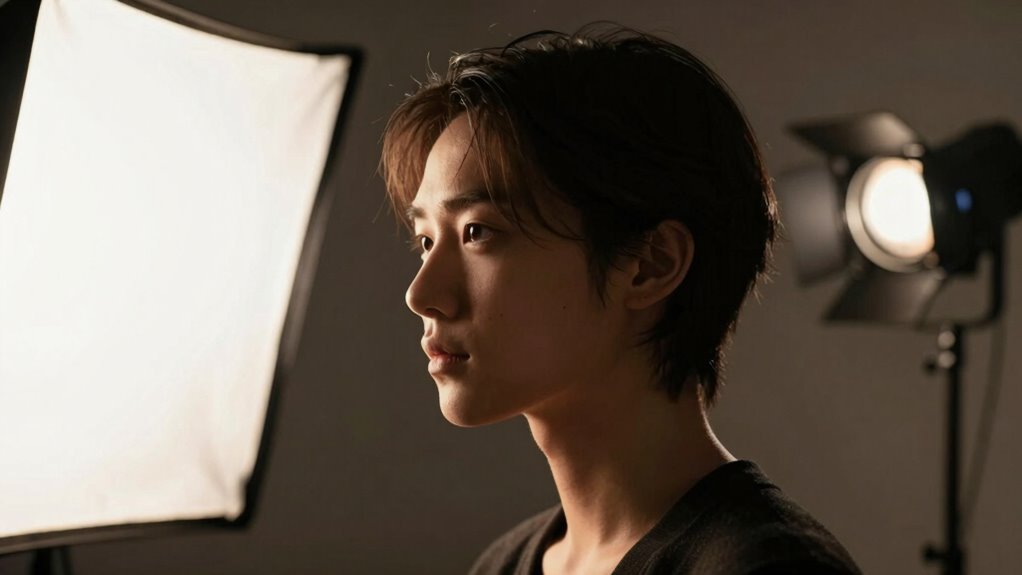
Understanding what lighting ratios do in photography is essential because they control the contrast and mood of your images. Higher ratios create dramatic shadows and a sense of depth, while lower ratios produce softer, more even lighting. This impacts color temperature perception and how light diffusion affects your shot’s overall feel. For example, a high contrast ratio with hard light emphasizes texture, whereas softer ratios with light diffusion smooths skin tones. Understanding media literacy can help photographers assess the visual impact of lighting choices. Additionally, sustainable practices in fabric technology can inspire creative approaches to lighting setups. Adjusting lighting ratios helps you craft the desired atmosphere, whether you’re aiming for a moody portrait or a bright, cheerful image. Furthermore, incorporating elements like outdoor ovens can enhance the creative process by allowing for unique setups and environments. A strong foundation in emerging trends can also benefit your shooting experience by ensuring your equipment performs optimally. Here’s a quick overview:
| Ratio Level | Effect on Contrast | Best Use Case |
|---|---|---|
| 1:1 | Flat, even light | Soft, natural look |
| 2:1 | Slight contrast | Portraits, beauty shots |
| 4:1 | Noticeable shadows | Dramatic portraits |
| 8:1 | Strong shadows | High-contrast moods |
| 16:1 | Very dramatic | Artistic, chiaroscuro |

Neewer 1 Yard x 60 Inch/0.9M x 1.5M Polyester White Seamless Diffusion Fabric for Photography Softbox,Light Tent and Lighting Light Modifier
1 Yard x 60 Inch/0.9M x 1.5M of DIY diffusion fabric
As an affiliate, we earn on qualifying purchases.
As an affiliate, we earn on qualifying purchases.
How to Measure and Calculate Lighting Ratios in Your Studio
To measure and calculate lighting ratios accurately, you’ll need a light meter to gauge the brightness of each light source. Once you have the readings, you can determine the ratio by comparing their intensities. This process helps you fine-tune your lighting setup for the desired effect. Additionally, understanding proper watering techniques can enhance your creative environment by ensuring your plants thrive, contributing to a more inspiring studio space. Incorporating gentle stretching before your sessions can also improve your focus and comfort while working on your lighting setups. Achieving optimal color accuracy in your lighting can significantly enhance the overall quality of your portraits.
Using Light Meters
Using a light meter is essential for accurately measuring the intensity of your studio lights and achieving the desired lighting ratio. Before use, verify your light meter is properly calibrated to avoid errors. Calibration accounts for your specific device’s accuracy, leading to consistent readings. When measuring, consider the color temperature of your lights, as it can influence the meter’s response. Match the meter’s setting to your light’s color temperature for precise results. Hold the meter at the subject’s position, pointing directly at the light source, and take readings for each light. Record these values to compare and adjust your lighting setup accordingly. Proper calibration and understanding of color temperature ensure your measurements are reliable, helping you create consistent, professional portraits with controlled lighting ratios.
Calculating Brightness Ratios
Once you’ve measured the light intensities with your meter, the next step is to calculate the brightness ratios to see how your lights compare. To do this, note the readings from each light, considering their color temperature, which affects how colors appear on your subject. If you’ve used light diffusion, remember it softens the light, impacting the meter readings by reducing contrast. Divide the higher reading by the lower one to find the ratio. For example, if your key light measures 100 lux and your fill light measures 25 lux, your ratio is 4:1. This calculation helps you understand the contrast and mood your lighting setup produces. Accurate ratios are essential for achieving consistent, studio‑level portraits.

2-Pack Photography Lighting Kit, NiceVeedi 25W LED Video Light Kit, 2900-7000K Dimmable Studio Light with Tripod Stand, 73" Stream Light for Video Recording
【MULTIPLE COLOR TEMPERATURE & ADJUSTABLE BRIGHTNESS】Provide 3 Color temperatures (2900K, 4800K & 7000K)to create various lighting atmosphere; This…
As an affiliate, we earn on qualifying purchases.
As an affiliate, we earn on qualifying purchases.
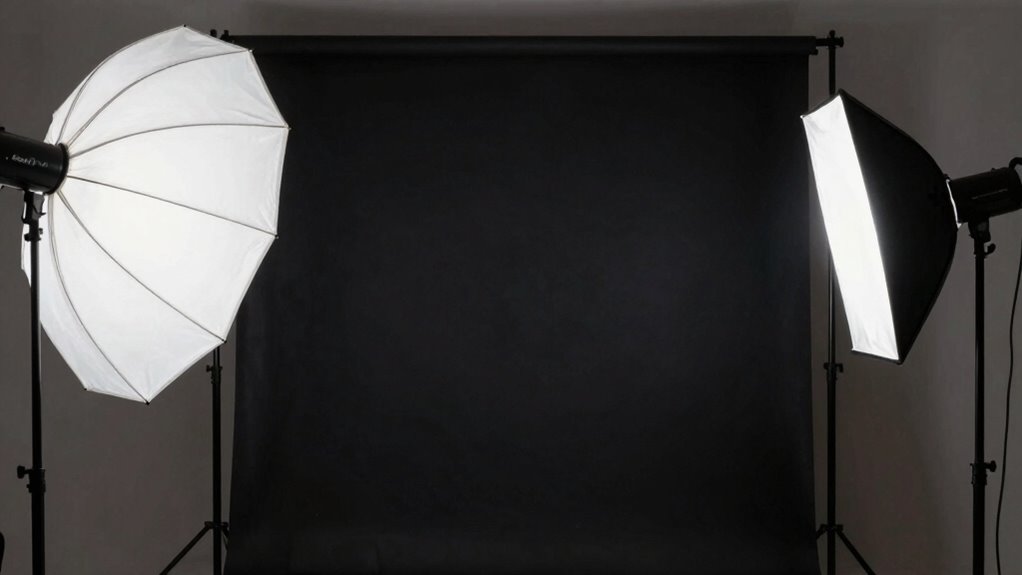
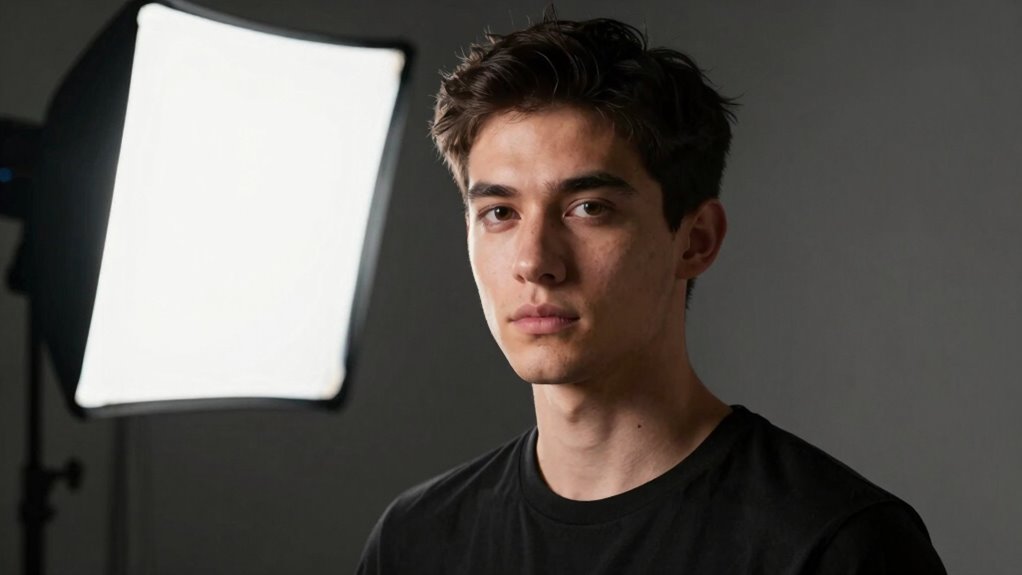
Set Up Your Studio Lights for the Perfect Ratio
Sure! Here’s the revised content following your directions:
—
Proper setup guarantees consistent, professional results. Early detection of breast cancer involves understanding Frühwarnzeichen für Brustkrebs, which can be crucial for overall health. Additionally, knowing the regional flavors of coffee and tea can enhance your overall experience when capturing the essence of your subjects. Incorporating a growth mindset can also help children feel more confident and resilient in front of the camera. Furthermore, applying best practices in software quality assurance can streamline your workflow and enhance the quality of your final images. Aromatherapy can also play a role in stress reduction, which may improve the comfort of your subjects during shoots.
| Light Type | Adjustments Needed | Key Tip |
|---|---|---|
| Key light | Set brightness and color temp | Use a color meter |
| Fill light | Match key light’s temp | Use consistent equipment |
| Background light | Balance for separation | Calibrate for even output |
—
Let me know if you need any further modifications!
Common Portrait Lighting Ratios and How They Affect Mood
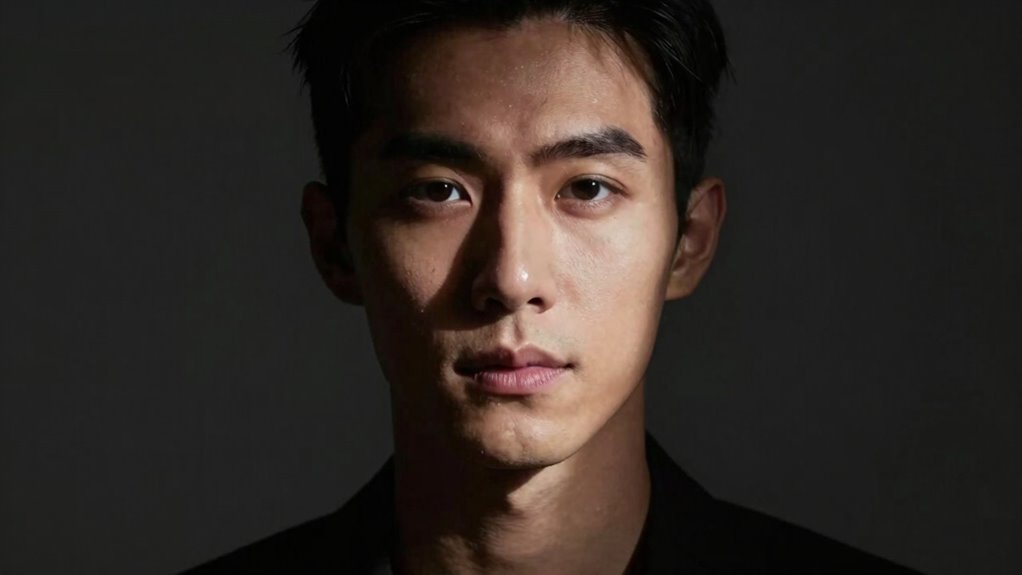
Understanding common portrait lighting ratios is essential because they directly influence the mood and emotional tone of your images. A high contrast ratio, like 4:1, creates dramatic, intense portraits by emphasizing shadows and highlights, often conveying mystery or tension. Conversely, a lower ratio, such as 2:1, produces softer lighting that feels warm and inviting. The color temperature of your key and background lighting also impacts the overall mood—warm tones evoke comfort, while cooler tones suggest detachment or coolness. Adjusting background lighting can enhance or soften the effect of your main light, shaping the viewer’s emotional response. Paying attention to these ratios and how they interact with color temperature and background lighting allows you to craft portraits that evoke specific moods effortlessly. Additionally, incorporating remote car covers into your photography can also enhance the value of your work and attract a wider audience. Understanding the symbolism behind shadows and highlights can deepen your ability to convey complex emotions in your portraits. Moreover, mastering smart shopping techniques can help you acquire essential photography gear at unbeatable prices, enhancing your creative capabilities. Furthermore, ensuring proper safety measures when using electronic equipment, like lights, is crucial to prevent accidents and ensure a smooth shooting process. Incorporating monetization strategies into your photography can also enhance the value of your work and attract a wider audience.
Adjust Lighting Ratios for Different Skin Tones and Features
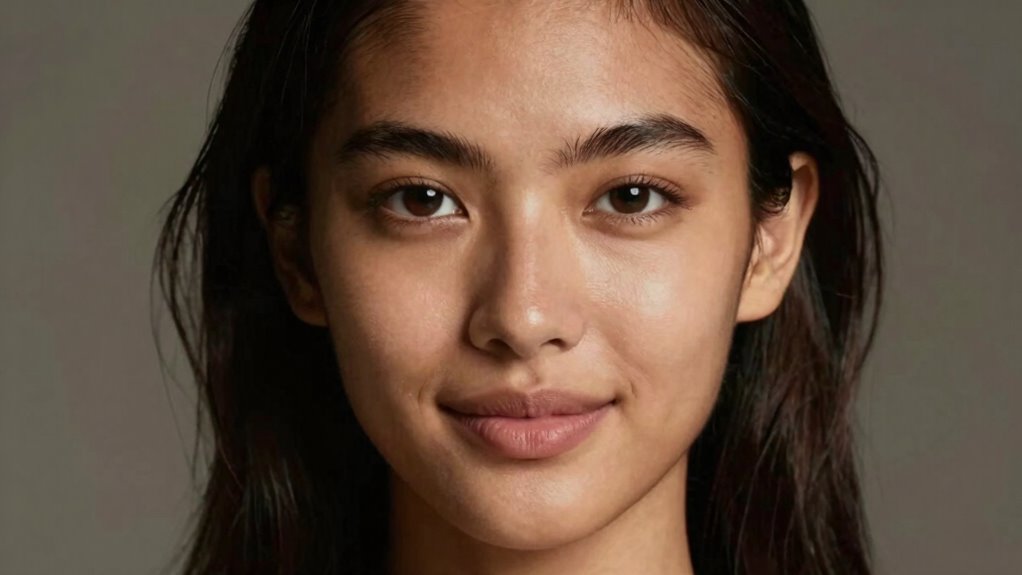
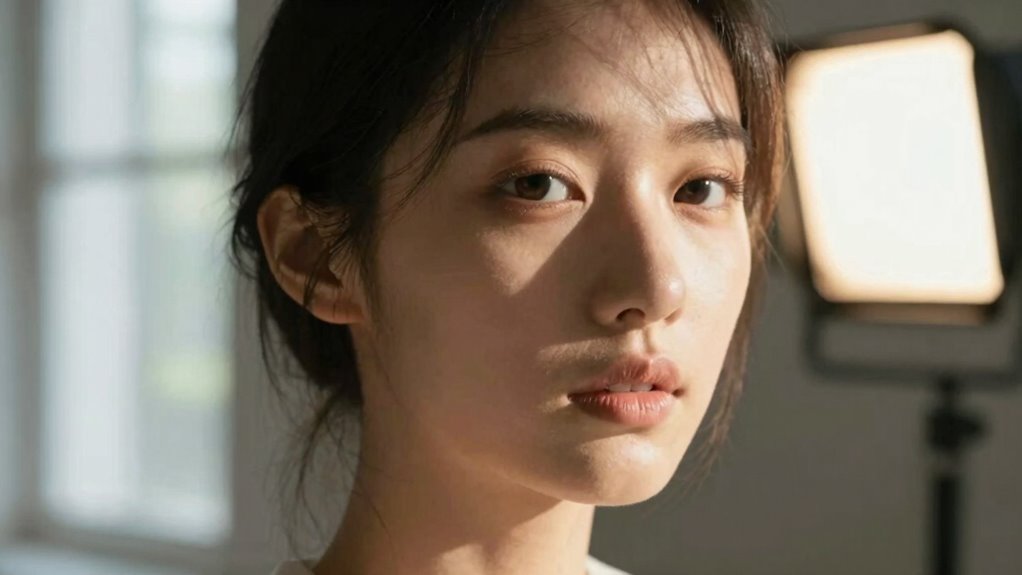
Adjusting lighting ratios based on skin tones and facial features helps you create more flattering and dynamic portraits. For darker skin tones, use softer lighting with lower ratios to avoid harsh shadows that can emphasize texture or imperfections. Conversely, lighter skin benefits from slightly higher ratios to add depth without overexposing. Consider feature contrast—if someone has prominent cheekbones or a strong jawline, increase shadow contrast to emphasize those features. For softer features, reduce contrast to create a gentle, balanced look. The key is tailoring your lighting to enhance natural skin tone and feature contrast, ensuring your subject looks their best without losing detail or creating unflattering shadows. This approach makes your portraits more engaging and true to life. Additionally, using appropriate gear such as reflectors can help control light and improve your results. Incorporating herbal baths into your routine can also promote a sense of relaxation and well-being, further enhancing the overall portrait experience. Remember, achieving work-life harmony is essential for maintaining creativity and focus in your photography. Moreover, understanding water damage prevention techniques can protect your studio environment, ensuring that your equipment remains in optimal condition. A well-designed studio can significantly enhance noise reduction efforts, contributing to a more serene atmosphere for your photography sessions.
Troubleshooting Contrast and Balance in Your Portraits

When your portraits lack contrast or feel unbalanced, it’s often because the lighting setup isn’t working with your subject’s features or the scene’s mood. To fix this, adjust your lighting ratios to enhance color harmony and create clearer background contrast. Use softer light for gentle *progressions* or increase contrast for drama. Pay attention to the background; a contrasting background can add depth and separation. Here’s a quick guide:
| Issue | Solution | Result |
|---|---|---|
| Flat, dull tones | Increase key light or add fill light | Better contrast and color depth |
| Mismatched background | Adjust background brightness or color | Enhanced background contrast |
| Unbalanced shadows | Use reflector or bounce to soften shadows | Improved overall balance |
Adjusting these elements helps refine contrast and balance, making your portraits more engaging.
Creative Ways to Use Lighting Ratios for Unique Portrait Styles
Using lighting ratios creatively allows you to set the mood and add drama to your portraits, making them more compelling. You can also highlight facial features or cast artistic shadows that add depth and interest. Experimenting with different ratios opens up new ways to craft portraits that tell a story or evoke emotion.
Emphasize Mood and Drama
By manipulating lighting ratios, you can infuse your portraits with a striking sense of mood and drama that captivates viewers. Adjusting the ratio influences shadow intensity, creating a more emotional or mysterious atmosphere. To enhance this effect:
- Use warm or cool color temperature to evoke specific feelings—warm tones for intimacy, cool for detachment.
- Incorporate light diffusion to soften shadows or create a haze, adding a sense of mystery or tension.
- Experiment with high ratios for stark contrast, emphasizing drama, while lower ratios produce subtle, moodier portraits.
These techniques allow you to craft a compelling story through lighting, emphasizing mood and drama with precision and artistry.
Enhance Facial Features
Adjusting lighting ratios offers a powerful way to highlight and sculpt facial features, giving your portraits a distinctive and memorable look. By carefully balancing the light, you can emphasize facial symmetry, making features appear more harmonious and balanced. For example, a low ratio creates soft, even lighting that smooths imperfections and enhances natural symmetry. To draw attention to the eyes, use a higher contrast ratio on one side of the face, creating a catchlight that makes the eyes pop and appear more luminous. This technique not only highlights the eyes but also adds depth and dimension to the face. Experimenting with lighting ratios allows you to accentuate specific facial features, giving your portraits a unique style that truly captures personality and emotion.
Create Artistic Shadows
Creating artistic shadows transforms standard portraits into compelling visual stories. Shadow play adds depth and mystery, elevating your images beyond simple captures. To achieve this, consider these creative techniques:
- Use high contrast ratios to emphasize shadows, creating bold artistic contrast that draws attention to specific features.
- Position your light source at an angle to cast dramatic shadows, enhancing textures and contours.
- Incorporate objects or patterns in the shadow play to introduce unique textures and shapes, adding visual interest and complexity.
Natural vs. Studio Lighting: How Ratios Change in Different Environments
Natural and studio lighting produce different ratios because of their inherent characteristics. In natural settings, environmental factors like weather, time of day, and surrounding surfaces influence the lighting ratio. For example, sunlight varies in color temperature throughout the day, affecting how shadows and highlights appear. Overcast skies create softer, more even light, reducing contrast, while direct sunlight increases contrast and dynamic range. Studio lighting offers precise control over color temperature and ratio, allowing you to adjust the intensity of key and fill lights to achieve the desired look. In contrast, natural light’s ratio fluctuates with environmental factors, making it less predictable but more dynamic. Understanding these differences helps you adapt your approach, ensuring consistent results regardless of the environment.
Tips to Master Lighting Ratios and Elevate Your Portraits
To elevate your portraits, focus on balancing light intensity to highlight your subject’s features without washing out details. Adjust your lighting to create the mood you want, whether it’s soft and subtle or bold and dramatic. Mastering these elements will help you craft images that truly resonate with your viewers.
Balancing Light Intensity
Balancing light intensity is essential for achieving the desired mood and depth in your portraits. To do this effectively, consider three key factors:
- Adjust Color Temperature — match your light sources to create a consistent look and avoid harsh color shifts that can distract from your subject.
- Use Light Modifiers — softboxes, reflectors, or grids help control light spread and intensity, allowing you to fine-tune the contrast between highlights and shadows.
- Set Correct Ratios — measure and compare light levels with a light meter, ensuring your main light is brighter or darker relative to fill light, depending on the mood you want.
Mastering these elements guarantees your lighting is balanced, giving your portraits professional depth and clarity.
Achieving Desired Mood
Adjusting your lighting ratios directly influences the mood and emotional impact of your portraits. To evoke a specific feeling, consider the color temperature; warm tones create intimacy, while cooler tones evoke detachment or modernity. Reflector positioning also plays a key role—placing reflectors strategically can soften shadows or add highlights, shaping the atmosphere.
| Mood | Tips |
|---|---|
| Intimate | Use warm color temperature, close reflector placement to soften shadows. |
| Dramatic | Increase contrast with lower fill light, cooler tones for intensity. |
| Calm | Balance lighting ratios, diffuse light sources, and warm tones. |
| Edgy | High contrast, cool color temperatures, minimal reflectors. |
Frequently Asked Questions
Can Lighting Ratios Be Used for Outdoor Portrait Photography?
Yes, you can use lighting ratios in outdoor portrait photography. By understanding natural light, you can create intentional contrast, and using reflectors helps control the light ratio on your subject’s face. For example, positioning a reflector opposite the sun can soften shadows and balance exposure. Adjusting the reflector’s distance and angle allows you to manipulate the lighting ratio, giving your outdoor portraits professional, studio-like quality.
How Do Lighting Ratios Influence the Perception of Facial Features?
Lighting ratios markedly influence how your subject’s facial features are perceived by shadow enhancement and mood creation. A higher ratio creates more contrast, emphasizing cheekbones and jawlines, while a lower ratio softens shadows for a more natural look. By adjusting ratios, you control the depth of shadows, skillfully shaping the mood and highlighting specific features, giving your portraits a dynamic and expressive quality that captures attention and enhances facial dimension.
What Equipment Is Best for Controlling Lighting Ratios Precisely?
You should use a light meter to measure and control your lighting ratios precisely. It helps you adjust the intensity of your lights accurately. Pair this with effective light modifiers like softboxes or grids to shape and diffuse the light, ensuring consistency. This combination allows you to fine-tune your lighting setup, creating the desired contrast and mood in your portraits, ultimately achieving studio‑level results.
How Do I Adjust Ratios for Multiple Subjects in a Shot?
To adjust ratios for multiple subjects, start by setting your main subject’s lighting ratio, then balance background lighting to create contrast. Use separate light sources or modifiers to control background lighting without affecting your subjects’ exposure. Adjust the distance and power of your lights to achieve the desired subject separation, ensuring each subject stands out against the background. This approach helps you maintain consistent ratios and a well-lit scene.
Are Certain Ratios Better for Black and White Portraits?
Certain ratios work better for black and white portraits because they help you control contrast and achieve a strong tonal balance. Higher contrast ratios, like 3:1 or 4:1, create more dramatic shadows and highlights, emphasizing textures and details. Lower ratios, such as 1:1 or 2:1, produce softer tones. Choose your ratio based on the mood you want, always keeping in mind how contrast control shapes the overall black and white image.
Conclusion
Mastering lighting ratios is like wielding a painter’s brush—you can craft stunning portraits that speak volumes. With each adjustment, you’re painting moods and stories into your images, transforming simple light into an expressive tool. So, keep experimenting, measuring, and balancing. Soon, your studio will be a playground of light and shadow, where every shot tells a compelling tale. Immerse yourself, embrace the ratios, and watch your portraits come alive with breathtaking clarity.