ND filters are a game-changer for creating cinematic motion blur in bright conditions. By reducing light entering your lens, you can use slower shutter speeds to smooth out motion and add a professional look. Choosing the right ND filter depends on your lighting and desired effect. Proper use involves balancing filter strength and camera settings to avoid overexposure or underexposure. Keep exploring to discover how to master this exposure hack and elevate your footage.
Key Takeaways
- ND filters reduce incoming light, allowing longer shutter speeds for smooth, cinematic motion blur in bright conditions.
- Using ND filters extends exposure time without overexposing, creating natural-looking motion effects.
- Match ND filter strength with camera settings to balance exposure and achieve desired motion blur.
- Properly stabilized camera with ND filters captures soft, professional motion blur without jitter.
- Adjust shutter speed to double the frame rate for optimal cinematic motion blur with ND filters.

NEEWER 52mm ND Lens Filter Kit: UV, CPL, FLD, ND2, ND4, ND8, Lens Hood and Lens Cap Compatible with Canon Nikon Sony Panasonic DSLR Cameras with 52mm Lens
NOTE: This kit is compatible with all 52mm lenses. Please verify your camera's lens thread size before ordering….
As an affiliate, we earn on qualifying purchases.
As an affiliate, we earn on qualifying purchases.
What Are ND Filters and How Do They Work?
ND filters, or neutral density filters, are simple yet powerful accessories for your camera that reduce the amount of light entering the lens. This allows you to shoot with wider apertures and slower shutter speeds, creating smooth, cinematic motion blur. When you use ND filters, you’ll notice less film grain in your footage, especially in bright conditions, leading to cleaner images. They also give you greater control over color grading, as less light hitting the sensor helps preserve color accuracy and vibrancy. By controlling exposure, ND filters help you achieve consistent, professional-looking results. Whether shooting landscapes or motion scenes, these filters enable you to craft a more polished, cinematic aesthetic while maintaining flexibility with your camera settings. Additionally, using ND filters can enhance color accuracy by minimizing sensor overexposure, which is crucial for achieving vibrant hues in your footage. Furthermore, they allow you to explore new frontiers in digital content, empowering filmmakers to push creative boundaries without sacrificing quality.

Lighting Neutral Density Gels Filter Sheet 16×20 inches Kit, ND3,ND6,ND9 for Photo Studio Video Flashlight Led Light Photography, 6 Packs
Neutral Density gels: Used to help change and control the intensity of the light.Suitable for flash light, led…
As an affiliate, we earn on qualifying purchases.
As an affiliate, we earn on qualifying purchases.
How to Choose the Right ND Filter for Your Camera
Choosing the right ND filter depends on the density options that suit your shooting style and lighting conditions. You also need to guarantee it’s compatible with your camera type and lens size. Consider the creative effects you want to achieve, whether it’s smooth motion or controlled exposure, to pick the best filter for your needs.
Filter Density Options
Have you ever wondered how much light you need to block to achieve your desired shot? That’s where filter density comes into play. The right filter density provides precise exposure control, helping you create cinematic motion blur or achieve a specific look.
Here’s a quick guide:
| Filter Density | Light Reduction | Ideal Use Case |
|---|---|---|
| ND2 | 1 stop | Slight exposure control |
| ND4 | 2 stops | Moderate control |
| ND8 | 3 stops | Strong exposure control |
| ND1000 | 10 stops | Maximum light blocking |
Choose your filter density based on how much light you need to block. Higher densities mean more exposure control, but also require adjustments elsewhere.
Compatible Camera Types
Selecting the right ND filter depends on your camera type and its lens compatibility. First, check your camera’s sensor compatibility—some filters are designed specifically for full-frame sensors, while others suit crop sensors better. Next, examine your lens mount; filters come in various sizes, so matching the filter diameter to your lens is essential. Consider these steps:
- Confirm your lens mount type (e.g., Canon EF, Sony E, Micro Four Thirds).
- Measure your lens’s filter thread size for proper fit.
- Ascertain the ND filter’s compatibility with your camera’s sensor size to avoid vignetting or image degradation. Additionally, understanding how different seasons affect astrophotography can help you choose the right time for shooting with your ND filters.
Desired Creative Effects
When aiming to achieve specific creative effects with your camera, the choice of ND filter plays a crucial role. For instance, if you want smooth motion blur in bright conditions, a stronger ND filter helps. If your goal is vibrant color grading, selecting an ND filter that preserves natural hues is key. For intentional lens flare, a filter with a slight polarization can enhance light bursts without overdoing it. Consider how the filter impacts your overall aesthetic—more neutral filters maintain true-to-life colors, while graduated ND filters help balance exposure in high-contrast scenes. Ultimately, your choice depends on the mood you want to create and the technical effects you aim to achieve, whether that’s enhancing lens flare or maintaining accurate color grading for cinematic footage.

K&F CONCEPT 67mm Variable ND2-ND400 ND Lens Filter (1-9 Stops) for Camera Lens Adjustable Neutral Density Filter with Microfiber Cleaning Cloth (B-Series)
【Import Optical Glass】Crafted from premium AGC optical glass with 8 multi-layer coatings, this ND filter reduces reflections and…
As an affiliate, we earn on qualifying purchases.
As an affiliate, we earn on qualifying purchases.
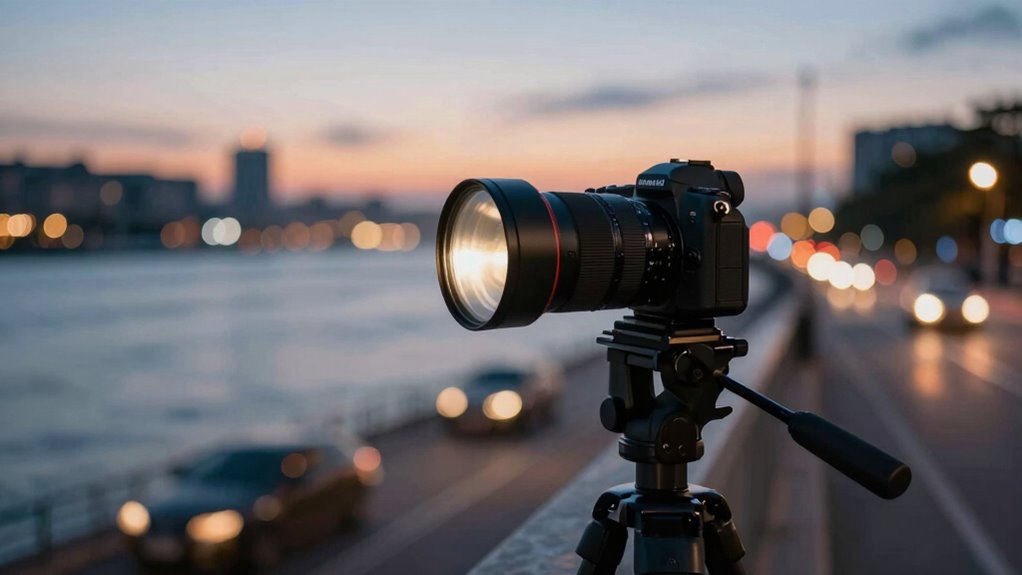
How ND Filters Help You Achieve Cinematic Motion Blur

Using ND filters allows you to control exposure times precisely, which is essential for creating cinematic motion blur in your footage. By reducing light entering your lens, you can slow down your shutter speed without overexposing the shot. This results in a natural, smooth motion blur that enhances cinematic quality. Additionally, longer exposures reveal subtle effects such as beautiful lens flare and softer highlights, adding a professional touch during color grading. To maximize this effect, consider:
- Using ND filters to extend exposure time for dynamic motion blur.
- Balancing exposure to prevent overexposure while maintaining motion softness.
- Leveraging the natural lens flare and color grading to enhance mood and atmosphere. These techniques help you achieve a more cinematic look with controlled motion blur, making your footage more engaging.
K&F CONCEPT 82mm Variable ND2-ND400 ND Lens Filter (1-9 Stops) for Camera Lens, Adjustable Neutral Density Filter with Microfiber Cleaning Cloth (B-Series)
【Import Optical Glass】Crafted from premium AGC optical glass with 8 multi-layer coatings, this ND filter reduces reflections and…
As an affiliate, we earn on qualifying purchases.
As an affiliate, we earn on qualifying purchases.
Tips for Shooting Smooth, Professional Motion Blur With ND Filters
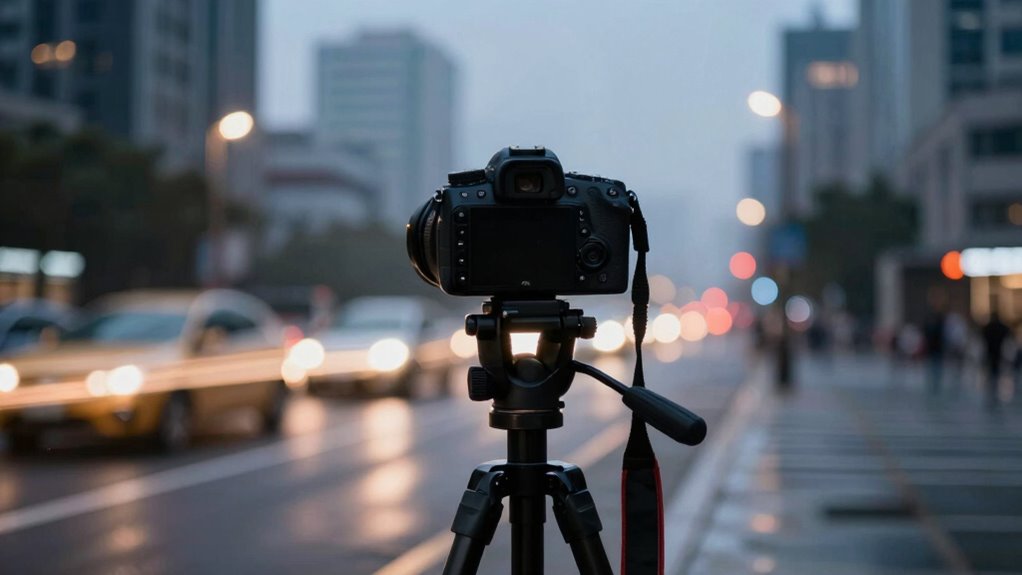
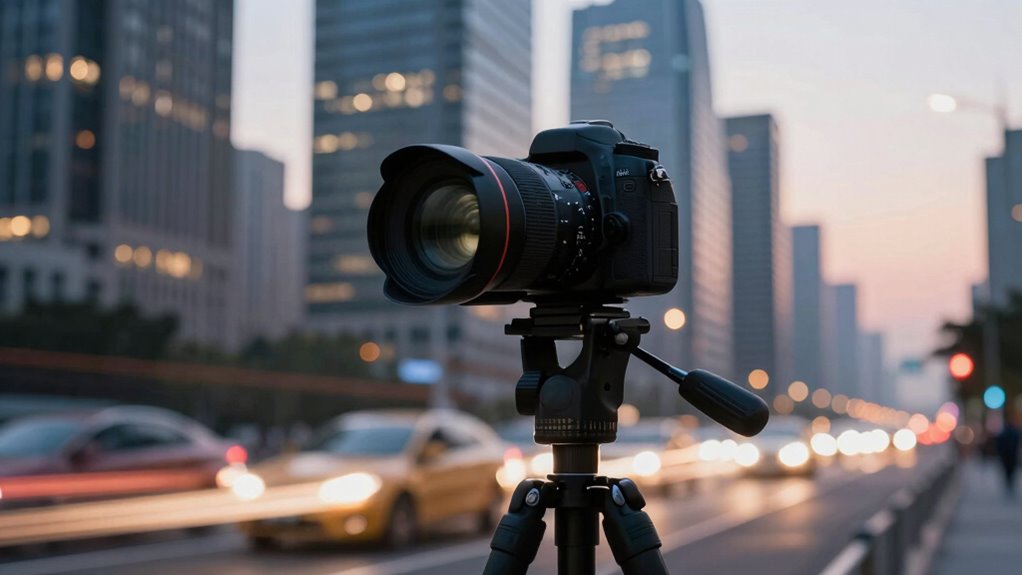
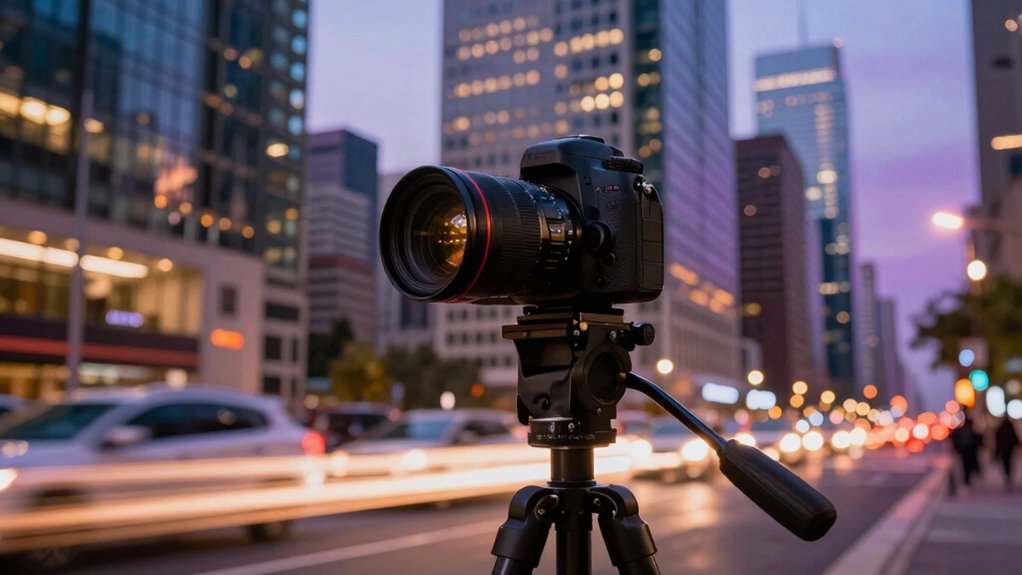
To capture smooth, professional motion blur with ND filters, it’s crucial to carefully control your shutter speed. Maintaining proper gear maintenance ensures your filters stay clean and free of scratches, which can cause unwanted artifacts. Understanding the historical development of ND filters helps you appreciate their versatility and proper application. Additionally, exploring travel destinations can provide inspiration for diverse filming locations. Use a tripod to stabilize your camera, preventing jitter that ruins the effect. Keep your shutter speed at double your frame rate for natural motion blur, adjusting as needed for your scene. Regularly check your gear’s alignment and cleanliness to avoid inconsistencies. Practicing these habits allows you to consistently achieve cinematic motion blur, leveraging your ND filters effectively and guaranteeing your footage looks polished and professional. Incorporating practices from mind-body healing can also enhance your focus and creativity during shooting sessions.
Common Mistakes When Using ND Filters and How to Avoid Them

One common mistake is overexposing your shots because you didn’t adjust your settings or filter strength properly. Choosing the wrong ND filter for the lighting conditions can also lead to poor results, so it’s essential to match your filter to the scene. Ignoring light conditions altogether often results in blown-out highlights or underexposure; always assess your environment first. Additionally, similar to how essential oils for toothache relief can provide targeted solutions for specific issues, selecting the right ND filter can significantly enhance your cinematic results.
Overexposing Shots Frequently
Overexposing your shots is a common mistake when working with ND filters, especially if you’re not paying close attention to your camera settings. When your exposure is too high, it can wash out details, making it harder to achieve the desired creative lighting effects or proper color grading later. To prevent this, consider these tips:
- Monitor your exposure meter closely to ensure your image isn’t overly bright. Additionally, incorporating various hair textures can add depth to your visual storytelling, showcasing a range of styles in your footage. Remember to keep your piercing care and hygiene knowledge in mind, as maintaining a clean setup can prevent distractions during shoots. Using lightweight foundations can also help you achieve a more natural look, allowing your visuals to shine without overpowering the viewer.
- Use histograms to check for clipped highlights, preventing overexposure.
- Adjust your ND filter strength or shutter speed accordingly to maintain a balanced exposure. Additionally, understanding energetic alignment can enhance your focus and creativity while shooting, improving your overall results. Furthermore, understanding emerging trends in digital publishing can help you stay updated on best practices for visual storytelling.
Wrong Filter Selection
Choosing the wrong ND filter strength can profoundly impact your shot, often resulting in underexposed or overly blurry images. Selecting an inappropriate filter color, such as a tinted or low-quality one, can introduce unwanted color casts that distort your footage’s natural look. Additionally, the filter material matters—cheap or poorly made filters may cause color shifts, reduce sharpness, or introduce unwanted reflections. Always match the filter’s density to your lighting conditions and desired motion blur effect. Investing in high-quality filters made from optical glass ensures better image clarity and accurate color reproduction. Avoid using overly strong filters without adjusting your settings accordingly, as this can lead to loss of detail and unnatural results. Proper filter selection and understanding material qualities help you achieve cinematic quality without compromising image integrity.
Ignoring Light Conditions
Ignoring the changing light conditions when using ND filters can lead to poorly exposed images or overly flat footage. Lighting challenges can vary quickly, especially outdoors, so you need to adapt your settings accordingly. Failing to do so might cause underexposure in bright conditions or overexposure when light drops. Additionally, subject movement can complicate exposure if you don’t adjust your filter strength and camera settings. To avoid these pitfalls:
- Continuously monitor the light level and adjust ND filter strength or camera settings accordingly.
- Use a light meter or your camera’s histogram to ensure accurate exposure.
- Be mindful of subject movement and modify shutter speed or ISO to maintain natural motion blur.
Staying attentive helps you maintain cinematic quality despite changing conditions.
Quick Tips for Getting Perfect Results With ND Filters
Sure! Here’s the revised version of your article subheading content with the requested addition:
—
Ever wonder how to get the most out of your ND filters? Start by choosing lenses with high-quality lens coatings, which help reduce reflections and flare, ensuring sharp, clean images. Always keep your filters clean and free of fingerprints or dust—filter maintenance is key to avoiding unwanted artifacts in your shots. Additionally, using eco-friendly materials in your craft projects can enhance your overall environmental impact. When installing, tighten the filter securely but avoid over-tightening, which can damage threads. Use a neutral density filter that matches your desired exposure reduction; mismatched filters can result in uneven exposure. Testing your setup before filming or shooting is essential to ensure that you achieve your desired results, especially when considering ethical consumerism in your equipment choices. Incorporating diversification strategies in your investment planning can also improve your overall financial outcomes. Furthermore, understanding user experience is crucial in optimizing your filming conditions for better results. Finally, handle your filters carefully to prevent scratches, and store them properly in a protective case. Proper maintenance and quality filters give you consistent, professional results every time. Additionally, be mindful of sauna safety guidelines, as overheating can impact your filming conditions in extreme environments.
—
Let me know if you need any further modifications!
Frequently Asked Questions
Can ND Filters Be Used for Astrophotography?
Yes, you can use ND filters for astrophotography, especially for capturing moon photography and star trails. They help you control exposure times, allowing longer shutter speeds without overexposing bright objects like the moon. This results in stunning star trails and detailed night sky images. Just make certain you choose the right ND filter strength to balance the light and achieve the desired effect for your astrophotography shots.
How Do ND Filters Affect Color Accuracy?
ND filters can slightly impact color accuracy because they reduce light transmission, which may cause color shifts or dullness in your images. However, high-quality ND filters are designed to minimize this effect, maintaining true colors. When you use them, you might notice a subtle change in hue, but with proper post-processing or choosing top-tier filters, you can preserve accurate colors while controlling exposure.
Are There Any Compatibility Issues With Variable ND Filters?
You might face compatibility issues with variable ND filters, especially if they don’t match your lens size or mount. Some filters lack durability, making them prone to scratches or damage, which can affect your shots. Always check if the filter fits your lens properly and offers good build quality. Be cautious of vignetting or uneven exposure, especially when adjusting the filter, to keep your footage sharp and professional.
What’s the Best Way to Clean and Maintain ND Filters?
To keep your ND filters in top shape, regularly clean them using gentle cleaning techniques. Use a microfiber cloth and a few drops of lens cleaning solution to avoid scratches, ensuring filter durability. Avoid harsh chemicals or abrasive materials that could damage the coating. Handle filters carefully, store them in protective cases, and clean them after each use to maintain clarity and prolong their lifespan.
Can ND Filters Be Stacked for Greater Exposure Control?
Stacking filters, including ND filters, is certainly doable for greater exposure control, but you should proceed with caution. Use stacking techniques carefully, ensuring filter compatibility to avoid vignetting or degraded image quality. Keep in mind that multiple filters can lead to increased flare and reduced sharpness. To prevent problems, choose high-quality filters, and test your setup beforehand. Proper stacking helps you creatively control exposure without sacrificing clarity.
Conclusion
So, next time you’re tempted to leave your camera’s settings to chance, remember: ND filters are your best friend—until they turn your masterpiece into a blurry mess. Mastering them means embracing patience and precision, not just blindly stacking filters like a kid with a new toy. After all, cinematic motion blur isn’t just about looking cool; it’s about telling a story with subtlety—something you might want to practice, not just wing.