To achieve accurate print matching, start by calibrating your monitor and using reliable soft-proofing software that aligns with your printer and paper profiles. Soft-proof your design, preview under different lighting conditions, and compare it with physical samples. Adjust color settings and profiles as needed to guarantee consistency. Test proofs before final printing to catch discrepancies early. Keep practicing these steps, and you’ll discover how to create seamless, predictable results every time.
Key Takeaways
- Calibrate monitors and use soft-proofing profiles to accurately simulate printed color and detail on digital screens.
- Choose compatible soft-proofing software supporting essential color management and device calibration tools.
- Validate soft-proof accuracy with physical test prints and adjust settings to ensure digital proofs match final output.
- Assess paper texture, lighting conditions, and color consistency to prevent discrepancies between soft proof and print.
- Organize files and maintain standardized profiles for efficient workflow and consistent print matching results.
soft-proofing software for color management
As an affiliate, we earn on qualifying purchases.
As an affiliate, we earn on qualifying purchases.
Why Soft Proofing Is Essential for Accurate Print Matching
Sure! Here’s your revised article subheading content with the requested adjustments:
—
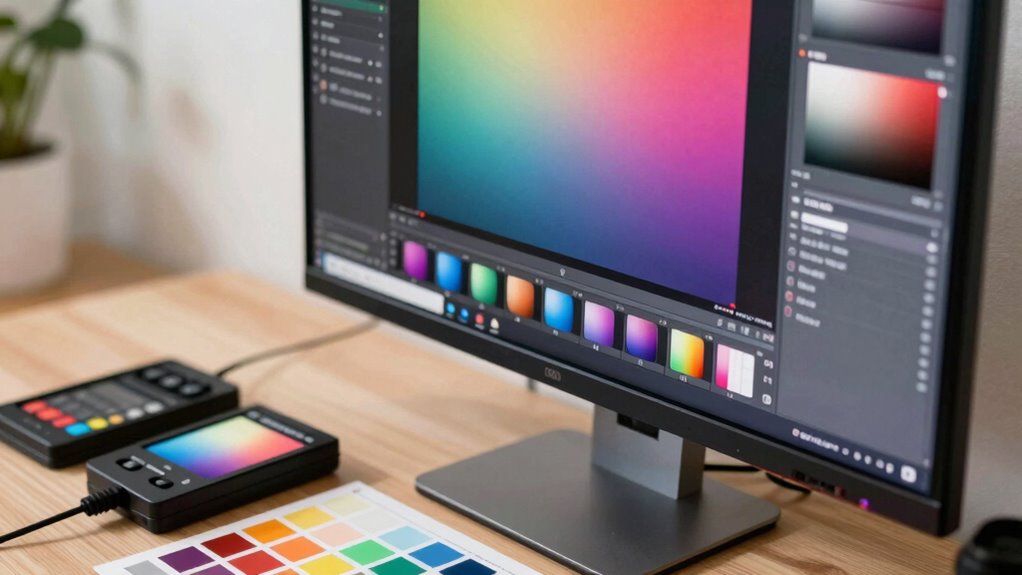
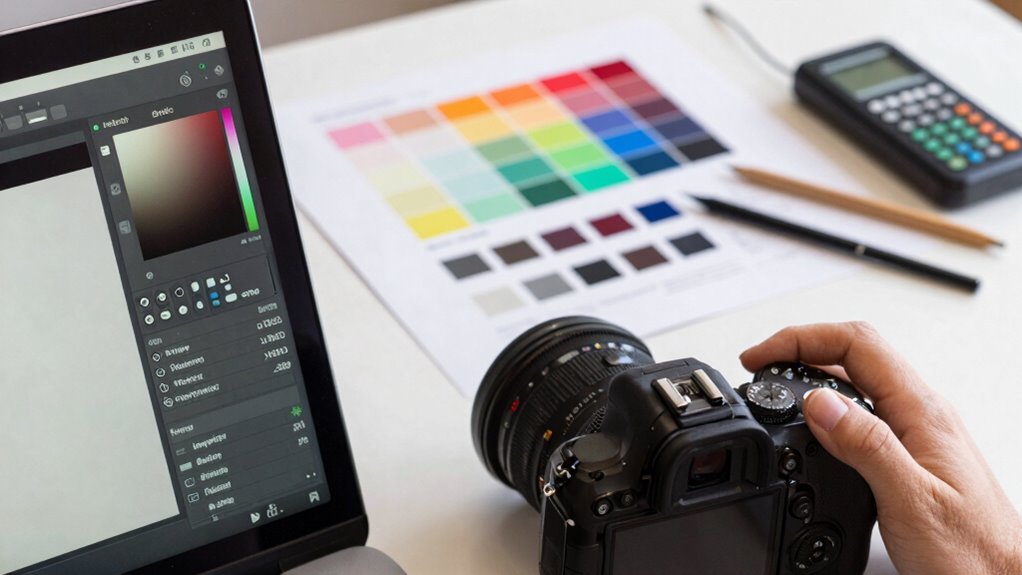
Soft proofing is an essential step in guaranteeing your prints match your digital design accurately. It allows you to preview how colors will appear once printed, making color calibration critical for achieving true-to-life results. By verifying proofing consistency across different devices and files, you reduce surprises in the final print. Soft proofing helps you identify color shifts and adjust your design accordingly, saving time and material costs. Additionally, incorporating balance training techniques can enhance your visual perception, aiding in color accuracy. Understanding the importance of consistent proofing practices builds trust in your workflow and confirms that every print aligns with your original vision. This process is indispensable for professional-quality results, especially when working with complex color palettes or multiple projects. Furthermore, just as cultural festivals celebrate community heritage in cities like Washington D.C., soft proofing fosters a deeper connection to your creative output. To further enhance your design, consider utilizing landscaping techniques that can improve the overall aesthetic of your printed materials. In short, soft proofing bridges the gap between digital and print, ensuring your colors stay accurate. Additionally, this method aligns with exploring new frontiers in digital content, enhancing the overall quality of your print outcomes.
—
Let me know if you need any further adjustments!
datacolor Spyder – Monitor Calibrator for Graphic Designers, Photographers, and Content Creators, Shows You True Colors, Works on OLED Monitors & LED Screens, Easy-to-Use Color Calibration Tool
Color “Surprises” Are a Thing of the Past: Datacolor’s exclusive DevicePreview TM Beta feature simulates what your photos…
As an affiliate, we earn on qualifying purchases.
As an affiliate, we earn on qualifying purchases.
How to Choose the Best Soft-Proofing Software for Your Needs
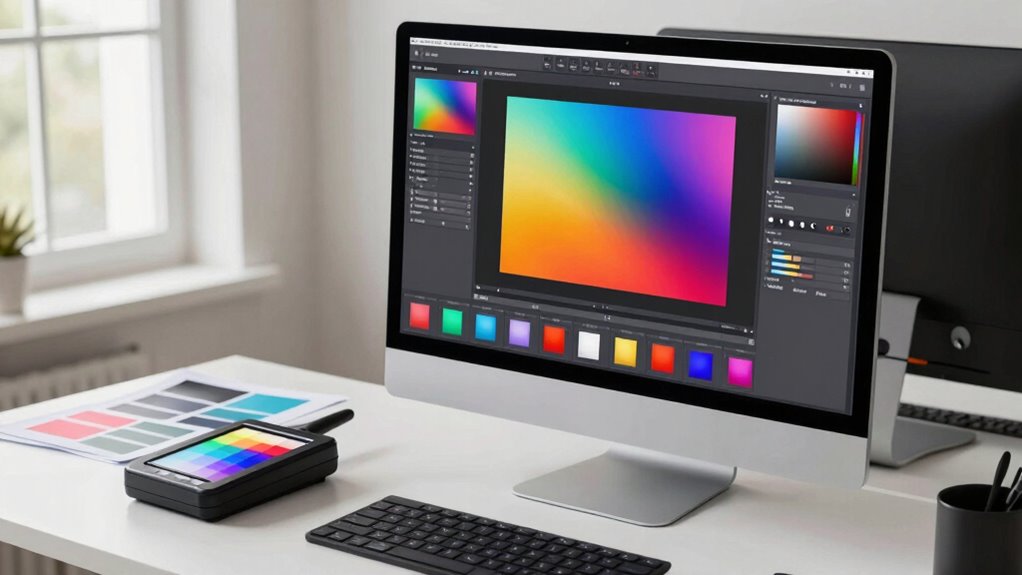
When selecting soft-proofing software, you need to evaluate how well it works with your devices to guarantee seamless workflow. An intuitive user interface saves time and reduces errors, making the process smoother. Additionally, robust color management features help you achieve accurate print matches, so look for software that excels in these areas. Incorporating eco-friendly products into your workflow can also enhance sustainability in your printing processes. Understanding Victorian etiquette can further refine your presentations, ensuring they align with the aesthetic and cultural standards of your target audience. Furthermore, being aware of media literacy can help you discern quality materials and tools that will elevate your printing projects. Achieving color accuracy is essential, as it directly influences the overall quality of your printed images.
Compatibility With Devices
Choosing the right soft-proofing software starts with verifying it’s compatible with your devices. You need to confirm that it works seamlessly across your monitor, tablet, or other hardware. Compatibility impacts texture consistency, which is essential for accurate color and detail reproduction. If your software isn’t compatible, you might struggle to match the look of your print, especially when considering paper selection and surface finishes. Make sure your chosen program supports your device’s operating system and hardware specs. Additionally, check if it offers calibration features to maintain color accuracy across devices. This guarantees your soft-proof accurately reflects the printed piece, helping you make better decisions about paper choices and finishing details. Compatibility sets the foundation for reliable, consistent proofing results.
User Interface Ease
A user-friendly interface can make or break your experience with soft-proofing software. When evaluating options, prioritize interface simplicity—intuitive layouts and clear controls help you navigate efficiently. A cluttered or complicated interface can slow down your workflow and cause frustration, impacting your overall user experience. Look for software that offers straightforward menus, easy-to-access tools, and logical workflows. The best soft-proofing tools minimize the learning curve, allowing you to focus on your work rather than figuring out how to use the software. Remember, a clean, well-organized interface enables you to perform tasks quickly and confidently, ultimately improving your print matching results and ensuring a smoother proofing process.
Color Management Features
How well a soft-proofing software manages color can make all the difference in achieving accurate print matches. Look for features that prioritize color accuracy, guaranteeing your digital files reflect the final print correctly. Device calibration is essential; software that supports calibration tools helps maintain consistent color profiles across your monitor and printer. This reduces surprises and ensures your soft proof is a true representation of the printed piece. Also, check if the software offers profile management, allowing you to embed and adjust color profiles for different devices and media types. Efficient color management simplifies your workflow, minimizes guesswork, and assures predictable, high-quality results. Ultimately, choosing software with robust color management features ensures your prints match your digital vision every time.

Hydrion Ph Paper (93) with Dispenser and Color Chart – Full Range Insta Chek ph- 0-13
Has a distinct color match at each full pH unit
As an affiliate, we earn on qualifying purchases.
As an affiliate, we earn on qualifying purchases.
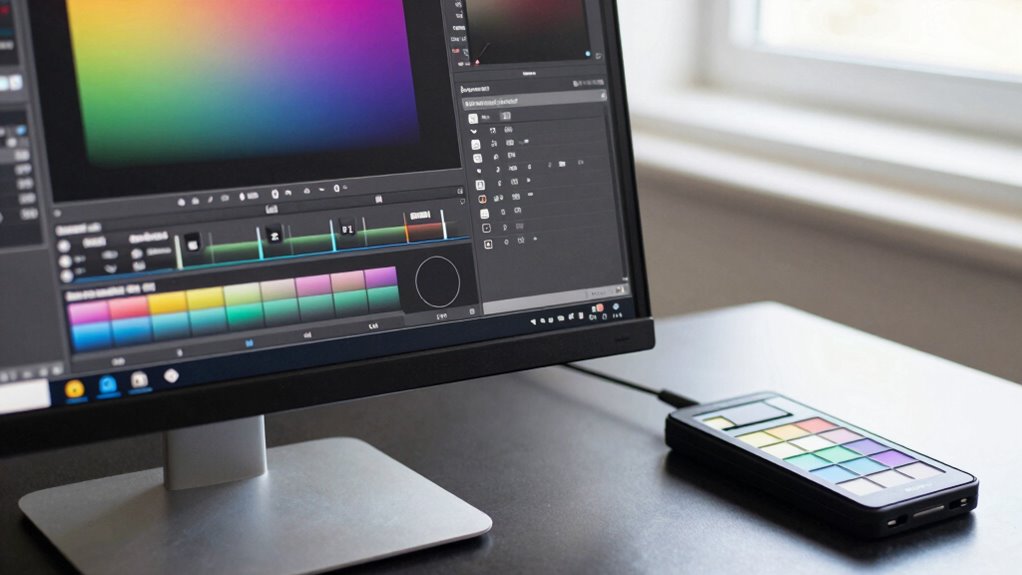
Setting Up Color Profiles and Calibrating Your Monitor for Consistent Results
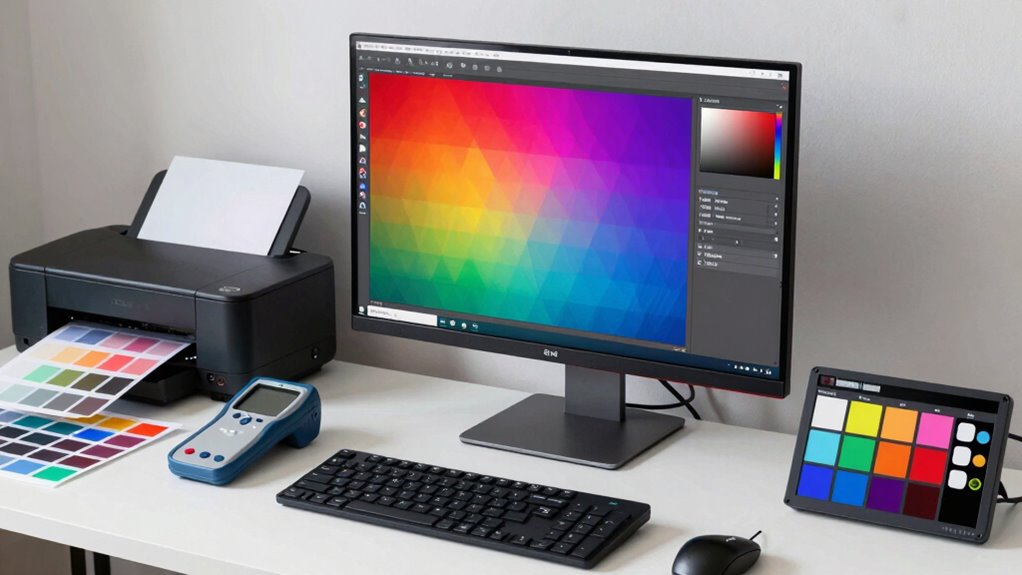
Have you ever noticed your printed colors look different from what you see on your screen? This discrepancy often comes down to improper color setup. To fix it, start with color calibration, which guarantees your monitor displays accurate colors. Use calibration tools or software to adjust brightness, contrast, and color balance, creating a consistent viewing environment. Next, perform monitor profiling to create a custom color profile tailored to your display. This profile acts as a reference, helping your software interpret colors correctly. Properly calibrated and profiled monitors provide a reliable visual foundation for soft-proofing and printing. Remember, consistent monitor calibration and profiling are essential for predictable, accurate color reproduction across your digital and print workflows.

Calibrite Display 123 Monitor Calibration Colorimeter for Photo Editing and Color Accurate Viewing, Easy 1 2 3 Software Workflow, USB C Connection, and Before and After Check, Supports 2 Displays
SPECIFICATIONS: Monitor calibration colorimeter with Easy 1 2 3 software workflow, USB C connection, compact body approx. 34mm…
As an affiliate, we earn on qualifying purchases.
As an affiliate, we earn on qualifying purchases.
Building a Step-by-Step Soft-Proofing Workflow
Creating an effective soft-proofing workflow involves a clear, step-by-step process that guarantees your digital files accurately represent the final print. First, start by calibrating your monitor to verify color accuracy. Next, assess the paper texture you’ll use, as it influences how your design appears on screen. Then, check typography consistency across your layout, adjusting fonts and spacing as needed. Finally, preview your proof on your calibrated monitor, paying close attention to how textures and details translate. This systematic approach helps you identify color shifts, texture discrepancies, and font issues early. By following these steps, you confirm your soft-proof truly reflects the final print, making adjustments before production and reducing costly reprints.
How to Test and Validate Your Soft-Proofs Before Printing
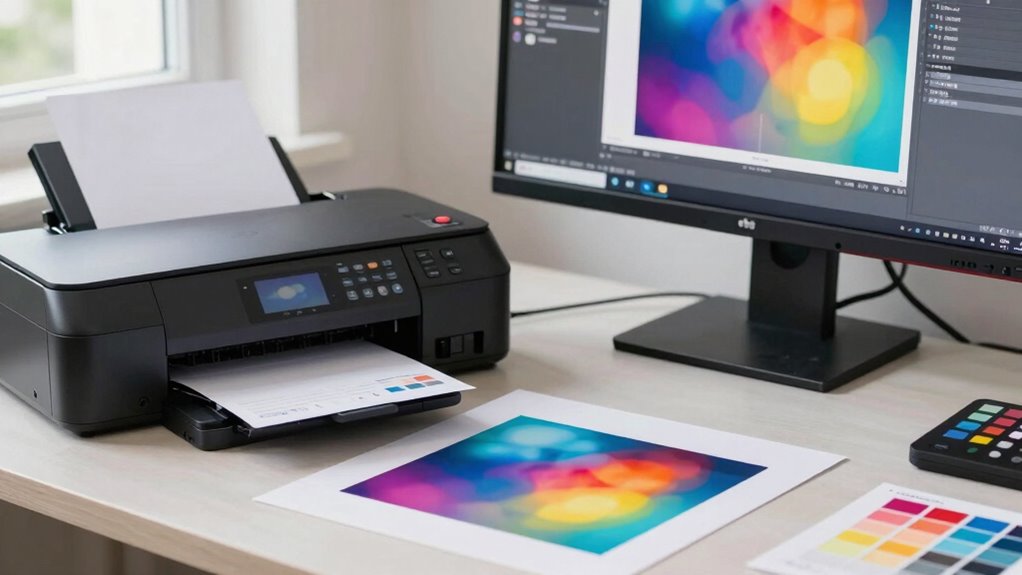
Once you’ve set up your soft-proofing workflow, the next step is to rigorously test and validate your proofs before moving to print. Start by examining how the paper texture influences the appearance; a matte or textured paper can dull colors or add glare, so compare your soft-proof to a physical sample if possible. Check ink compatibility too—ensure your chosen inks produce the expected vibrancy and detail without bleeding or smudging. Use calibrated monitors and soft-proofing profiles to simulate how inks will behave on your specific paper. Adjust color settings accordingly, and view proofs under different lighting conditions to catch any discrepancies. Validating these factors helps you catch issues early, saving time and ensuring your final print matches your soft-proof as closely as possible.
Comparing Soft Proofs to Printed Proofs: What to Check
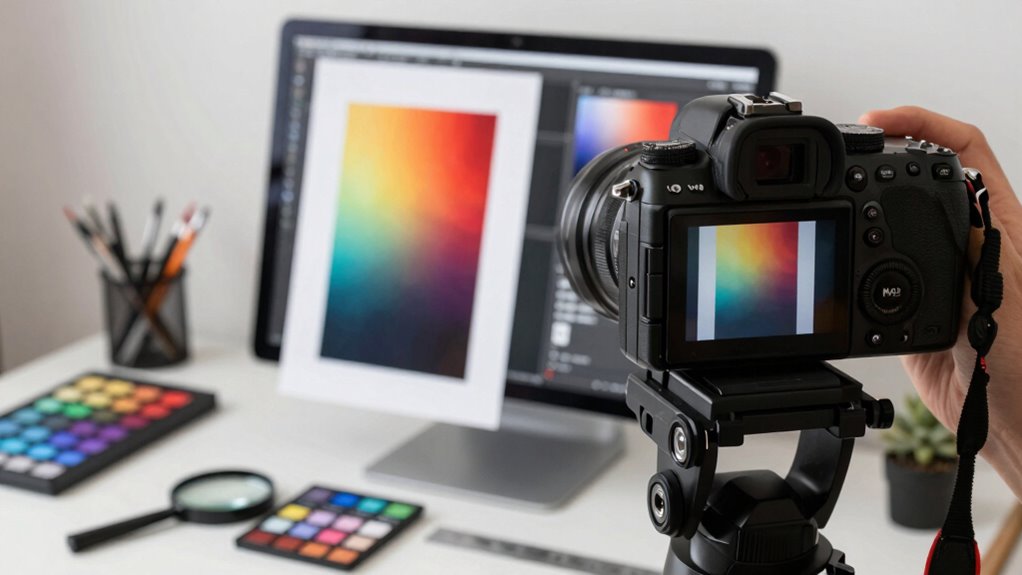
When comparing soft proofs to printed proofs, it’s essential to scrutinize how closely the digital preview matches the physical print. Focus on proof accuracy and digital color fidelity, ensuring the print reflects what you see on screen.
To assess this, check:
- The overall color consistency between the soft proof and print.
- Specific color patches or skin tones for accurate digital color reproduction.
- Shadows and highlights for proper detail and tonal range.
- Text and fine details for sharpness and clarity.
Incorporating effective requirements traceability into your workflow can enhance the accuracy of your proofs.
Troubleshooting Common Soft-Proofing Issues and Fixes
Color mismatches are a common issue, but you can fix them by calibrating your monitor and soft-proofing settings. Additionally, understanding color management principles is crucial for achieving consistent results across different devices. Ensuring your files are compatible with your proofing software helps prevent unexpected color shifts or display errors. Checking these fundamentals lets you troubleshoot quickly and keep your proofs accurate. Moreover, incorporating natural light into your workspace can enhance your overall color perception and improve your soft-proofing results, as philosophical exploration can deepen your appreciation of color dynamics in art.
Color Mismatch Solutions
Dealing with color mismatches during soft-proofing can be frustrating, but many issues have straightforward solutions. First, confirm your monitor is properly color calibrated, so what you see accurately reflects the intended output. Second, check your printer’s ink matching; using consistent ink sets prevents unexpected shifts. Third, verify that your soft-proof profile matches your printer and paper type precisely. Fourth, adjust your editing software’s color settings to align with your calibration profile, correcting any discrepancies early. By maintaining proper color calibration, consistent ink matching, accurate profile selection, and correct software settings, you reduce the chances of color mismatches. This approach ensures your soft-proof more reliably predicts the final print, saving you time and material waste.
File Compatibility Tips
Ever run into issues where your soft-proofing setup refuses to display accurately or shows errors? Sometimes, this stems from file compatibility problems. First, check if your file’s color profile matches your soft-proofing setup, guaranteeing consistent representation. Be mindful of paper textures; flat, uniform textures often display more reliably than textured or embossed papers, which can cause display issues. Also, verify ink compatibility—if your file uses inks that aren’t supported or simulated correctly, it might distort the preview. Save files in widely compatible formats like TIFF or PSD for better accuracy. Keep your software updated, and avoid embedding unnecessary profiles or layers that could cause conflicts. These steps help ensure your soft-proof reflects the final print closely, reducing surprises later.
Practical Tips to Streamline Your Print Matching Process
To make your print matching process more efficient, start by organizing your files and assets systematically. This helps you quickly access the right versions and reduces errors. When preparing for creative printing, pay close attention to paper textures, as they influence color and detail reproduction. To streamline your workflow:
Organize files and consider paper textures to improve print accuracy and reduce errors.
- Create a standardized naming system for files and proofs.
- Keep a detailed reference library of paper textures and finishes.
- Use color management profiles consistently across projects.
- Regularly update your soft-proofing setup with calibrated monitors and accurate color profiles.
Final Checklist: Confirming Soft Proofs Are Ready for Printing
Once you’ve organized your files and set up your color management profiles, it’s time to verify your soft proofs are ready for printing. Check that the paper textures in your soft proof match the actual paper you’ll use, as textures influence how light interacts with the ink. Confirm that your ink compatibility aligns with your chosen paper, ensuring colors won’t shift or smudge. Review the proof for any color inconsistencies or tonal issues that could affect the final print. Double-check that the soft proof accurately represents the final look, including subtle details and highlights. Make sure your calibration is correct, so colors and brightness levels are consistent. This final step guarantees your soft proofs are a reliable preview, minimizing surprises during the actual print run. Additionally, consider the importance of testing accuracy to ensure your measurements are precise throughout the process. Using the right airless paint spraying technique can also help achieve a smoother finish on your prints.
Frequently Asked Questions
How Often Should I Recalibrate My Monitor for Accurate Soft Proofs?
You should recalibrate your monitor regularly, ideally every two to four weeks, to guarantee accurate soft proofs. Frequent color calibration keeps your monitor setup consistent, preventing color shifts that can affect your prints. If you notice color inconsistencies or your monitor’s display seems off, it’s time for another calibration. Staying on top of monitor setup and calibration routines helps maintain reliable soft-proofing results and assures your prints match your expectations.
What Are the Common Reasons for Color Mismatches in Soft-Proofing?
Color mismatches in soft-proofing often happen because your monitor settings aren’t consistent or accurate. Poor color calibration can cause discrepancies, making your on-screen colors differ from the final print. To avoid this, regularly calibrate your monitor to guarantee accurate color reproduction. Additionally, check that your monitor settings are optimized for soft-proofing, including brightness, contrast, and gamma, so what you see on screen matches the printed output.
Can Soft-Proofing Replace Actual Printed Proofs Entirely?
Soft-proofing can’t fully replace actual printed proofs because digital color management and calibration techniques, while advanced, can’t replicate all nuances of a physical print. You might trust soft-proofs for initial decisions, but for precise color accuracy, you still need printed proofs. Real-world prints reveal subtle differences that screens can’t always mimic, ensuring your final product meets expectations. So, use soft-proofing as a guide, not a complete substitute.
Which File Formats Are Best for Soft-Proofing Workflows?
Think of file formats as the passport to flawless soft-proofing adventures. For best results, you’ll want to use formats like TIFF or PSD, which are the sturdy ships in color management and file format optimization. These formats preserve color accuracy and detail, making your soft-proof look as close to the real thing as possible. JPEGs also work, but they’re more like a postcard — pretty, but less reliable for perfect color matching.
How Do Ambient Lighting Conditions Affect Soft-Proof Accuracy?
Ambient lighting considerably impacts soft-proof accuracy because it influences your color perception. When your environment has bright, harsh lighting, colors may appear washed out or overly vibrant, leading to misjudgments. dim or neutral lighting helps maintain consistent color perception, ensuring your soft-proof matches the final print more accurately. To improve accuracy, work in controlled ambient lighting conditions, avoiding direct light on your monitor, and use calibrated lighting setups for the best results.
Conclusion
Now, picture your project coming to life — colors perfectly aligned, shadows just right, and details crisp as a freshly printed page. With a solid soft-proofing workflow, you’re guiding your work from screen to print with confidence. Every step guarantees your vision stays intact, like a painter’s brushstrokes faithfully capturing their masterpiece. Trust this process, and watch your prints mirror your digital dreams, turning your creative vision into stunning reality.