
To calibrate your DIY spectroscope for accurate wavelengths, start by gathering known standard light sources like mercury or sodium lamps. Carefully align your diffraction grating and slit, ensuring the optical components are stable and clean. Use the known spectral lines to adjust your setup until the observed lines match the reference wavelengths. Regularly check and maintain your calibration to keep measurements precise. Keep going, and you’ll discover the key tips to get your spectroscope working like a pro.
Key Takeaways
- Use a known calibration light source, like a mercury or sodium lamp, to identify standard spectral lines.
- Align the diffraction grating precisely to ensure clear, well-defined spectral lines during calibration.
- Compare observed spectral lines with reference charts to determine and adjust for wavelength accuracy.
- Regularly verify calibration with multiple known standards to maintain measurement reliability.
- Clean optical components regularly to prevent distortions that could affect wavelength accuracy.
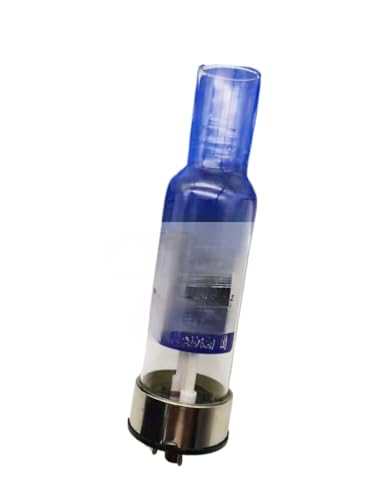
1pc Color AS-1-2 Series Atomic Absorption Spectrometer Hollow Cathode Lamp- (Hg mercury)
As an affiliate, we earn on qualifying purchases.
As an affiliate, we earn on qualifying purchases.
Gather Your Tools and Calibration Standards
Before you begin calibrating your spectroscope, make sure you have all the necessary tools and calibration standards on hand. You’ll need a reliable light source, such as a flashlight or LED, to produce consistent spectral colors. Calibration standards, like a mercury or neon lamp, are essential because they emit specific wavelengths, helping you match spectral colors to their precise wavelengths. Consider using a diffraction grating or prism to split light and observe light absorption at different wavelengths. These tools help you create an accurate calibration curve. Affordable jewelry gifts can also serve as a great way to celebrate your findings with loved ones. Regular maintenance of tools can also enhance the precision of your measurements. Additionally, understanding digital content formats can be beneficial as you document your findings. To ensure optimal performance, regularly check for water resistance in your tools, as this can prevent damage during experiments. Gather a clean, stable surface for setting up your spectroscope. Having everything ready guarantees your measurements of spectral colors are accurate, allowing you to properly interpret the light absorption patterns in your experiments.
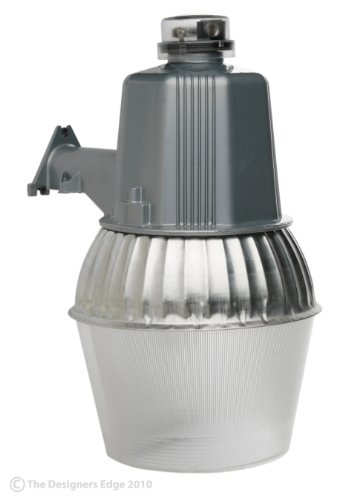
Woods L1730 Cci Modern High Pressure Sodium Security Farm Light; Powder Coated Housing; (1) Ed17 Lamp; 120 V; 75 W; 70-Watt
- Included Lamp: 70-watt high pressure sodium lamp
- Photocell Technology: Dusk to dawn activation
- High Light Output: Produces 6,400 lumens
As an affiliate, we earn on qualifying purchases.
As an affiliate, we earn on qualifying purchases.
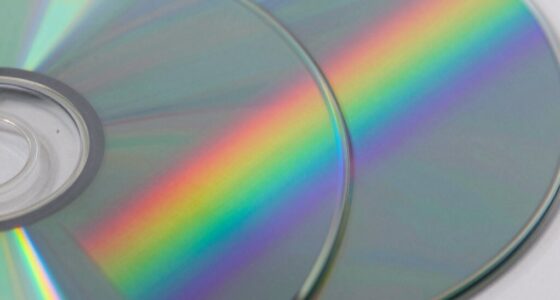
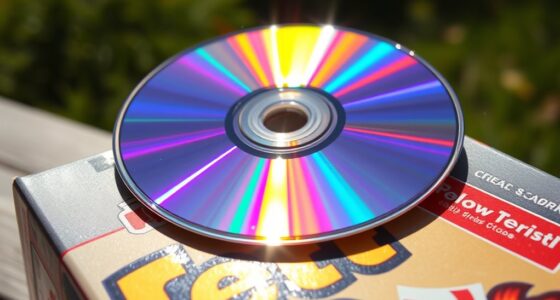
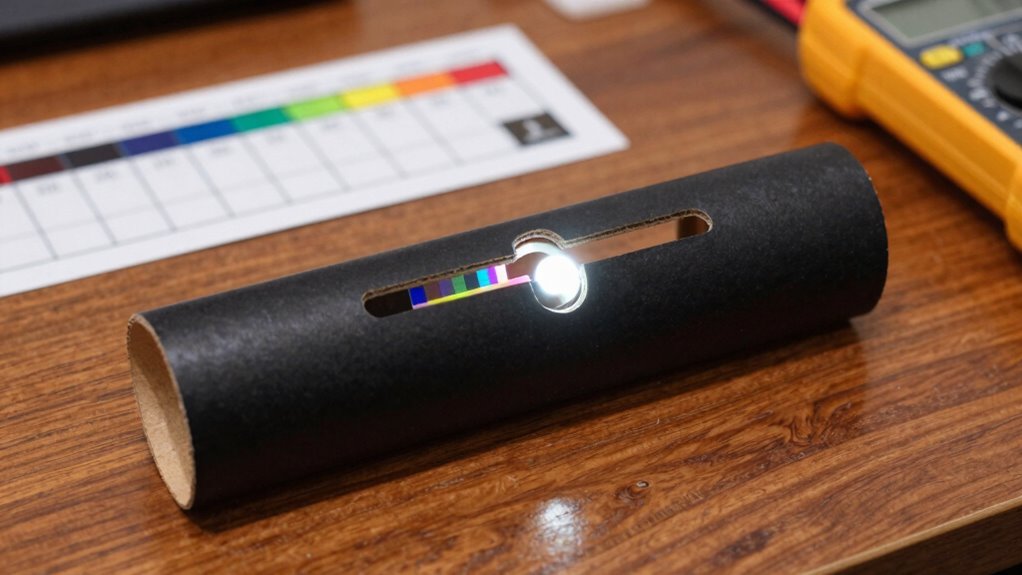
Set Up Your DIY Spectroscope for Calibration

To set up your DIY spectroscope for calibration, start by assembling the main components on a clean, stable surface. Your spectroscope design should include a light diffraction element, such as a diffraction grating or a CD, positioned correctly to split incoming light. Make certain the diffraction component is securely mounted at the proper angle to produce clear spectra. Align the light source, like a flashlight or white LED, so its beam passes directly into the diffraction element. Adjust the slit or opening to control light entry and improve resolution. Confirm that the viewing window or detection area is aligned with the diffraction pattern. Proper setup ensures accurate light diffraction, which is essential for precise calibration and reliable measurements of wavelengths.

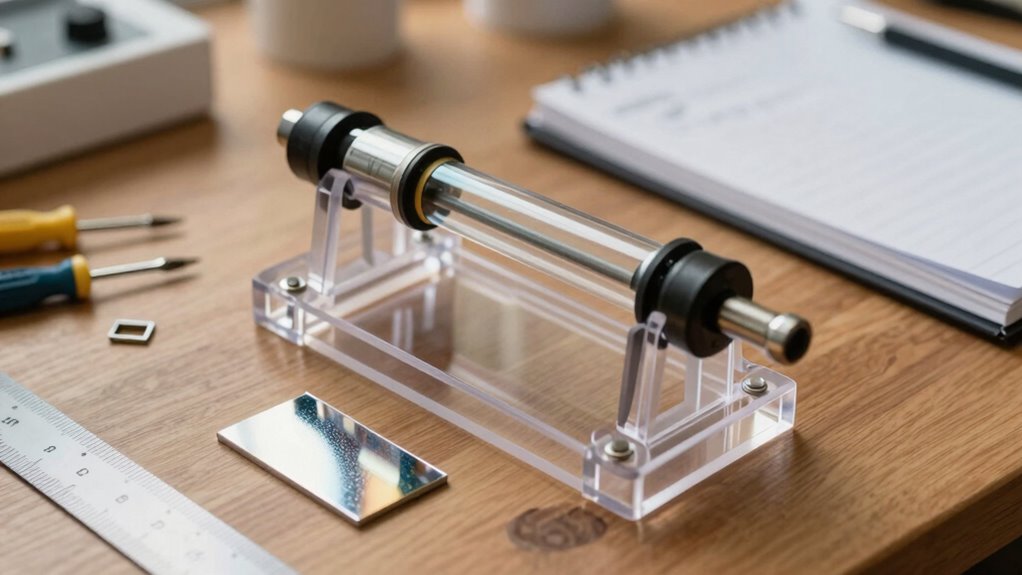
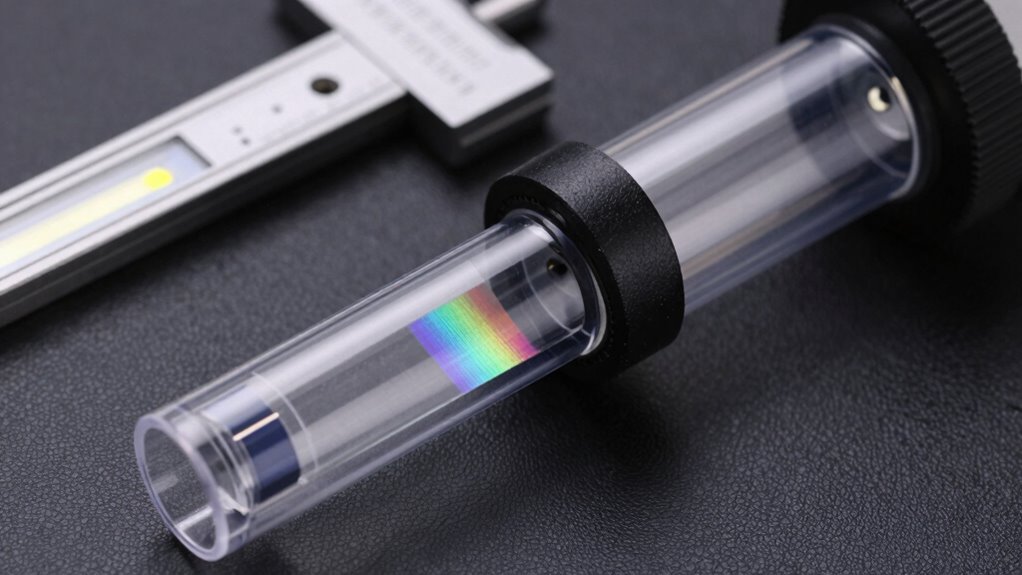
3B Scientific U19500 Diffraction Grating Spectroscope 25mm Diameter x 115mm Length
- High-quality optical system: Centered visible spectrum, linear wavelength
- Fixed slit: For consistent measurements
- Prism system: Grating in metal sleeve
As an affiliate, we earn on qualifying purchases.
As an affiliate, we earn on qualifying purchases.
Why Calibration Is Crucial for Accurate Light Measurements

Calibrating your spectroscope guarantees you get precise and reliable measurements of light. Without calibration, instrumental errors can lead to inaccurate readings that skew your results. Proper calibration corrects these errors, making your observations trustworthy and meaningful. Additionally, achieving color accuracy is essential for ensuring that your measurements reflect the true nature of the light being analyzed. Regular calibration helps you maintain safety standards crucial for achieving consistent results. Calibration tools can assist in detecting passive voice to enhance the clarity of your measurements. Moreover, understanding early socialization can help improve the reliability of your experimental environment by minimizing distractions.
Ensures Measurement Precision
Have you ever wondered how accurate your spectroscope readings really are? Proper calibration guarantees measurement precision, which is essential for reliable spectral analysis. When you calibrate correctly, your device accurately detects wavelengths, making your observations of light absorption more trustworthy. Without calibration, small errors can lead to incorrect conclusions about material properties or chemical compositions. Precise calibration aligns your spectroscope’s readings with known standards, reducing variability and increasing consistency. This is especially important when studying subtle differences in spectral lines or analyzing complex samples. By guaranteeing your measurements are precise, you gain confidence in your data, enabling more meaningful interpretations and comparisons. Ultimately, calibration is the key to turning your DIY spectroscope into a dependable tool for accurate light measurement. Additionally, consider how eco-friendly natural pools can influence the surrounding light conditions, affecting your spectroscope readings.
Corrects Instrumental Errors
Instrumental errors can skew your spectroscope readings, leading to inaccurate measurements if left uncorrected. Factors like instrumental drift cause wavelengths to shift over time, compromising accuracy. Regular calibration helps identify and correct these errors, ensuring your data remains reliable. The calibration frequency depends on how often you use your spectroscope and its stability. Additionally, understanding the importance of accurate light measurements is essential for achieving precise results in various applications. The precision of your readings can significantly impact your understanding of gelato flavor profiles and their nuanced characteristics. Use the following table to understand common errors and their corrections:
| Error Type | Cause | Correction Method |
|---|---|---|
| Instrumental drift | Temperature, aging | Frequent calibration |
| Mechanical misalignments | Handling or setup issues | Recheck alignment before use |
| Wavelength shift | Component quality | Use calibration standards |

COSOOS 2 Pack UV Flashlight, 12 LED Handheld Blacklight Flashlight 395nm Mini Light Torch Detector for Dog Pet Urine Stains, Bed Bugs and Scorpions. (Batteries not Included)
- Pet Stain Detection: Detects invisible pet urine stains
- Compact Design: Lightweight and portable flashlight
- Water Resistant: IPX4 waterproof for various conditions
As an affiliate, we earn on qualifying purchases.
As an affiliate, we earn on qualifying purchases.
Identify Calibration Sources With Known Wavelengths

To accurately calibrate your spectroscope, you need to identify sources that emit light at well-known wavelengths. These sources show distinct spectral fingerprints, which are unique patterns of lines at specific wavelengths. Common calibration artifacts include fluorescent bulbs, mercury vapor lamps, or sodium vapor lamps, all of which emit bright, identifiable lines. When you observe these spectral lines, compare them to standard reference charts to determine their exact wavelengths. Using these known spectral fingerprints guarantees your calibration is accurate. Avoid sources with unclear or broad emission lines, as they can lead to errors. Instead, select sharp, well-defined lines from reliable calibration artifacts, giving you a solid foundation for precise wavelength measurement throughout your spectroscopic experiments.
Align Your Spectroscope: Step-by-Step Calibration Guide
Sure! Here’s your revised article subheading content with the requested changes:
—
To start aligning your spectroscope, gather all the necessary equipment, including the light source and calibration targets. Next, carefully align the optical components to guarantee the light path is straight and focused. Additionally, understanding the importance of gear care tips can enhance your overall experience with the spectroscope. Proper calibration is crucial for ensuring accuracy, which reflects the principles of ethical consumerism in making informed choices. Engaging in play-based learning can also deepen your understanding of scientific concepts, fostering a growth mindset. Finally, make precise adjustments to calibrate for accurate wavelength readings, verifying each step as you go. Remember, just as embracing God’s call requires careful attention and alignment in our daily lives, so too does the calibration of your spectroscope.
—
Let me know if you need any further adjustments!
Gather Necessary Equipment
Before you begin calibrating your spectroscope, gather all the necessary equipment to assure a smooth process. Your spectroscope design will influence the tools you need, but essential items include a diffraction grating or a clear slit for light diffraction, a stable light source like a LED or incandescent bulb, and a way to measure wavelengths accurately, such as a ruler or a digital caliper. You’ll also need a computer or smartphone with a camera app or spectrometry software to analyze the spectrum. Additionally, include a calibration standard, like a known spectral line from a gas discharge tube or a filament bulb, to compare your readings against. Having everything ready before starting guarantees a seamless calibration process, leading to more accurate wavelength measurements. Understanding Victorian steampunk fashion can also inspire creative designs for your spectroscope setup.
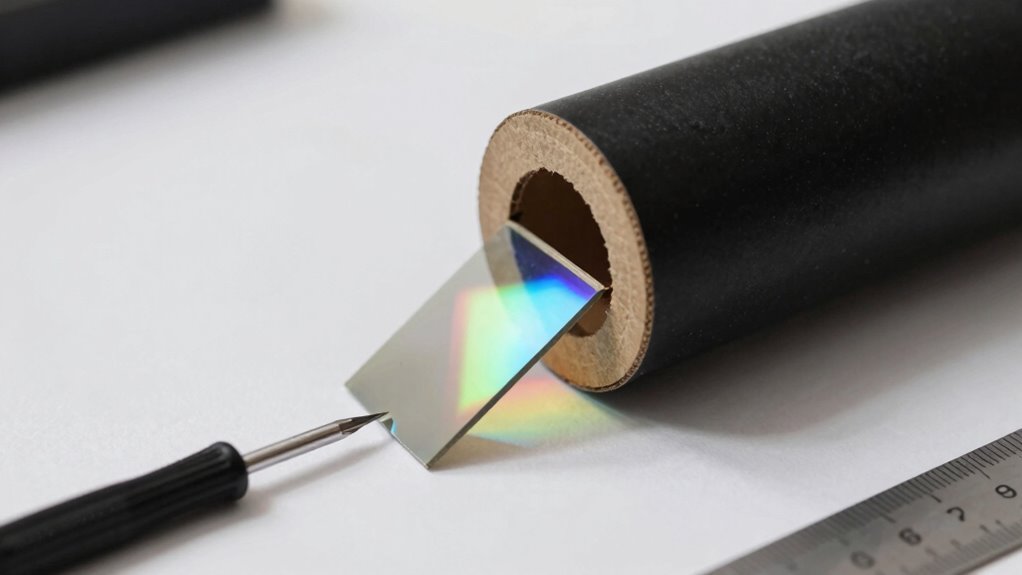
Align the Optical Components
Start by positioning your optical components—such as the diffraction grating, slit, and light source—so they form a clear, aligned path. Proper optical alignment guarantees that light travels smoothly through each element, which is essential for accurate component calibration. Misaligned parts can cause distorted spectra or inconsistent readings. To fine-tune your setup, gently adjust each component until the light beam is centered and straight. Keep an eye on the diffraction grating’s angle and the slit’s position to maintain alignment.
- Verify the diffraction grating angle for precise spectral separation
- Ensure the slit is aligned directly in the light path
- Check that the light source projects a consistent beam
- Confirm the entire optical path is free of obstructions and reflections
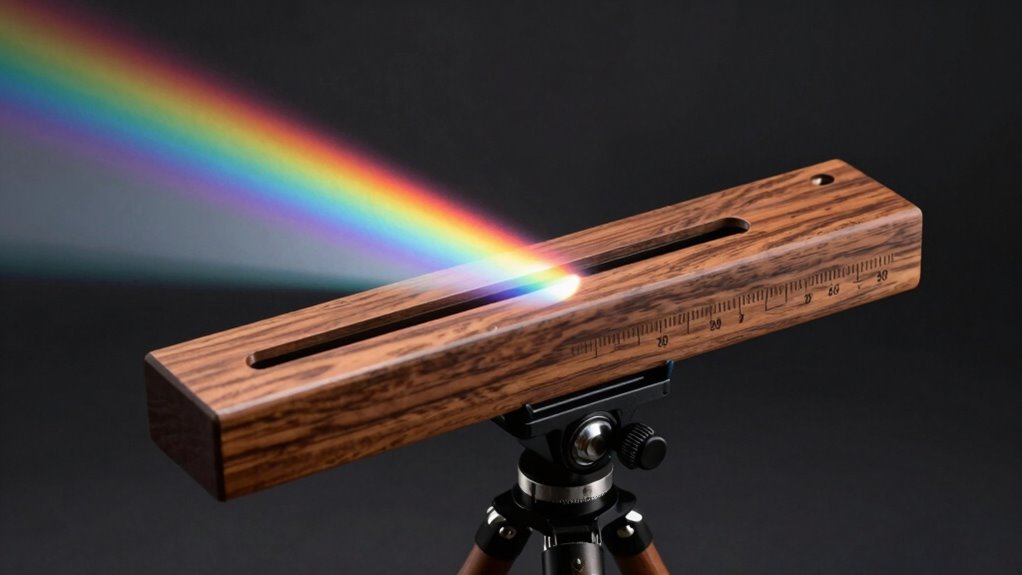
Adjust for Accurate Wavelengths
Once your optical components are aligned, the next step is to adjust the spectroscope for accurate wavelength readings. To do this, use a known light source, like a mercury or sodium lamp, to calibrate. Observe the spectral lines and compare them to standard wavelengths. If the lines appear shifted, gently rotate or move the calibration scale until the lines align correctly. This process helps minimize spectral distortion, which can skew your readings. Keep in mind, calibration stability is vital—recheck your calibration periodically to guarantee accuracy over time. Consistent adjustments will help you maintain precise wavelength measurements, making your DIY spectroscope more reliable and effective for analyzing different light sources. Additionally, using vinyl cutter settings for precise component alignment can enhance the overall performance of your spectroscope.
Verify Your Calibration for Accuracy and Precision
To guarantee your spectroscope provides reliable results, you need to verify its calibration for both accuracy and precision. Proper verification ensures that your spectral analysis reflects true wavelengths and that your measurements remain consistent. Start by comparing the observed spectral lines with known reference lines, confirming your calibration’s accuracy. Use light filtering techniques to isolate specific wavelengths, helping identify any discrepancies. Regular checks help catch drift or misalignments early. Additionally, incorporating aromatherapy benefits in traditional care can enhance overall wellness, potentially influencing the precision of your measurements. Understanding Milky Way shooting techniques can also help improve your observational skills in astrophotography. To maximize your effectiveness, consider using high-impact recommendations for tools that simplify your calibration process.
It’s also important to consider sauna safety practices that can affect your overall comfort and concentration during measurements. Maintaining optimal conditions, such as LiFePO4 battery care, can ensure your equipment operates reliably.
- Cross-check with a known light source, like a fluorescent lamp
- Use spectral lines from calibration standards for comparison
- Record multiple measurements to assess consistency
- Adjust your setup if your readings drift from expected values
Common Calibration Mistakes and How to Fix Them
Even with careful calibration, common mistakes can lead to inaccurate or inconsistent results. One frequent error is neglecting spectral interference, which can distort your readings if external light or reflections contaminate the spectrum. Always confirm your setup is isolated from ambient light sources. Another mistake is inconsistent calibration frequency; calibrating too infrequently can cause your spectroscope to drift over time, especially with temperature changes or device aging. Regular calibration checks help catch these issues early. Additionally, rushing through the process or using poor-quality calibration sources can introduce errors. To fix these problems, minimize spectral interference by shielding your spectroscope, establish a routine calibration schedule, and use reliable calibration standards. These steps ensure your readings stay accurate and consistent over time. Furthermore, using essential DIY tools can enhance your calibration process and improve overall accuracy.
Keep Your Spectroscope Calibrated: Maintenance Tips
Regular maintenance is essential to keep your spectroscope accurately calibrated over time. Since spectroscope design influences how it handles light diffraction, routine checks ensure consistent results. Dust or fingerprints on lenses and diffraction gratings can distort measurements, so clean components gently with a soft cloth. Also, verify that the light diffraction setup remains secure and properly aligned, preventing shifts that affect wavelength readings. Regularly inspect the spectroscope’s internal parts for signs of wear or damage and recalibrate using known light sources. Maintaining a stable environment—avoiding temperature fluctuations and vibrations—also helps preserve calibration accuracy.
- Clean optical components regularly
- Check for loose or misaligned parts
- Store in a dust-free, stable environment
- Recalibrate periodically with standard light sources
Troubleshoot Calibration Issues and Improve Results

When your spectroscope’s readings seem off or inconsistent, troubleshooting becomes essential to identify and fix the underlying issues. Spectral anomalies can occur due to misalignment or faulty calibration accessories, skewing your results. To correct this, check your setup carefully, ensuring the grating and slit are properly positioned. Use the following table to diagnose common issues:
| Issue | Cause | Solution |
|---|---|---|
| Inconsistent wavelengths | Calibration accessory misaligned | Recalibrate with a known spectral line |
| Unusual spectral lines | Spectral anomalies | Inspect for dirt or damage on optics |
| No clear spectrum | Misaligned optics | Realign components and retake readings |
Address these issues, and you’ll improve accuracy without guesswork.
Enhance Your Spectroscope’s Accuracy for Better Analysis
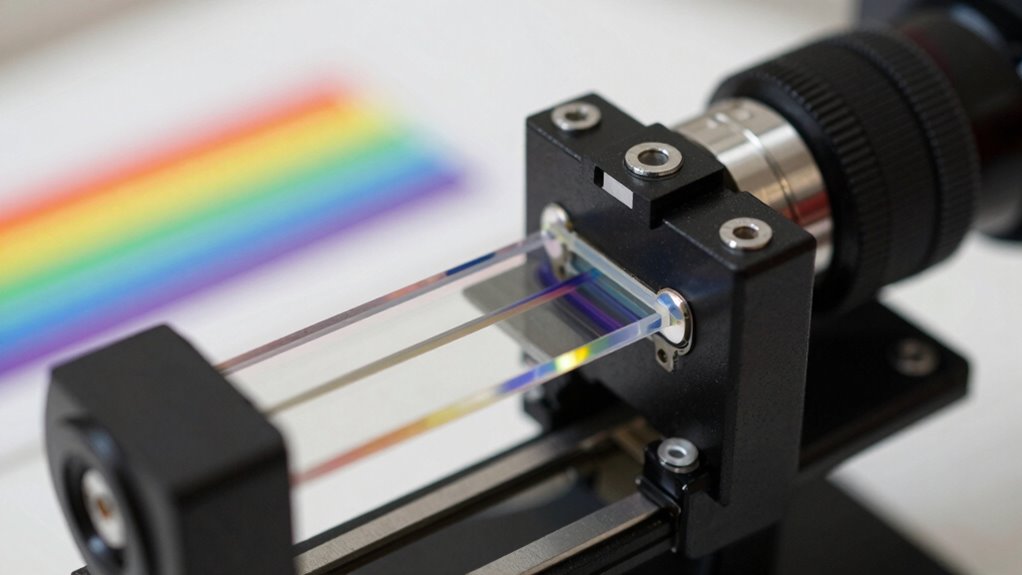
To achieve more accurate spectroscopic readings, you need to focus on fine-tuning your spectroscope’s setup and calibration process. Improving your spectral analysis depends on precise adjustments and understanding light diffraction. Carefully align your diffraction grating to guarantee the light diffracts correctly, providing clear spectral lines. Use a known calibration source, like a mercury or sodium lamp, to verify wavelengths. Regularly clean your lenses and components to eliminate dust that can distort measurements. Keep your setup stable to avoid shifts during measurement. These steps help you detect subtle spectral features and improve wavelength accuracy.
- Adjust the diffraction grating angle for ideal light diffraction
- Use known light sources for baseline calibration
- Clean optical components regularly
- Stabilize your setup to prevent shifts
Frequently Asked Questions
How Often Should I Recalibrate My DIY Spectroscope?
You should recalibrate your DIY spectroscope every few months to guarantee accuracy, especially if you notice inconsistencies in your readings. Regular calibration frequency depends on how often you use it and environmental factors like temperature changes. Incorporate standard maintenance routines, such as cleaning lenses and checking alignment, to keep your device precise. Staying consistent with calibration and maintenance guarantees reliable wavelength measurements and ideal performance over time.
Can Environmental Factors Affect Calibration Accuracy?
Environmental interference can definitely impact calibration stability. Changes in temperature, humidity, or vibrations can cause your spectroscope’s components to shift, leading to inaccurate readings. To maintain calibration accuracy, you should minimize exposure to such environmental factors and regularly check your device against known standards. Keep it in a stable environment, and recalibrate when you notice drift or after significant environmental changes to guarantee precise measurements.
What Is the Best Way to Store Calibration Standards?
To keep calibration standards accurate, store calibration materials in a cool, dry, and stable environment away from direct sunlight and temperature fluctuations. Use airtight containers to prevent contamination or moisture damage. Label each standard clearly and keep them in a dedicated, organized space. Regularly check and replace calibration materials as recommended, ensuring your spectroscope remains precisely calibrated for reliable measurements.
How Do I Detect if My Spectroscope Is Misaligned?
Suspecting your spectroscope might be misaligned? Start by checking the spectral lines against known calibration standards—if they don’t match precisely, your spectroscope’s alignment could be off. Look for inconsistent or skewed lines, which indicate a misalignment. Regularly verifying calibration accuracy helps guarantee your device remains precise. If you notice discrepancies, carefully realign the components, making certain the optical path is straight and stable, restoring accurate readings.
Are There Digital Tools That Can Assist With Calibration?
Yes, digital calibration tools can help you improve wavelength accuracy in your spectroscope. You can use smartphone apps or computer software designed for spectrometer calibration, which analyze known spectral lines to fine-tune your device. These tools streamline the process, ensuring your measurements are precise and reliable. By using digital calibration, you’ll quickly detect and correct misalignments, boosting your spectroscope’s accuracy for more accurate spectral analysis.
Conclusion
With consistent calibration, your spectroscope becomes a precise partner in probing the pure poetry of light. By balancing bulbs, aligning apertures, and avoiding common mistakes, you’ll discover accurate wavelengths and authentic insights. Keep your setup steady, stay vigilant with maintenance, and troubleshoot troubles promptly. This dedication transforms your DIY device from a simple gadget into a powerful tool for precise, professional-grade spectral studies—making your measurements more meaningful, and your scientific pursuits more satisfying.