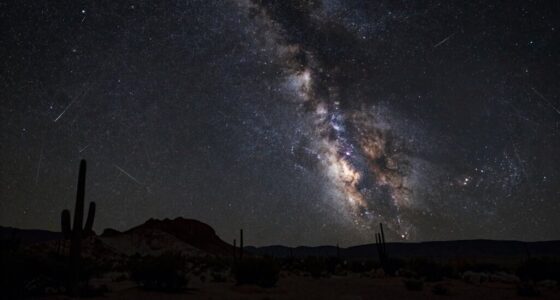

To create stunning DIY star trails, set your camera to manual mode with a wide aperture and low ISO, then leave the shutter open for 15 minutes to several hours while mounted firmly on a tripod. Use a remote or timer to avoid shake. Capture multiple shots of the night sky and stack them later with editing software to turn Earth’s rotation into mesmerizing art. Keep exploring for more tips to perfect your star trail photography.
Key Takeaways
- Use a sturdy tripod and manual camera settings to capture long exposure shots of the night sky.
- Keep the camera steady and take multiple long exposures (15 minutes or more) to record star movement.
- Stack all images using photo editing software like Photoshop or star trail apps to create continuous trails.
- Incorporate foreground elements for added depth and visual interest in your star trail composition.
- Experiment with different angles, exposures, and post-processing techniques to enhance the artistic effect.
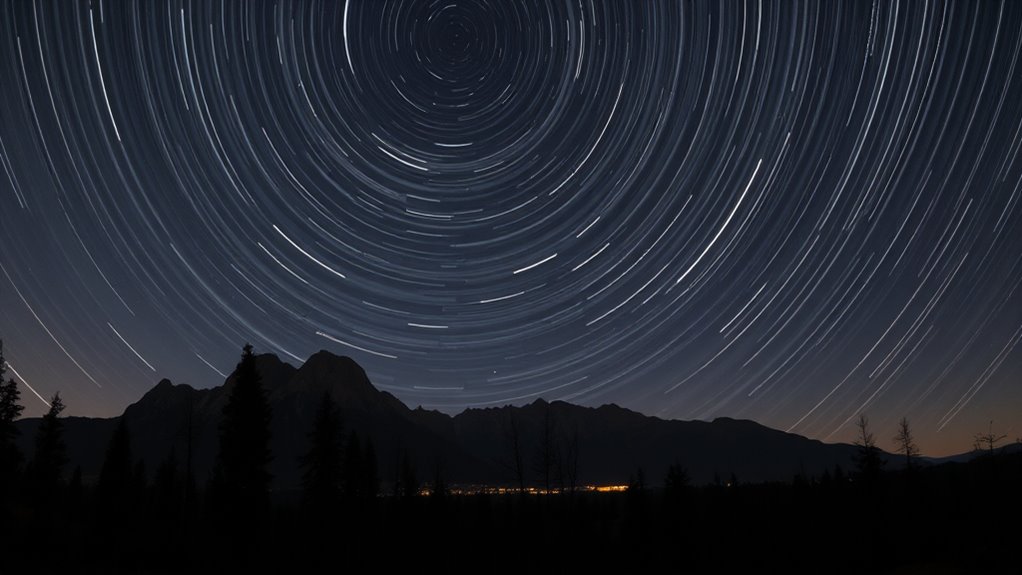
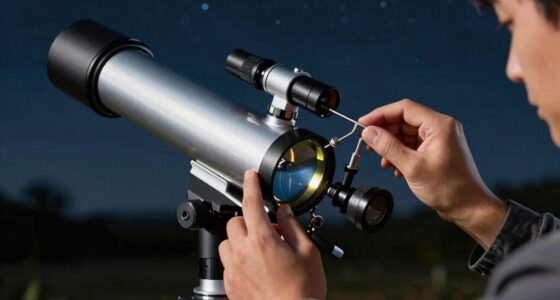
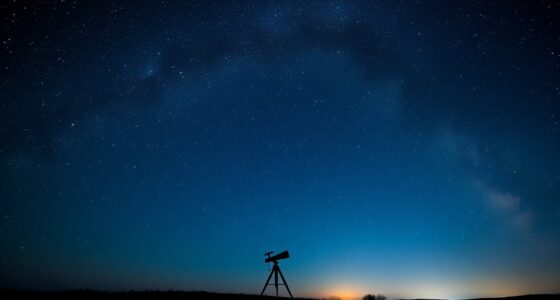
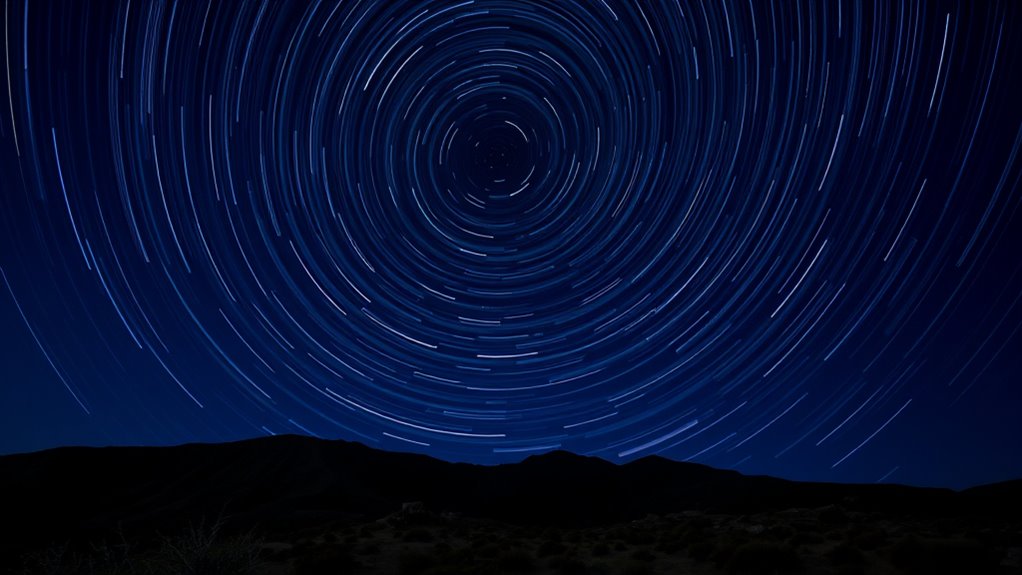
Ever wondered how to capture stunning star trails without expensive equipment? The secret lies in understanding your camera settings and mastering some simple post processing techniques. You don’t need a high-end camera or a specialized tripod—just patience, a steady hand, and a bit of know-how. To start, set your camera to manual mode so you have full control over exposure. Use a low ISO setting, around 800 or lower, to minimize noise in your shots. Select a wide aperture, such as f/2.8 or wider if possible, to let in as much light as you can during long exposures. The key is to keep your shutter open for an extended period—anywhere from 15 minutes up to several hours—so the Earth’s rotation creates those iconic star trails. Use a sturdy tripod to keep the camera perfectly still during this time, and consider using a remote shutter release or timer to prevent camera shake when pressing the shutter button. Proper camera settings are essential for capturing clear star trails and minimizing noise.
Once you’ve taken your shots, post processing techniques become vital to enhance the star trails. Start by stacking multiple images using software like Photoshop or dedicated star trail apps. This process involves combining several shorter exposures to create a continuous trail, which helps reduce noise and prevents overexposure from bright stars. After stacking, you can adjust contrast and brightness to make the trails stand out more vividly against the night sky. Some editing tools also allow you to enhance colors or sharpen the trails, giving your images more depth and visual appeal. It’s important not to overdo it—aim for a natural, striking look that emphasizes the Earth’s rotation as the star trails gracefully arc across the sky.
You might also want to experiment with different compositional techniques. For example, including a foreground element like a silhouette of trees or a building can add context and interest to your star trail photos. Remember to keep your camera steady and your exposures consistent, especially if you’re stacking multiple images. This consistency ensures your final image looks seamless and professional. With a little practice, you’ll be able to capture mesmerizing star trails that beautifully illustrate Earth’s constant rotation. The best part is, you don’t need costly gear—just your camera, a tripod, and some creative editing. Once you get the hang of it, you’ll find yourself passionately waiting for clear, dark nights to turn the night sky into your personal canvas of swirling stars.
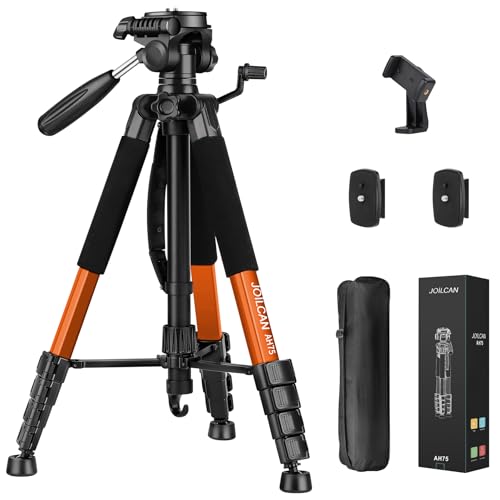
JOILCAN Tripod Camera Tripods, 74" Tripod for Camera Cell Phone Video Photography, Heavy Duty Tall Cameras Tripod Stand, Professional Travel DSLR Tripods Compatible with Canon iPhone, Max Load 15 LB
【Lightweight & Easy to Adjust】Upgraded trapezoidal flap lock tripod adjusted from 19.5" and 74" to meet different height…
As an affiliate, we earn on qualifying purchases.
As an affiliate, we earn on qualifying purchases.
Frequently Asked Questions
What Camera Settings Are Best for Capturing Star Trails?
To capture stunning star trails, you should use a camera with good stability, like a tripod, to prevent shake during long exposures. Set your camera to a low ISO (around 800 or lower) to reduce noise, and use a wide aperture to gather more light. Keep light pollution in mind by choosing a dark location. Use long exposure times, typically 15-30 minutes, or multiple shorter exposures stacked together for best results.
How Long Should Each Exposure Be for Optimal Results?
Did you know that the Earth’s rotation creates stunning star trails over several hours? For ideal results, set your camera’s exposure duration between 20 to 30 minutes per shot, ensuring your camera remains perfectly stable. Longer exposures can produce more impressive trails, but they require a sturdy tripod and minimal movement. Keep your camera steady to avoid star trail blurring, and experiment with different exposure durations to find your ideal balance.
Is Special Software Necessary for Stacking Star Trail Images?
You don’t necessarily need special software for stacking star trail images. Basic photo editing tools can sometimes handle image stacking, but dedicated astrophotography software makes the process much easier and more precise. These programs automate aligning and combining images, ensuring smooth trails and minimal star movement artifacts. If you’re serious about quality, investing in software designed for image stacking can markedly improve your star trail results.
Can Star Trails Be Captured With Smartphones?
Imagine you’re at a remote campsite, trying to capture star trails with your smartphone. While smartphone limitations—like small sensors and lens quality—make it challenging, astrophotography apps can help. These apps allow long exposures and stacking, mimicking DSLR capabilities. Though results might not match professional gear, with patience and the right app, you can create beautiful star trail images, turning your smartphone into a star trail camera.
What Are Common Issues Faced During Star Trail Photography?
When capturing star trails, you might face issues like light pollution, which dims the trails, and weather conditions that can obscure the sky. Clouds, fog, or rain can ruin your shot, while excessive artificial city lights can wash out the stars. To improve your results, choose dark locations away from city lights, check weather forecasts beforehand, and be patient with changing conditions to get the clearest star trail images possible.

Camera Remote Control Wireless Shutter for Canon EOS RP, R6, ROS RP, Rebel T6, T7, T5, T3, SL2, 5D Mark II, 5d Mark iii, 5d Mark iv, 6D Mark II, 7d Mark ii, 7D Series, 5D Series; for Fujifilm X-T3
[Compatible cameras]: Compatible with Canon EOS RP,R,R1,Ra, R8, R100, R10, R6 II, R6,R5,R5 C,R3, R5 Mark II,M5,M6, 1D…
As an affiliate, we earn on qualifying purchases.
As an affiliate, we earn on qualifying purchases.
Conclusion
Now that you know how to create stunning star trails, remember that capturing these cosmic patterns requires patience and a steady hand. Did you know that the Earth’s rotation makes the stars appear to move at about 15 degrees per hour? By turning your camera to the night sky, you’re fundamentally turning Earth’s rotation into a beautiful piece of art. So grab your gear, set your camera, and let the universe inspire your next masterpiece!

Polaroid Photo Editing, Arranging, and Special Effects Software
Polaroid Photo Editing
As an affiliate, we earn on qualifying purchases.
As an affiliate, we earn on qualifying purchases.
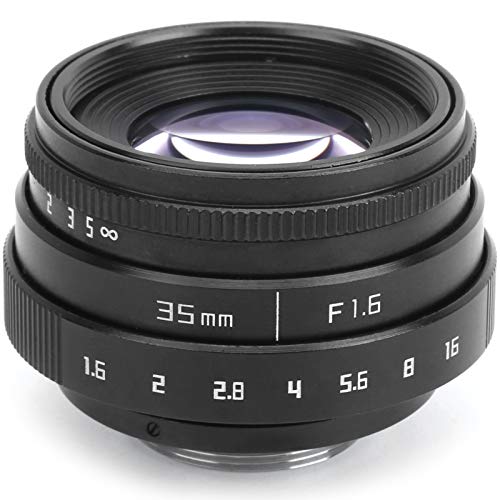
Large Aperture Lens, 35mm F1.6 C Mount, Aluminum Alloy Optical Glass, MC Multilayer, Manual Fixed Focus Portrait Camera Lens Accessory(Black)
【F1.6 Large Aperture】Equipped with large aperture of F1.6, in a darker environment, it can effectively increase the shutter…
As an affiliate, we earn on qualifying purchases.
As an affiliate, we earn on qualifying purchases.