To capture star trails, set your camera to manual mode with a sturdy tripod and a wide-angle lens. Use an aperture around f/8 to f/11, keep ISO low (800-1600), and aim for long exposures, from 15 minutes to several hours. Find a dark, open location away from light pollution with a clear view of the sky. Experiment with different settings and compositions—your options expand as you explore more techniques.
Key Takeaways
- Use manual settings with low ISO (800-1600), aperture f/8–f/11, and long exposures (15 minutes or more) for star trails.
- Stabilize your camera on a sturdy tripod and utilize remote shutters to prevent shake during extended exposures.
- Choose dark, low-light pollution locations with clear skies and interesting foreground elements for better trail visibility.
- Plan around moon phases and weather conditions to ensure minimal cloud cover and atmospheric disturbances.
- Incorporate wide-angle lenses and experiment with different exposure durations for varied and captivating star trail effects.

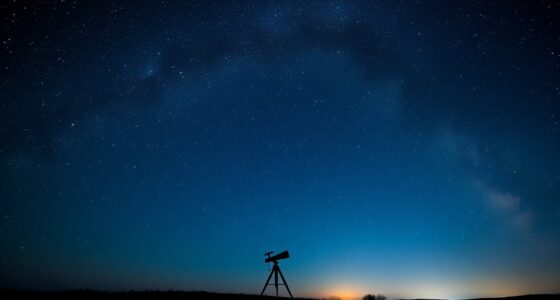
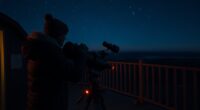
Capturing star trails is a rewarding way to showcase the beauty of the night sky’s motion. To do this effectively, you need to pay close attention to your camera settings and choose ideal locations. Your camera settings will determine the clarity and length of your star trails, so it’s vital to set them correctly. Start with a sturdy tripod to keep your camera steady during long exposures. Set your camera to manual mode to control exposure, aperture, and ISO. Use a small aperture, around f/8 to f/11, to guarantee sharpness across the entire image. For ISO, keep it as low as possible, typically between 800 and 1600, to minimize noise while still capturing enough light. The key setting is shutter speed; you’ll want to shoot for an extended period—anywhere from 15 minutes to several hours—depending on how long you want your trails. Many photographers prefer to use intervalometers or remote shutter releases to prevent camera shake and to allow continuous shooting without manual intervention. Alternatively, some cameras have built-in timers that can help automate long exposures. Ensuring your camera has a high dynamic range capability can also help preserve detail in both the shadows and highlights of your scene.
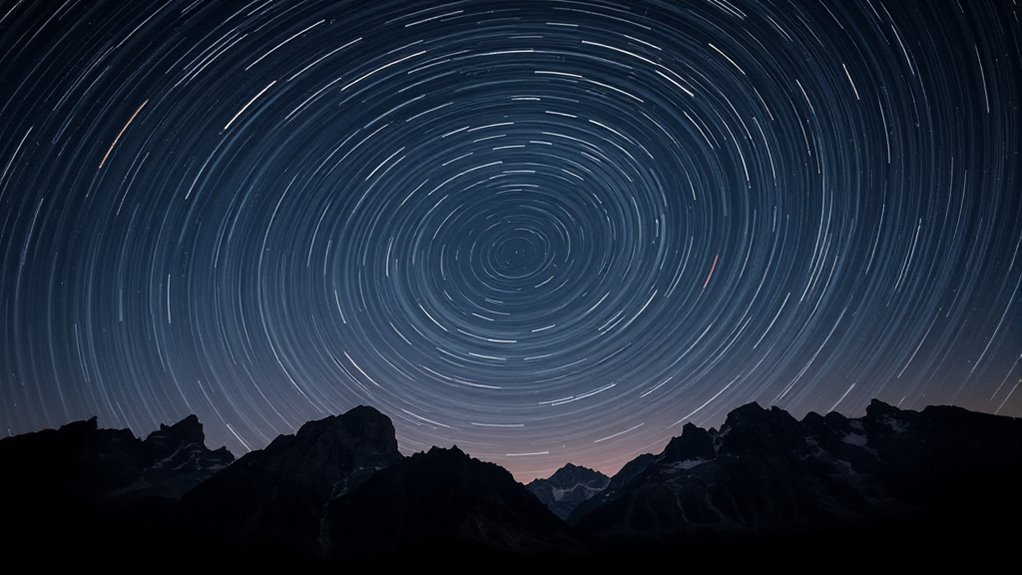
Choosing ideal locations is just as vital. Look for spots with minimal light pollution—away from city lights and streetlamps—to maximize the visibility of stars. National parks, rural areas, and elevated terrains often provide the clearest views of the night sky. Scout your location during the day to find safe, accessible spots with a clear view of the horizon. Keep in mind that the best star trail images often feature interesting foreground elements like trees, mountains, or water to add depth and context to your shot. Also, consider the direction you’re facing; pointing your camera towards the north or south pole (depending on your hemisphere) can produce more circular and dynamic star trail patterns. A dark, open sky with a minimal amount of atmospheric haze will give you cleaner, brighter trails.

K&F CONCEPT 64 inch/163 cm Camera Tripod,Lightweight Travel Outdoor DSLR Tripods with 360 Degree Ball Head Load Capacity 17.6 lbs/8 kg,Cellphone Clip for Smartphone Live Streaming Vlog O234A1+BH-36
【Lightweight and Portable】4 section leg can adjust tripod height from 20.4''/52cm to 64.1''/163cm; it can be folded to…
As an affiliate, we earn on qualifying purchases.
As an affiliate, we earn on qualifying purchases.
Frequently Asked Questions
What Is the Best Time of Year for Star Trail Photography?
The best time of year for star trail photography is during new moon phases when light pollution is minimal, allowing stars to shine brightly. Aim for clear, dark nights in late fall or winter when the weather tends to be more stable. Avoid full moons, as their brightness can wash out star trails. Planning around moon phases helps you capture more vivid and detailed star trails, making your photos truly stunning.
How Do Weather Conditions Affect Star Trail Images?
Weather conditions greatly impact your star trail images. Cloud cover can obscure stars and create unwanted streaks, so clear skies are best. Moon phases matter too—new moon nights offer the darkest skies, while full moons wash out star trails with brightness. Check weather forecasts and moon calendars before heading out. You’ll get sharper, more vibrant star trails when skies are clear, cloudless, and during darker moon phases.
Can I Shoot Star Trails With a Smartphone?
Think of your smartphone as a tiny telescope—capable but limited. Yes, you can shoot star trails with it, but smartphone limitations like sensor size and long exposure capabilities can make it tricky. To succeed, use a dedicated app compatible with your device that allows manual controls and long exposures. Keep your phone steady on a tripod, and be patient as the camera captures those mesmerizing trails across the night sky.
What Camera Settings Are Ideal for Long Exposures?
You should set your camera to a low ISO, like 800 or lower, to reduce noise during long exposures. Use a wide aperture, such as f/2.8 or f/3.5, to let in more light. Keep your shutter open for several minutes or use a remote shutter release to avoid camera shake. Adjust these settings based on your environment and the amount of ambient light for the best star trail shots.
How Do I Prevent My Camera From Overheating During Long Shoots?
To prevent your camera from overheating during long shoots, guarantee proper camera cooling by taking breaks between shots and using a fan or shaded area. Additionally, monitor your battery life and swap batteries if needed, as overheating can drain power faster. Keep your camera in a cool, shaded spot when not shooting, and avoid direct sunlight. These steps help maintain ideal performance and prevent overheating issues during extended star trail sessions.
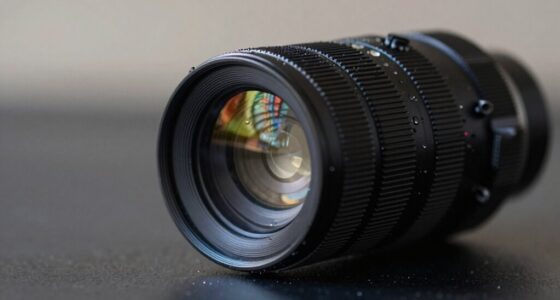
Rokinon FE14M-C 14mm F2.8 Ultra Wide Lens for Canon (Black)
SUPERIOR IMAGE QUALITY – Experience exceptional sharpness and clarity with 14 elements in 10 groups, designed to deliver…
As an affiliate, we earn on qualifying purchases.
As an affiliate, we earn on qualifying purchases.
Conclusion
Now that you know the basics of capturing star trails, embrace patience and practice—after all, Rome wasn’t built in a day. With each shot, you’ll get closer to stunning night sky images that tell a story of the universe’s endless beauty. Remember, every expert was once a beginner. So, keep shooting, stay curious, and enjoy the journey. As the saying goes, “The night is darkest just before the dawn,” so keep shining your own light through your lens.

Camera Remote Control Wireless Shutter for Canon EOS RP, R6, ROS RP, Rebel T6, T7, T5, T3, SL2, 5D Mark II, 5d Mark iii, 5d Mark iv, 6D Mark II, 7d Mark ii, 7D Series, 5D Series; for Fujifilm X-T3
[Compatible cameras]: Compatible with Canon EOS RP,R,R1,Ra, R8, R100, R10, R6 II, R6,R5,R5 C,R3, R5 Mark II,M5,M6, 1D…
As an affiliate, we earn on qualifying purchases.
As an affiliate, we earn on qualifying purchases.

Replaces RS-60E3 Camera Intervalometer Timer Remote Shutter Release Control & Clip Holder for Canon Rebel T7 T6 2000D 90D 80D 77D T6i T8 T8i T3i SL3 SL2 EOS R6 Mark III II R7 R8 R50V R10 R100 & More
Replaces RS-60E3: This camera intervalometer timer remote shutter release control replaces RS-60E3 and compatible with Canon Rebel T7…
As an affiliate, we earn on qualifying purchases.
As an affiliate, we earn on qualifying purchases.